As a music producer, engineer, or artist, you know that mastering is the final step in the production process that can make or break your music.
And while there are many tools available for mastering, compression is one of the most crucial. But with so many options and settings to choose from, it can be overwhelming.
Fear not!
In this post, we'll walk you through the best compressor settings for mastering music, so you can spend less time tweaking knobs and more time enjoying your music.
Mastering Compression Settings
Audio mastering ensures that the song is balanced, consistent, and optimized for playback across different systems and platforms.
A well-mastered track can make a significant difference in how it is received by consumers and can help it stand out in a crowded market.
Gain Riding
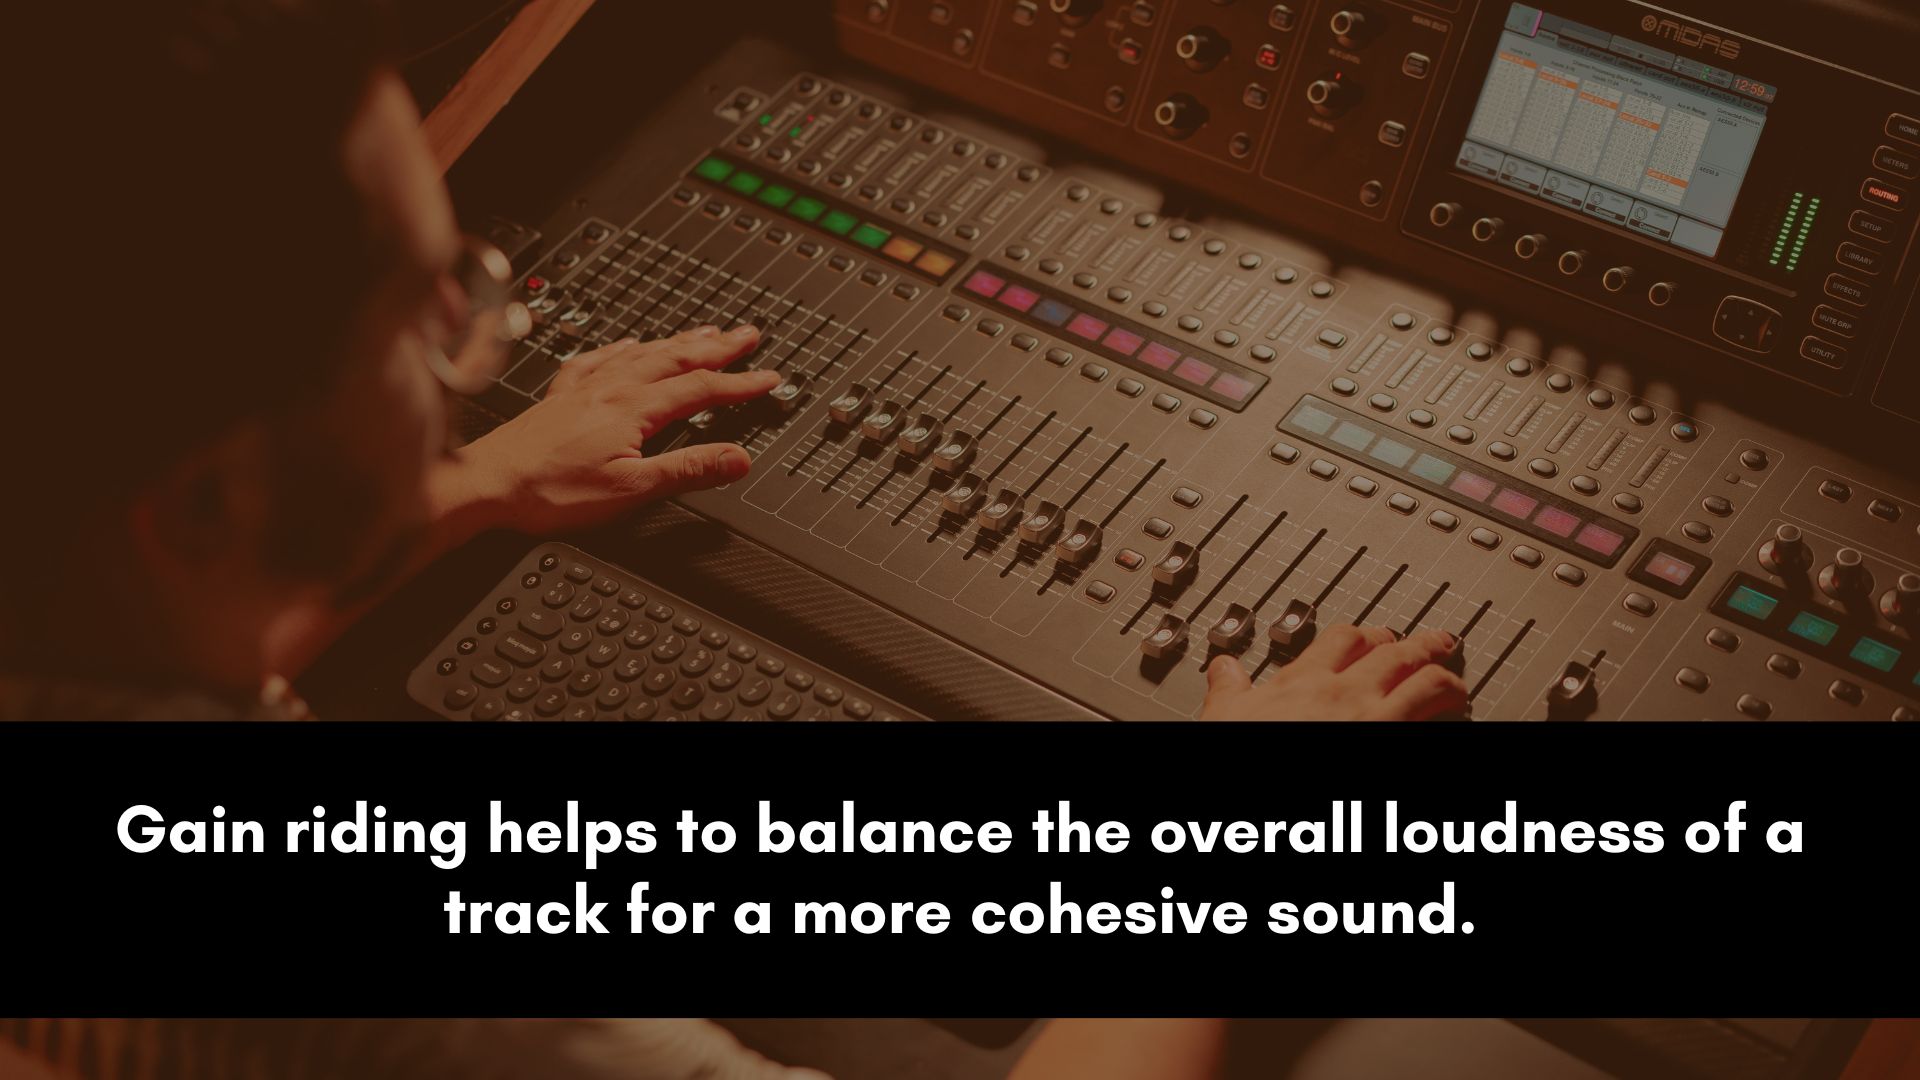
Gain-riding is a popular technique used to ensure a consistent volume level throughout the track.
It involves manually adjusting the gain of individual sections of the track to smooth out any abrupt volume changes or fluctuations.
To use gain-riding during mastering, start by listening to the track and noting down any areas where the volume level suddenly changes.
This could be anything from a sudden jump in volume during a guitar solo to a quiet vocal section that needs to be brought up to a consistent level.
Once you've identified these sections, you can use your DAW's automation tools to manually adjust the gain.
This could involve using volume envelopes to adjust the level of specific sections of the track or using the gain control on individual plugins.
One important thing to keep in mind when using gain-riding is to ensure that any changes you make are subtle and transparent.
You don't want to add unnecessary artifacts or distortions to the track, so take the time to make small adjustments and listen carefully to the results.
Setting Attack and Release
When using compression during mastering, it's important to pay close attention to the attack and release settings.
These parameters control how quickly the compressor engages and disengages, respectively, and can have a significant impact on the character of the audio.
When setting the attack, you want to strike a balance between letting the initial transients of the audio through while still effectively controlling the overall level.
A fast attack can help tame sharp peaks and reduce transients, while a slower attack can allow more transient detail to come through.
As a general rule of thumb, try setting the attack so that the compressor engages just after the initial transient of the audio.
Release is the parameter that determines how quickly the compressor disengages.
A fast release can make the audio sound more tightly controlled, while a slower release can allow for more natural-sounding dynamics.
When setting the release, try to match it to the tempo and feel of the music. For example, slower, more legato music may benefit from a longer release time, while faster, more rhythmic music may sound better with a faster release.
Remember that these settings are highly dependent on the material being processed, so be prepared to adjust them as needed to achieve the desired sound.
Additionally, an "Auto Release" feature can automatically set the release time based on the input signal, which can be a useful starting point for further manual adjustments.
Dynamic Eq
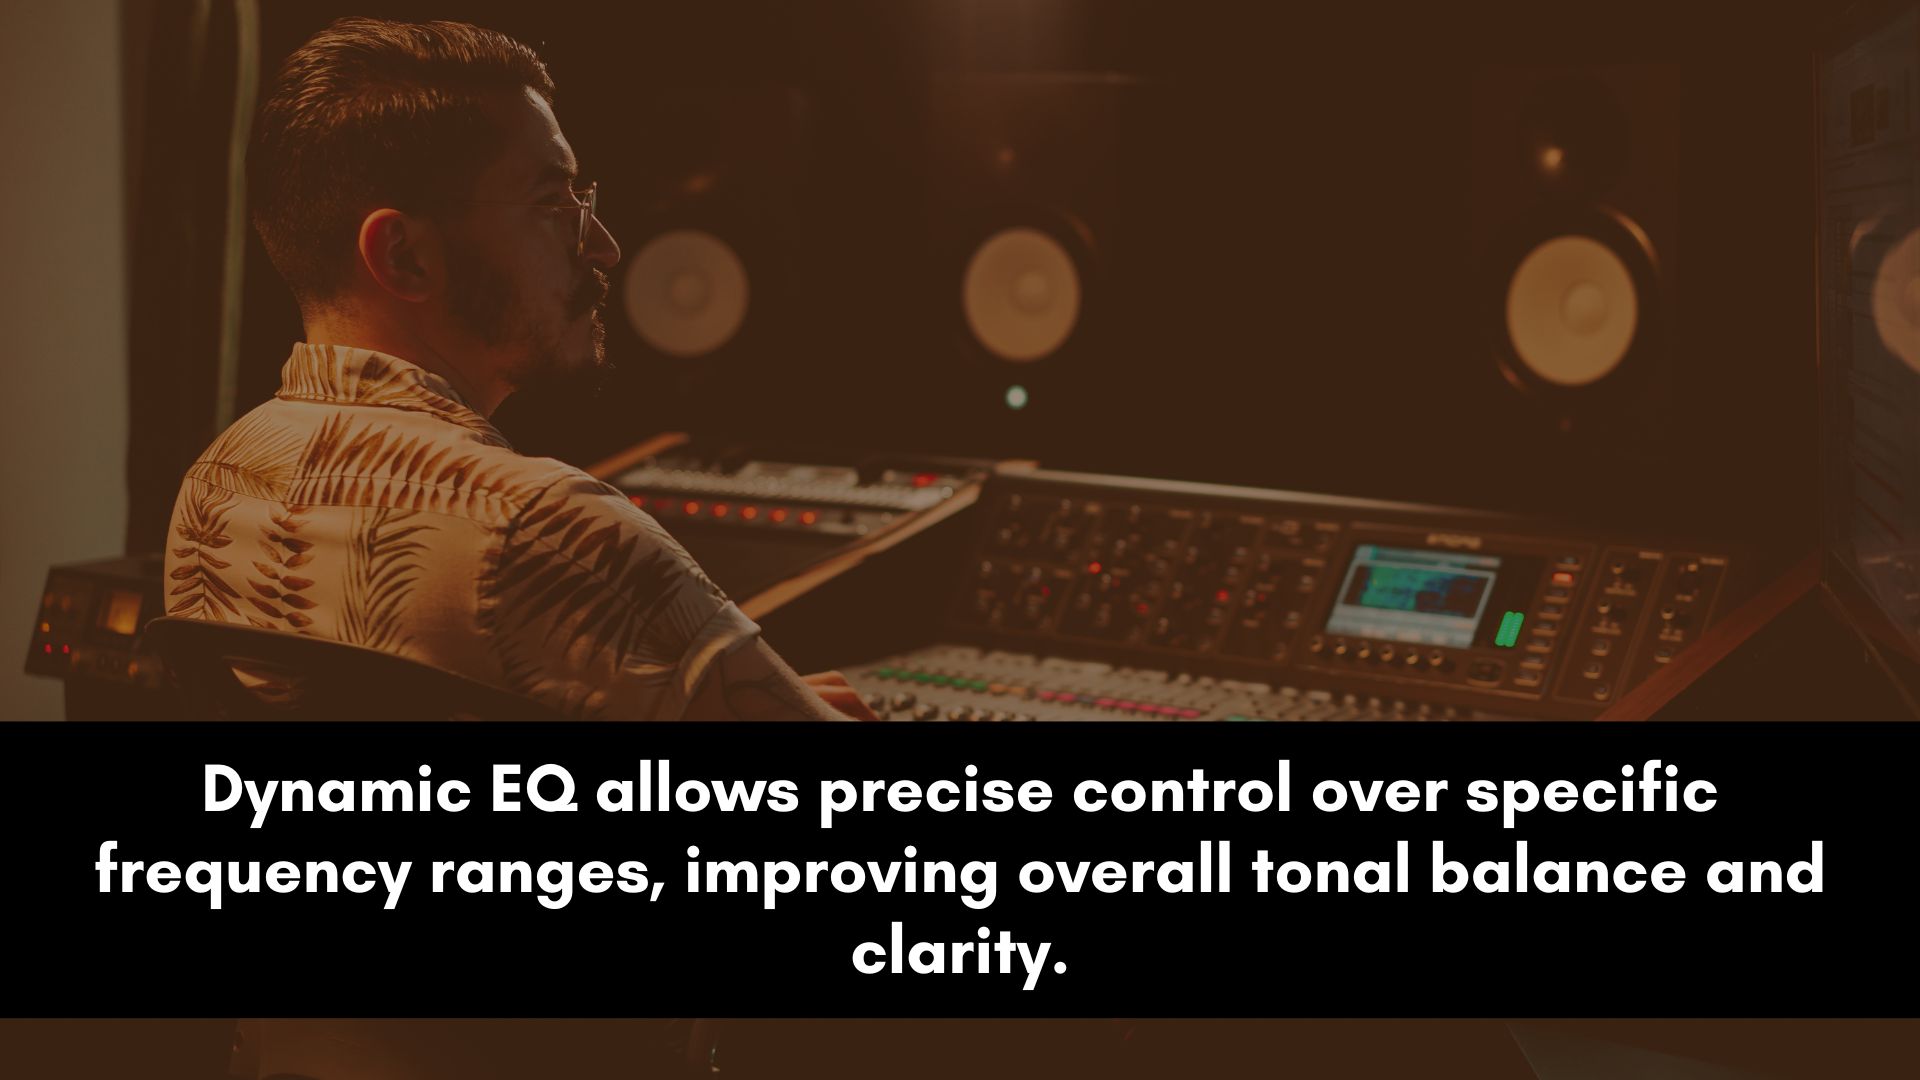
Dynamic EQ is a powerful tool that can tackle frequency issues in a more nuanced and controlled way.
While traditional EQ is a great way to shape the overall tonal balance of a mix, dynamic EQ can be used to address specific frequency issues that are causing problems.
The first step in using dynamic EQ during mastering is to identify the frequency range that needs to be addressed.
This can be done by listening to the mix carefully and noting any areas where certain frequencies are overpowering or causing issues.
For example, if the vocals are getting lost in the mix due to a buildup of low-mid frequencies, a dynamic EQ can be used to reduce those frequencies only when they become too loud.
Once you have identified the frequency range that needs to be addressed, you can begin setting up your dynamic EQ.
Most dynamic EQ plugins will have a threshold control, which sets the point at which the plugin will start to attenuate the selected frequency range.
Some plugins also have the capability of setting attack and release times.
It's important to remember that dynamic EQ should be used only when necessary. Overuse can lead to a dull and lifeless mix, so be sure to use it only where it's needed.
Another useful application of dynamic EQ during mastering is to tame harsh or sibilant frequencies in the mix.
For example, if the vocals have a harsh edge to them that's causing ear fatigue, a dynamic EQ can be set up to reduce those frequencies only when they get too loud.
Glue Compression
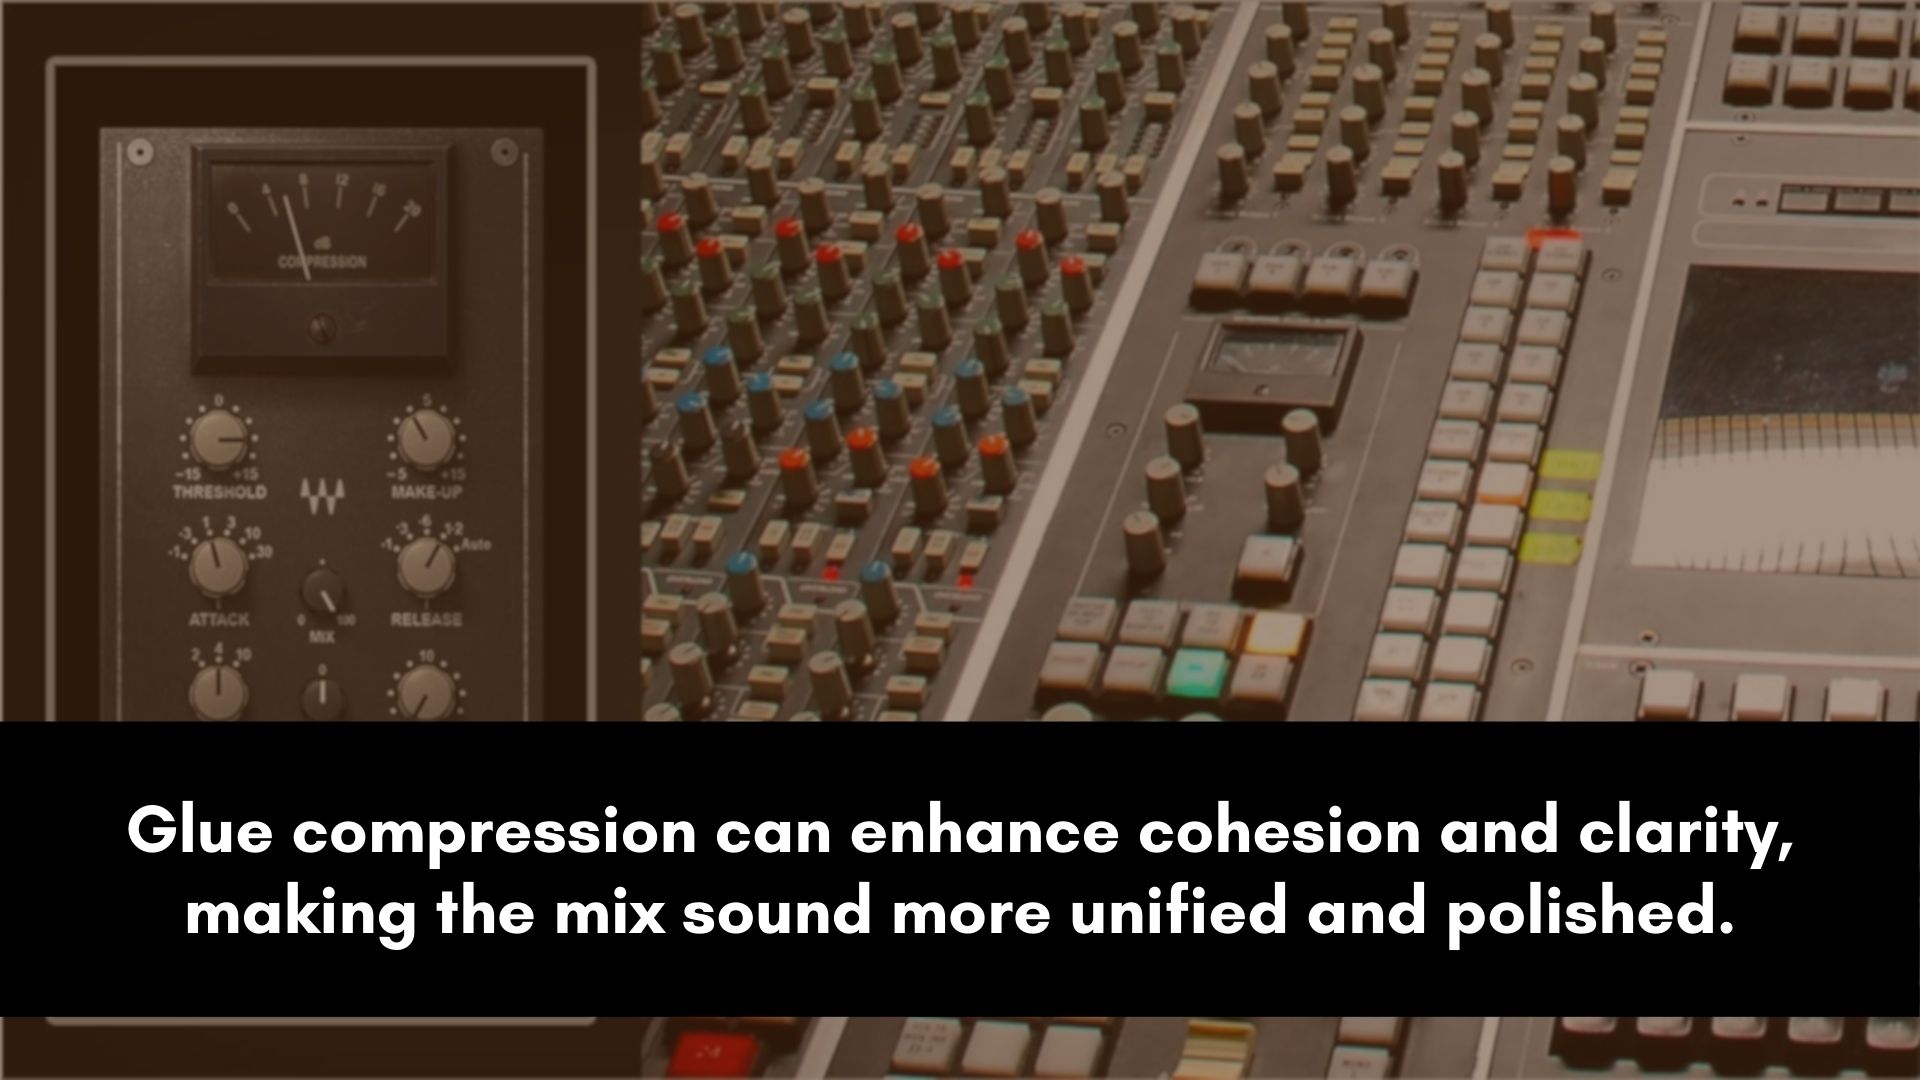
Glue compression can help bring a cohesive and uniform sound to the entire mix, allowing individual elements to blend together and work as one.
Here's a practical guide on how to use glue compression during mastering:
- Choose the right compressor: Not all compressors are created equal, so it's important to choose the right one for your needs. Some compressors are more transparent, while others add color and warmth to the mix. Choose one that suits your style and the type of music you're working on.
- Set the attack and release times: For glue compression, you want a relatively fast attack time and a slower release time. This will help to smooth out the transients and create a more consistent sound. You can also do the opposite if you’re going for a punchy and aggressive sound.
- Use a low ratio: A ratio of 2:1 to 4:1 is ideal for glue compression. This allows the compressor to work subtly and gently without drastically altering the dynamics of the mix.
- Adjust the threshold: The threshold determines when the compressor will start working. Set it so that the compressor is only reducing the peaks in the mix, rather than squashing everything down.
Remember to trust your ears and make adjustments as needed to achieve the desired result.
Transparent Compression
When it comes to mastering, transparent compression is essential for achieving a cohesive and professional sound without altering the natural dynamics of the mix.
Here's a practical guide on how to use transparent compression:
Compressor type: Choose a transparent compressor that doesn't add coloration or character to the sound. Look for a compressor that has a high-quality VCA or FET design.
Attack and release: The attack time should be fast enough to catch the peaks of the signal but not so fast that it squashes the transients. The release time should be slow enough to allow the compressor to recover before the next transient hits.
Ratio and threshold: Use a low ratio (1.5:1 to 2:1) and a low threshold (-3 dB to -4 dB) to gently reduce the dynamic range without audible pumping or breathing.
Makeup gain: Avoid overcompensating for the gain reduction with excessive makeup gain. Only apply enough gain to restore the overall level to match the unprocessed mix.
A/B test: Always compare the compressed and uncompressed versions of the mix to ensure that the compression is transparent and not altering the character of the sound.
Multiband Compression
Multiband compression is a powerful tool that allows you to target specific frequency ranges and apply compression only to those areas.
This is particularly useful for addressing issues such as uneven frequency balance or excessive dynamic range in specific frequency ranges.
Here's a practical guide on how to use multiband compression during mastering:
- Identify the problematic frequency range: Find frequency ranges where there are issues such as excessive dynamic range, harshness, or muddiness.
- Set the crossover points: Set the crossover points for each band so that they cover the identified frequency ranges.
- Set the threshold: Set the threshold for each band so that compression is applied only when the level exceeds the threshold.
- Ratio: Set the ratio for each band to achieve the desired amount of compression.
- Attack and release: Set the attack and release times to achieve a natural and transparent sound. A fast attack and release time is often a good starting point then adjust based on what works best for the music.
- Makeup gain: Use the makeup gain control to compensate for any level loss due to compression. This is crucial to keep the overall tone balance and energy intact without any drops.
- Listen and adjust: Listen to the processed audio and adjust the settings as necessary to achieve the desired sound.
New York-style Compression for Mastering
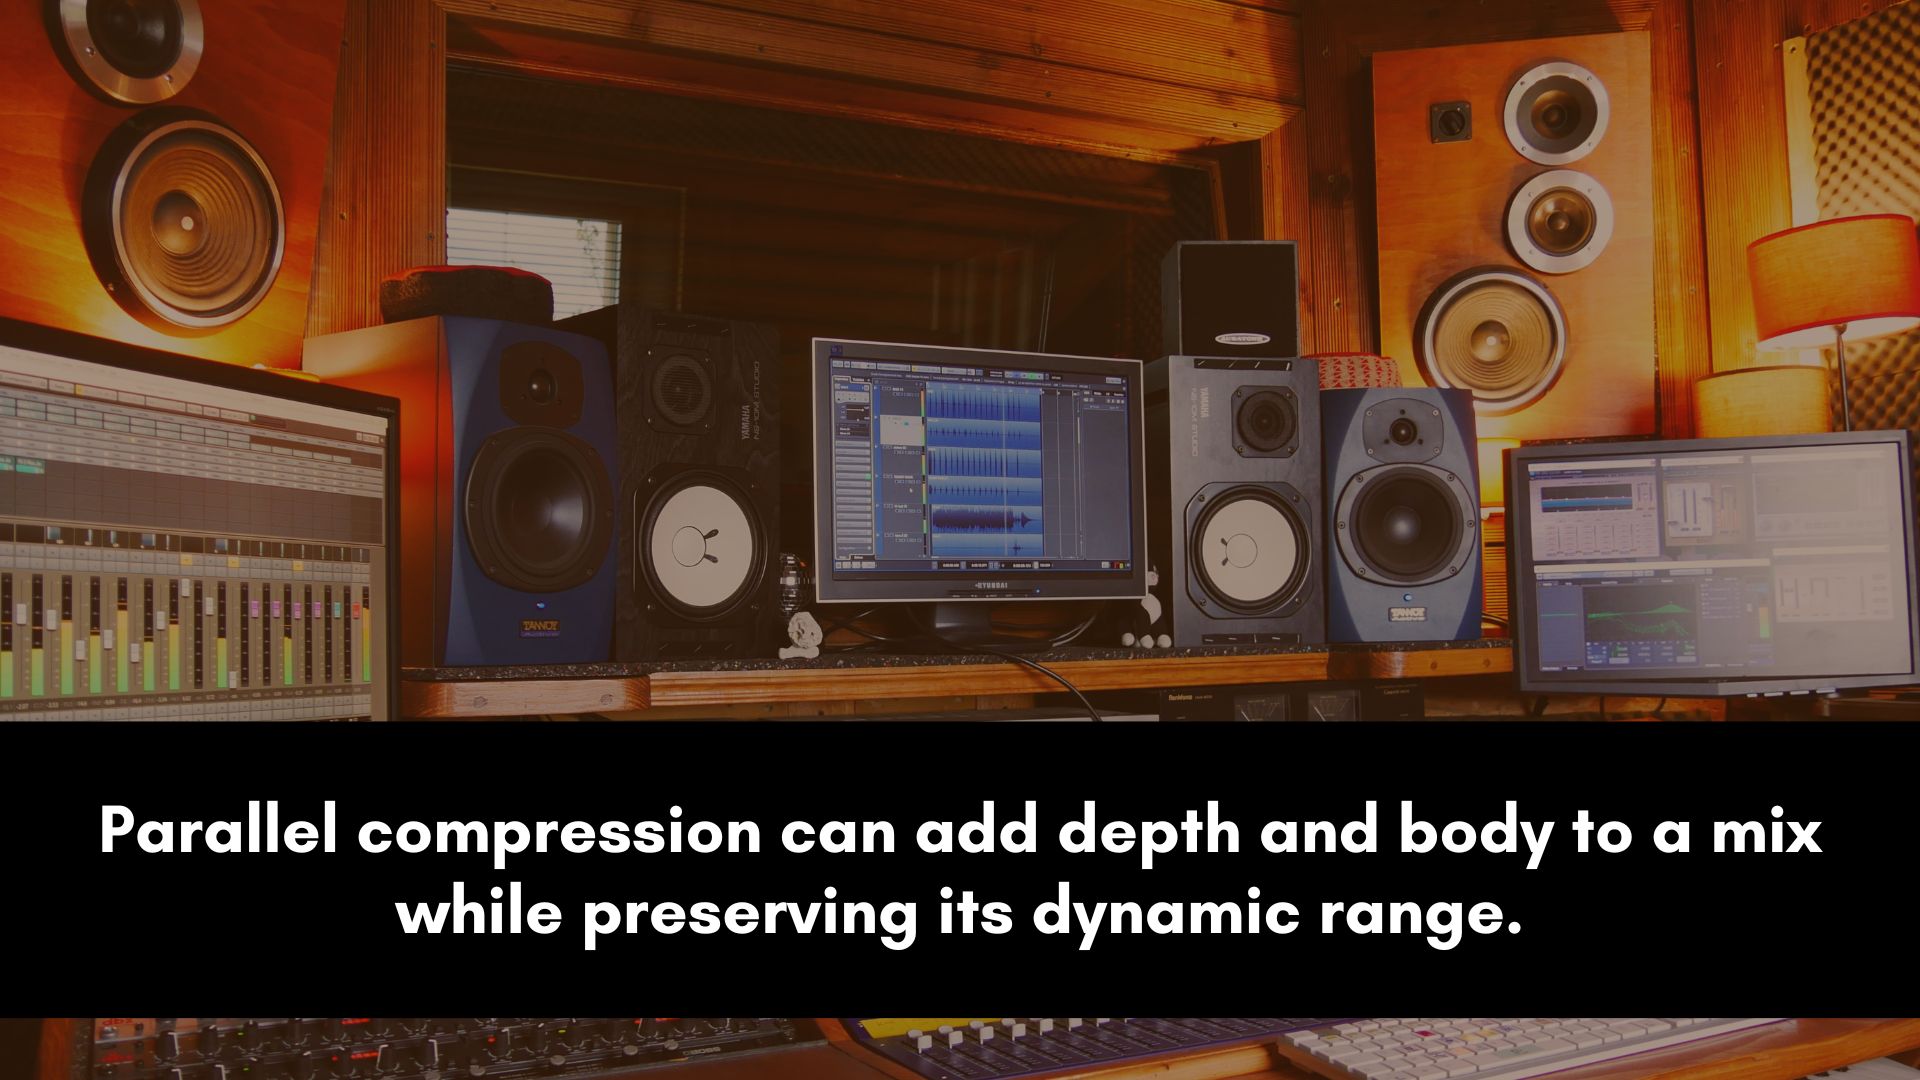
New York-style compression is a popular technique to add a sense of depth and warmth to a mix without sacrificing clarity or dynamics.
Here's a practical guide on how to use it in your mastering workflow:
Step 1 - Duplicate your mix: The first step is to create a duplicate of your mix on a new track. This duplicate will be used for parallel compression.
Step 2 - Insert a compressor: Insert a compressor on the duplicate track and set it to a high ratio, such as 4:1 or 8:1. You can also adjust the threshold, attack, and release settings to your taste.
Step 3 - Blend the compressed signal: Now, it's time to blend the compressed signal with the original mix. Use the fader on the duplicate track to adjust the level until you achieve the desired amount of compression.
Step 4 - EQ if necessary: Depending on the material, you may want to use an EQ on the duplicate to shape the sound further. For example, you can boost the low-end to add weight or cut the high-end to reduce harshness.
Step 5 - Adjust the mix balance: Finally, adjust the overall mix balance to ensure the parallel compression doesn't overwhelm the original mix.
Simultaneous Expansion and Compression
Simultaneous expansion and compression is a technique that can be used to bring out the dynamics of a mix without affecting its overall loudness.
This technique is especially useful when you want to add more punch and presence to a mix.
To use simultaneous expansion and compression, start by adding an expander. The expander will increase the dynamic range of the mix by boosting the level of quieter signals.
Set the expander's threshold to a point where it only affects the quieter elements of the mix, and adjust the ratio to achieve the desired effect.
Next, add a compressor to the mix and set its threshold to a point where it only affects the louder elements of the mix.
This will help bring down the peaks of the mix and make it more balanced. Adjust the ratio and attack/release settings to achieve the desired effect.
Finally, balance the levels of the expander and compressor to achieve the desired amount of dynamic range and overall loudness.
It's important to note that this compression technique should be used sparingly and with caution, as it can easily introduce unwanted artifacts and affect the clarity of the mix.
De-essing
De-essing is an essential part of mastering as it helps control harsh "s" and "sh" sounds that can be distracting and unpleasant to the listener. This process can also be used to tame harsh cymabls, hi-hats, tambourine, etc.
Here's a practical guide on how to de-ess during mastering.
Identify the problematic frequency range: First, you need to find the frequency range that is causing the harshness in the mix. This range is typically between 5 kHz and 8 kHz.
Insert a de-esser plugin: Next, insert a de-esser plugin. There are various de-esser plugins available, but they all work similarly by reducing the gain of the problematic frequency range when it exceeds a certain threshold.
Adjust the threshold: Set the threshold to trigger the de-esser when the harsh frequencies exceed a certain level. You can start with a moderate threshold and fine-tune it based on your ears.
Adjust the frequency range: Some de-esser plugins allow you to adjust the frequency range you want to target. Narrow down the range to only affect the problematic frequencies.
Adjust the amount of gain reduction: It's important to use moderation when applying gain reduction with de-essers. Too much gain reduction can make the vocals sound dull and lifeless. Aim for a reduction of around -1 to -3 dB.
Check for artifacts: Finally, listen to the track and check for any artifacts that may have been introduced by the de-esser. Make any necessary adjustments to ensure everything sounds natural and transparent.
Reduce Resonances
Resonances are common problems that can cause certain frequencies to become too prominent.
The good news is that with the right tools and techniques, you can effectively reduce resonances to achieve a smoother, more balanced tone.
One of the most effective tools for reducing resonances during mastering is a dynamic equalizer.
With a dynamic EQ, you can target specific frequency ranges that are causing problems and apply targeted cuts or boosts to smooth out the sound.
To get started, first identify which frequencies are causing the problems.
You can use a spectrum analyzer or listen carefully to the mix to identify problem areas. Once you have identified the problematic frequencies, use a dynamic EQ to apply targeted cuts.
For example, if you have a resonance at 2 kHz, you can apply a cut of around 2-3 dB in that frequency range. The key is to be precise and not overdo it, as too much cutting can mess with the overall frequency balance.
Another tool that can be extremely helpful in reducing resonances is the Soothe2 plugin.
Soothe 2 is a dynamic resonance suppressor; it's particularly suitable at taming frequencies and a real game-changer in terms of controlling resonant peaks.
By following these steps, you can achieve a clean and polished master all the time.
Take the guesswork out of compression! Download our FREE Compressor Cheat Sheet below and start mixing and mastering like a pro today.
