Are you tired of your electric guitar sound not sitting perfectly in a mix or taking up too much space?
If so, you're not alone!
Many beginner engineers face this challenge and wonder how to make their guitar sound more compact and focused.
Today we dive deep into the world of guitar compression.
Learn everything about how it works and some practical tips for compressing your electric guitar to achieve any type of sound you want.
How To Compress an Electric Guitar
To master the art of compression, it is crucial to visualize the final results.
Basically, you have to listen to the entire song, find what’s missing, and then use compression to achieve the result you pictured in your head.
So, start thinking about whether you want the guitar to sound punchy, do you want more control, are you going for smoothness, etc.
That’s how you eliminate guesswork.
In the next section of this guide, I’m going to show you how to achieve any particular result so that you don’t get stuck when mixing electric guitars.
Making an Electric Guitar Sound Aggressive
If you're looking to make your electric guitar aggressive, compression can be a powerful tool in your arsenal.
It can create a more consistent and powerful guitar sound, allowing it to cut through the mix and grab the listener's attention.
To achieve that, you’ll need a slow attack, a fast or medium release, and a low ratio. The gain reduction will differ based on the dynamic range.
Basically, what the compressor will do is reduce the decay of the guitar, which makes the attack perceived as being loud (or aggressive).
To make things a bit easier for you, here’s a solid starting point.
- Ratio: 3:1
- Attack: slow (30 ms or more)
- Release: fast to medium (1 ms - 15 ms)
- Gain Reduction: around -2 dB to -5 dB
- Knee: Soft
- Type: VCA Compressor
Making Your Guitars Sound Smooth
Since clean guitars tend to be transient-heavy, they don’t fit well in chilled songs because they tend to become too aggressive.
In this case, you’ll need to use compression to make the guitars sound smoother so that they can complement the rest of the instrumentation and vocals.
The goal here is to tame the transients. The compressor will reduce the transients and then leave the decay unaffected.
To achieve that, you normally need to apply a fast attack, a fast release, and a high ratio.
Here’s a good guideline to help you get started.
- Ratio: 5:1 to 8:1
- Attack: super-fast (5 ms)
- Release: fast (10-20 ms)
- Gain Reduction: Initially, you should push the threshold to only affect transients. Once you start affecting quiet notes, you should reduce the threshold.
- Knee: Hard
- Type: FET Compressor (an Opto compressor can also work if the transients are not too heavy)
Getting a Consistent Sound
Dynamic range compression is used when you want to control a huge dynamic range. You apply this style of compression when you want to reduce a huge difference between the loud and quiet parts of the guitar.
No matter how good your guitar-playing skills are, no one can play each note at the same volume throughout the entire song.
This is why we use dynamic compression to fix those human imperfections.
The goal is never to make each note exactly the same volume; that will sound unnatural.
You just want to be able to hear each note clearly through the entire song without always wanting to reach for the volume.
What you’re going for in this situation is a fast-to-medium attack, a medium release, and a medium-to-high ratio.
- Ratio: 4:1 or more in some cases
- Attack: fast to medium (5-15 ms)
- Release: medium (around 20 ms)
- Gain Reduction: Make sure that the threshold is pushed so as to affect everything except the quiet notes.
- Knee: Hard
- Type: Digital Compressor
Fix Minor Inconsistencies
In a case where the guitar is not too dynamic but struggles to cut through in the loud sections of the song, tonal compression is usually the answer.
It can also be used in genres such as jazz, where the musicians want the guitars to remain organic and a bit sloppy (in terms of volume).
Other artists just want the listener to experience their music as if it’s being played live. So, when the guitars are well controlled, it defeats that purpose.
With tonal compression, the goal is to add some musical tone to the guitar performance.
To achieve that, you need a medium-slow attack, a medium-slow release, and a small amount of ratio.
Here’s a good starting point.
- Ratio: 1.5:1 to 3:1
- Attack: medium to slow (15 ms or more)
- Release: medium to slow (20 ms or more)
- Gain Reduction: around -2 dB to -3 dB
- Knee: Soft
- Type: Digital Compressor
Creating Depth & Dimension
Parallel compression is basically blending the original track with a heavily compressed signal.
If the parallel track is not heavily compressed, then it defeats the purpose. The goal is to make the loud parts have the same volume as the quiet ones.
When you blend the two signals, you get more consistency, and it adds depth to your guitar. This results in a warm and rich guitar sound.
Parallel compression can also work well with tonal compression. In some cases, you might find that tonal compression is not enough, but you still want to keep things sounding organic.
In that situation, you can use both parallel and tonal compression to keep the volume consistent without overcompressing the original signal.
You can even take it a step further by automating the parallel track whenever the guitar is struggling to cut through.
Here are the settings for this style of compression:
- Ratio: 6:1 or more
- Attack: fast (5-10 ms)
- Release: medium to slow (20 ms or more)
- Gain Reduction: around -10 dB or more
- Knee: Hard
- Type: Any (choose one based on what you want to achieve [smoothness, aggression, warmth with tubes, etc.])
The Glue Factor
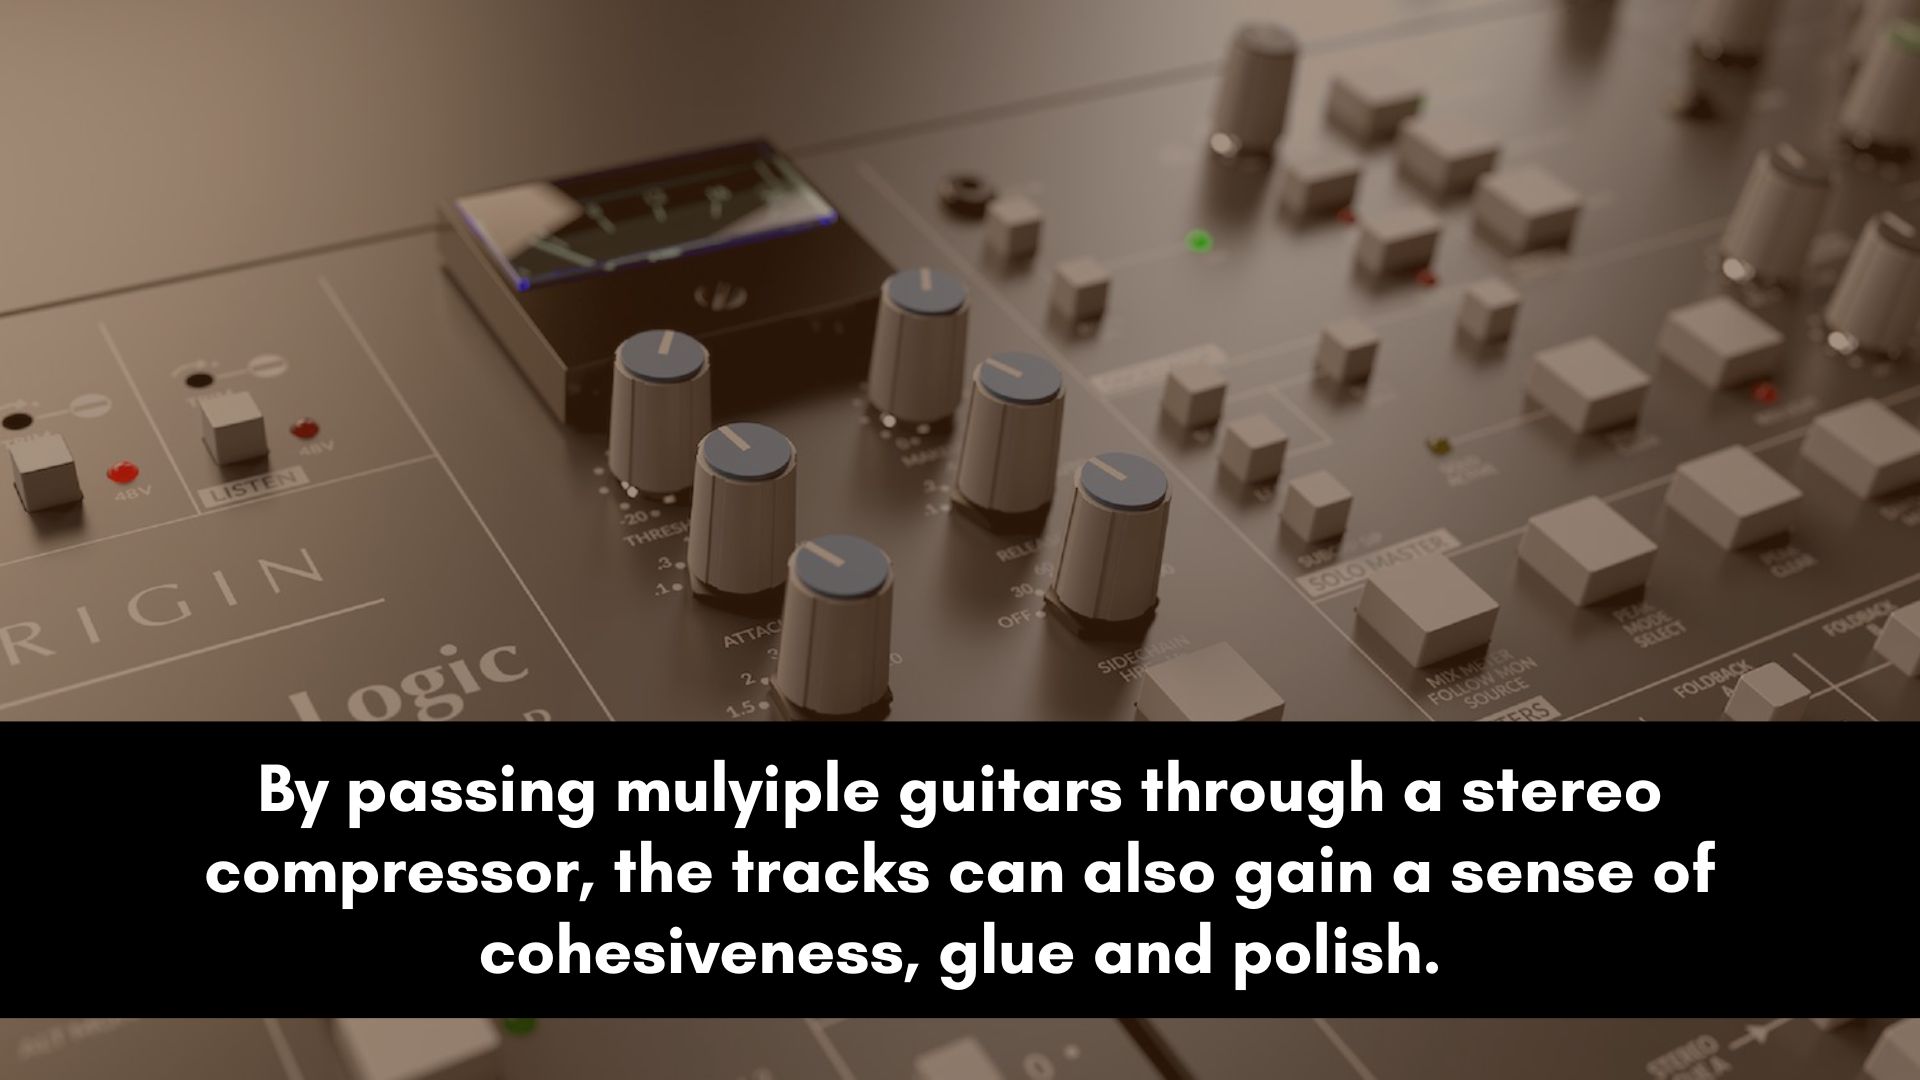
Guitar bus compression is used to blend various guitar parts into a single channel (auxiliary or group channel) so that they all pass through the same compressor.
This process will glue all the guitar tracks together so that they don’t sound incoherent in the mix.
However, if you just have 1, 2, or 3 guitar parts that were all processed the same way, then bus compression is usually overkill.
The goal of glue compression is not to control dynamic range. It’s recommended to focus on the tone and make the different guitar parts sound like one.
Not all compressors are designed for this process. The results you want to achieve are the ones that will determine the most suitable type of compressor.
If you want all your guitars to sound aggressive, a VCA is often the best choice. For a smooth and warm sound, a compressor with tubes should give you those results.
Some engineers also recommend Opto compressors. You can try them to get a feel for how they sound.
I tend to stay away from Opto or FET compressors for bus compression. But guitar mixing is an art; you can always experiment and be creative.
Here are some settings to help you get a good starting point.
- Ratio: 1.5:1 to 2:1 (feel free to go up to 4:1 whenever necessary, but this is usually overkill)
- Attack: slow (30cms or more)
- Release: fast to medium (5cms to 20cms)
- Gain Reduction: -1d B to -4 dB
- Knee: Soft
- Type: Tube or VCA compressor
Sidechain With Vocals
Sidechain compression is an old technique that comes from the radio industry. It’s used to make the music quieter whenever the host starts speaking.
Without sidechain compression, the producer or engineer would have to manually lower the volume every time the host spoke over the music.
So mixing engineers adopted this technique to fix frequency masking, and then this evolved into various creative ways such as sidechain reverb and pumping.
In this tutorial, we’ll only focus on frequency masking. Sidechaining can be used to avoid frequency overlap between the vocals and guitars.
Usually the guitar and vocal will clash in the upper midrange. These are frequencies around 1.5 kHz to 3 kHz.
Some recordings may go higher or lower in the frequency spectrum. You can use a frequency analyzer as a guide to reduce guesswork.
iZotope Neutron has a tool called “Unmask” that you can use to locate where two sounds are masking each other.
Once you’ve located the frequency range where the vocals and guitar are clashing, you can use a dynamic EQ or multiband compressor to duck the guitars whenever the vocals kick in.
The reason you don’t want to use a single-band compressor is because it will duck the entire guitar signal (all the frequencies).
The goal here is to fix the problematic frequencies without changing the timbre and tone of the guitar. This is great because whenever the vocals are not playing, the guitar becomes present and fills in the gap.
You can use this technique for any sound that clashes with your guitars; it doesn’t only have to be vocals. It could be synthesizers, brass instruments, or any other sound.
Fix Tonal Inconsistencies
Multiband compression is used if you want to fix dynamic changes in terms of frequency response.
Guitar tracks are usually dynamic, meaning the notes change over time. This can create inconsistencies, especially in the lower midsection.
So to keep the tone of the guitar consistent throughout the entire song, you can use a multiband compressor it will keep things tight and uniform.
Compressing Distorted Electric Guitar
Due to the fact that distortion tames down transients and reduces dynamic range, it’s rare to find a situation where you need to apply compression to distorted guitars.
So in most cases, these types of guitars don’t need any compression.
The only time one would add a compressor to distorted guitars is if they wanted to glue multiple guitars together. Glue compression makes your guitars sound cohesive.
Another reason you would want to compress distorted guitars is if you want to change the envelope. Maybe you just want to use the compressor to bring up the attack for more punch or increase the decay.
You can also add compression for character; this is also rare because these guitars already have harmonics and all the attitude you get from compressors and distortion units.
So I would stay away from compression and saturation tools when it comes to mixing distorted guitars.
Learn more about compression by downloading my compression cheat sheet below.
