The secret weapon behind world-class drum mixes.
If you've ever wondered how top engineers achieve that tight, balanced sound, wonder no more.
In this blog post, we'll demystify the art of drum bus compression, providing you with practical insights and expert techniques to banish the guesswork from your mixes.
Get ready to harness the power of compression and unlock the full potential of your drum tracks.
Prepare to be amazed as your mixes reach new heights of clarity and impact.
Drum Bus Compression Settings (Step-by-Step)

When it comes to mixing drums, getting the drum bus compressor settings right is crucial for achieving a polished mix.
Failing to do so can result in a muddy, unbalanced sound or an overly squashed sound.
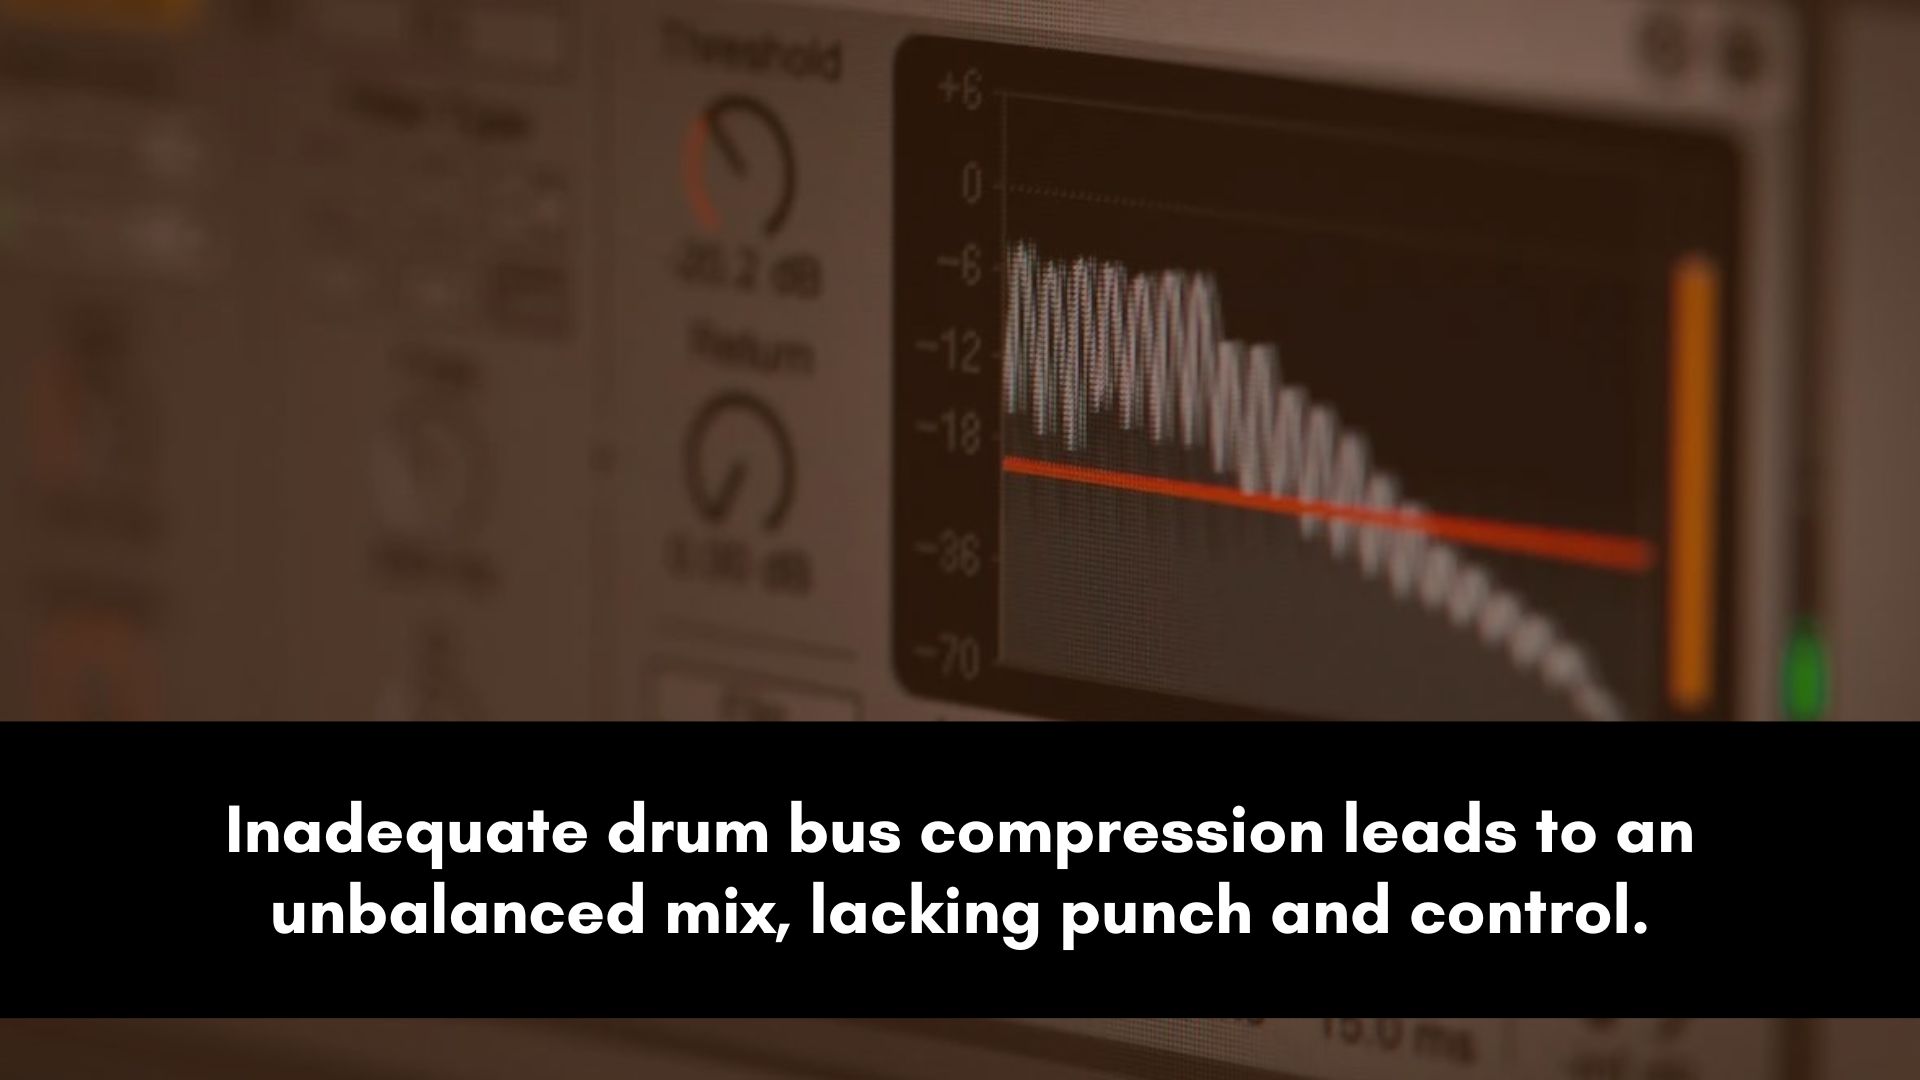
Inadequate compression fails to control peaks, resulting in an unbalanced and weak sounding drums.
Conversely, finding the sweet spot enhances cohesion, power, and clarity, elevating the drums to the forefront of your mix.
Step 1: Choose the Right Compressor Plugin
Choosing the right bus compressor plugin is the initial stage when preparing to enhance the dynamics of drums in a mix.
Look for a plugin that offers a user-friendly interface and provides precise control over various parameters.
Check for options such as attack, release, threshold, ratio, and makeup gain.
Many DAWs come with built-in compressors that are well-suited for drum bus compression.
However, exploring third-party plugins can provide additional flexibility and unique features.
Take the time to try different plugins to find one that suits your workflow and sonic preferences.
Step 2: Route Drum Tracks to a Bus
Routing your drum tracks to a bus is essential for applying compression collectively.
Create a new auxiliary or group track in your DAW and assign it as the destination for all your drum tracks.
This way, you can control the compression settings for all the drums as a cohesive unit.
To route the tracks, find the output settings of each drum track and set them to send the audio signal to the drum bus.
Ensure that the bus is receiving audio properly by monitoring its input levels.
Step 3: Adjust Drum Bus Levels
Before diving into compression, it's crucial to set the appropriate levels for the drum bus.
Make sure the overall volume of the drum tracks is balanced and sits well in the mix.
Use the faders or gain controls on the individual drum tracks to achieve a good starting point.
Pay attention to the relative levels of each drum element to maintain clarity and avoid overloading or digital clipping.
Step 4: Set Attack and Release Time
The attack and release settings on the compressor play a vital role in shaping the drum sound.
Finding the right settings can be a matter of trial and error.
For instance, if you want to emphasize the initial transients of the drums, set a faster attack time.
If you want the compressor to respond more smoothly, increase the release time.
A good starting point is usually a slow attack (around 30 ms+) and a fast release (around 50 ms).
Continuously adjust these parameters while listening to how they affect the drum sound until you achieve the desired balance.
Step 5: Adjust the Threshold and Ratio Settings
The threshold and ratio settings are critical for controlling the amount of compression applied to the drum bus.
Start by setting a moderate threshold level to catch the louder peaks and gradually increasing the ratio until you achieve the desired amount of compression.
A ratio of 2:1 to 4:1 is usually more than enough to control the loudest peaks.
Aim for transparent compression that maintains the natural dynamics of the drums without sounding overly squashed or lifeless.
Carefully listen to how the threshold and ratio settings interact with the drum mix, making adjustments as needed to find the sweet spot that enhances the drum sound while preserving its character.
Remember, the process of setting up drum bus compression is not set in stone.
It requires experimentation, careful listening, and a willingness to adjust the parameters based on the specific needs of your mix.
Make incremental changes, and take the time to fine-tune the settings until you achieve a balanced and professional drum sound.
Additional Tips

Here are some helpful tips and techniques that will help you take what you've just learned to the next level.
Use Parallel Compression for Added Control
Parallel compression, also known as New York compression, can be a valuable technique when applied to the drum bus.
This technique allows you to retain the natural dynamics of the drums while adding extra punch and sustain.
Experiment with different levels of parallel compression on your drums to find the right balance that suits your mix.
Experiment With Different Compressor Types
Not all compressors are created equal, and each one has its own sonic characteristics.
Explore different compressor types, such as optical, VCA, or tube compressors, to find the one that imparts the desired color and tone to your drum bus.
Each type has its own unique way of reacting to the incoming signal, which can significantly impact the overall sound.
Pay attention to the attack and release characteristics of each compressor type and how they affect the drums.
Some compressors will give you smooth and warm sound while others add punch and aggression.
Trust your ears and choose the compressor that enhances the desired qualities of your drum mix.
Compress Individual Drum Elements Before the Bus
In addition to applying compression to the drum bus, consider compressing individual drum elements before they reach the bus.
This approach allows you to fine-tune the dynamics of each drum track, addressing any inconsistencies or imbalances.
By compressing individual elements such as kicks, snares, and toms, you can ensure they have a consistent level and impact.
This can be especially useful if certain drum elements require specific attention or have unique characteristics.
Apply compression to each element with care, keeping in mind the overall balance and cohesion of the drum mix.
Common Mistakes to Avoid

Here are a couple of mistakes you need to avoid to make sure that you get the best results.
By being aware of these common mistakes and avoiding them, you can ensure that you get a transparent sound and enhance the overall impact of your drums.
Overcompressing the Drum Bus
One common mistake is applying too much compression, resulting in an unnatural and overly squashed sound.
It's essential to strike a balance and maintain the natural dynamics of the drums.
Avoid setting excessively high ratios or extreme compression thresholds.
Instead, aim for subtle compression that enhances the drum sound without sacrificing its clarity and punch.
Continuously monitor the effect of compression on the overall mix and make adjustments accordingly.
Ignoring the Mix Context
Another mistake is overlooking the context of the entire mix.
It's crucial to consider how the drums interact with other instruments and elements in the mix.
Pay attention to the overall balance, ensuring that the drum compression blends seamlessly with the rest of the tracks.
Be mindful of the relative levels and dynamics between the drums and other instruments to achieve a cohesive and well-integrated song.
You can also reference your mix against other professional recordings to ensure you're on the right track.
Neglecting to Adjust Attack and Release
Neglecting to adjust these settings properly can lead to undesirable results.
Avoid leaving the attack time too fast, as it can cause the compression to react too quickly and attenuate the initial transients of the drums.
Similarly, setting an excessively long release time can result in a compressed sound that lacks energy and natural decay.
Take the time to fine-tune these settings, listening attentively to how they affect the drum dynamics and overall mix.
FAQ:
Should I compress the drum bus?
By applying compression to the collective drum tracks, you can control the dynamics, enhance the sustain, and create a more balanced mix.
Drum bus compression helps to even out the levels between different drum elements, ensuring that no particular drum overshadows the others.
It can also add punch and power to the overall drum sound, making it more engaging.
However, the extent of compression and the specific settings will depend on the desired outcome and the characteristics of the drum mix.
What kind of compressor do I need for a drum bus?
When choosing a compressor for your drum bus, it's important to consider the specific characteristics you're aiming for in your mix.
While there is no one-size-fits-all answer, several compressor types work well for compressing your drum bus.
VCA compressors are known for their transparent and precise control, making them a popular choice.
Tube compressors are often favored for their smooth and musical response.
Ultimately, the best compressor for your drum bus will depend on your personal preferences and the desired sonic outcome you wish to achieve.
How much should you compress a drum bus?
The amount of compression applied to a drum bus varies depending on the specific requirements of the song.
There is no fixed rule or preset value for the ideal amount of compression.
It is crucial to strike a balance between enhancing the drum sound and maintaining its organic dynamics.
The compression should be transparent, preserving the impact and nuances of the drums without sounding overly squashed or lifeless.
Start with conservative settings, gradually increasing the compression ratio until you achieve the desired control and "glue."