Are you ready to elevate your mixing game and achieve that professional sound?
Look no further.
Welcome to a comprehensive guide on mix bus compression.
We'll unravel the secrets behind dialing in the right settings every time, ensuring your mixes are cohesive, punchy, and full of life.
Say goodbye to guesswork and hello to the clarity and impact your mixes deserve.
Mix Bus Compression Settings

Getting the correct settings for the mix bus compressor is paramount for achieving a professional, polished sound.
Incorrect settings can result in a muddled mix lacking clarity, dynamics, and cohesion.
Too much compression leads to a lifeless, over-compressed mix, while insufficient compression fails to control dynamics.
Perfecting these settings ensures a balanced, impactful mix that captivates listeners.
Follow these steps to configure the settings effectively:
Placement in the Signal Chain
The mix bus compressor should be inserted as the last plugin in your master output channel or connected to the hardware insert of your mixing console.
This ensures that the compressor processes the entire mix, including all the tracks and effects, before reaching the final output.
Choosing the Right Compressor
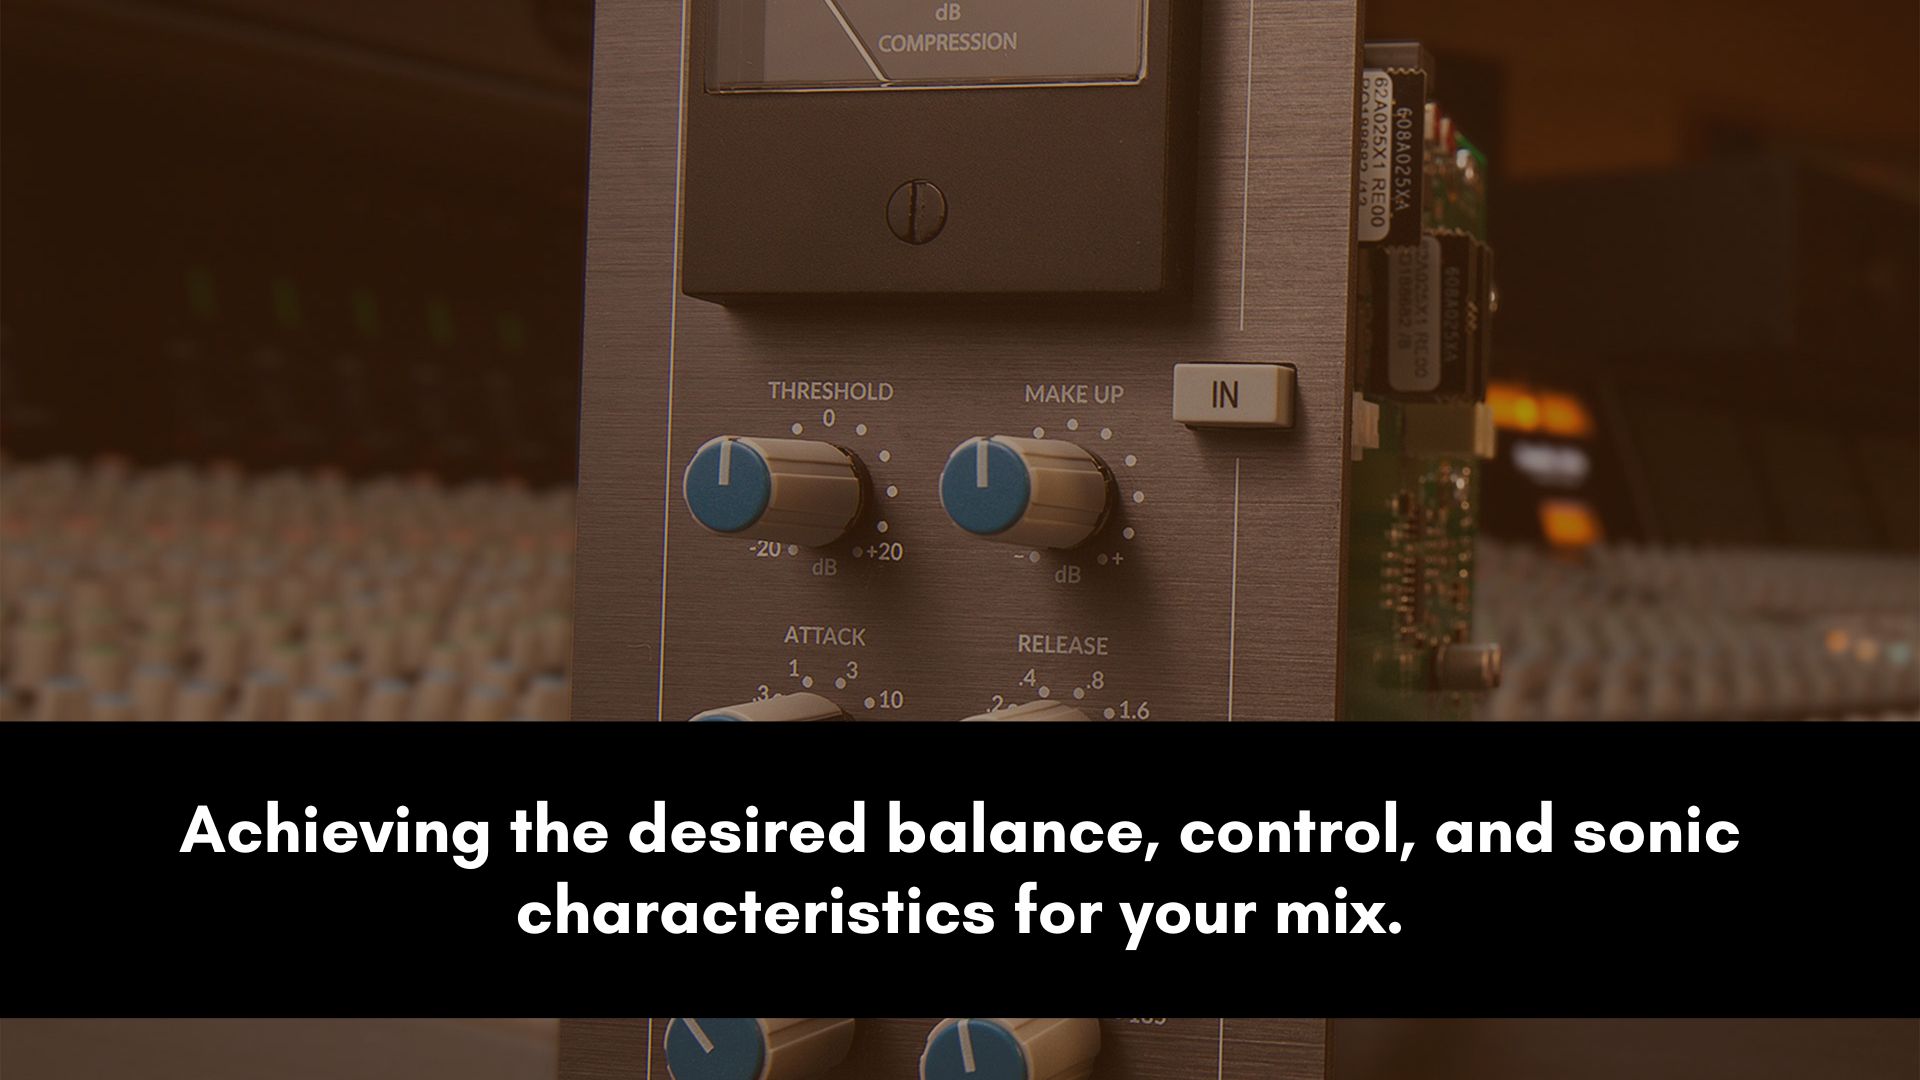
Choosing the right mix bus compressor plugin (or hardware unit) is crucial to achieving the desired balance, control, and sonic characteristics for your mix.
Look for a mix bus compressor that can effectively handle the dynamic range of your mix without introducing unwanted artifacts or distortion.
It should be able to tame peaks and bring up the quieter elements of the mix without sacrificing clarity or transparency.
Decide whether you prefer a transparent compressor that subtly controls the dynamics without significantly altering the tonal characteristics or if you want a compressor that imparts a specific color or character to the mix.
Transparent compressors are often used in genres like classical and jazz, while colored compressors may be preferred in genres like rock or hip-hop for added warmth or aggression.
Threshold and Ratio
Adjust the threshold so that the compression engages when the signal crosses a desired level.
Start with a moderate threshold setting to maintain some natural dynamics.
Aim for a gain reduction of around 2-4 dB as a starting point and then adjust the threshold to taste.
The ratio controls the amount of compression applied to the signal once it exceeds the threshold.
Higher ratios result in more intense compression. Begin with a ratio of around 2:1 or 4:1 for gentle compression.
For more pronounced compression, increase the ratio to 6:1 or higher, depending on the desired effect.
Using higher ratios is unusual, though, since the aim is not to squash the signal or make the effect obvious.
Attack and Release Settings
The attack time determines how quickly the compressor responds to the signal once it crosses the threshold.
A slower attack time can emphasize transients, while a faster attack time can smooth out the overall mix.
Experiment with different attack settings to achieve the desired balance between punch and smoothness.
The release time determines how long it takes for the compressor to stop attenuating the signal after it falls below the threshold.
A medium release time can result in more transparent compression, while a faster release time can create a more noticeable pumping effect.
Adjust the release time to match the tempo and energy of your mix.
Make-up Gain Adjustment
When applying compression, the overall level of the mix may be reduced.
To compensate for this, use the make-up gain control to boost the output level and maintain a consistent perceived volume.
Increase the make-up gain until the compressed mix matches the original level.
Remember, it's crucial to regularly monitor and A/B test your mix with and without mix bus compression to ensure you're achieving the desired results.
Experiment with different settings, but be mindful not to over-compress, as it can lead to a lifeless and unnatural mix.
Balance is key.
Continue reading to learn some additional tips that can take your audio mixes to the next level.
Valuable Tips and Techniques

To get the most out of mix bus compression, consider the following tips and techniques:
Enhancing Dynamics and Punch
To enhance the dynamics and punch of your mix, carefully adjust the threshold and ratio settings.
Start by setting a moderate threshold level to catch peaks, and then apply a ratio that provides noticeable compression without squashing the mix too heavily.
This technique helps bring out the impact of transients, such as drums and percussion, while maintaining a balanced overall sound.
Experiment till you find the sweet spot where the mix feels lively and energetic without sacrificing its natural dynamics.
The goal is to achieve a mix that grabs the listener's attention and delivers a powerful and impactful sonic experience.
Gluing the Mix Together
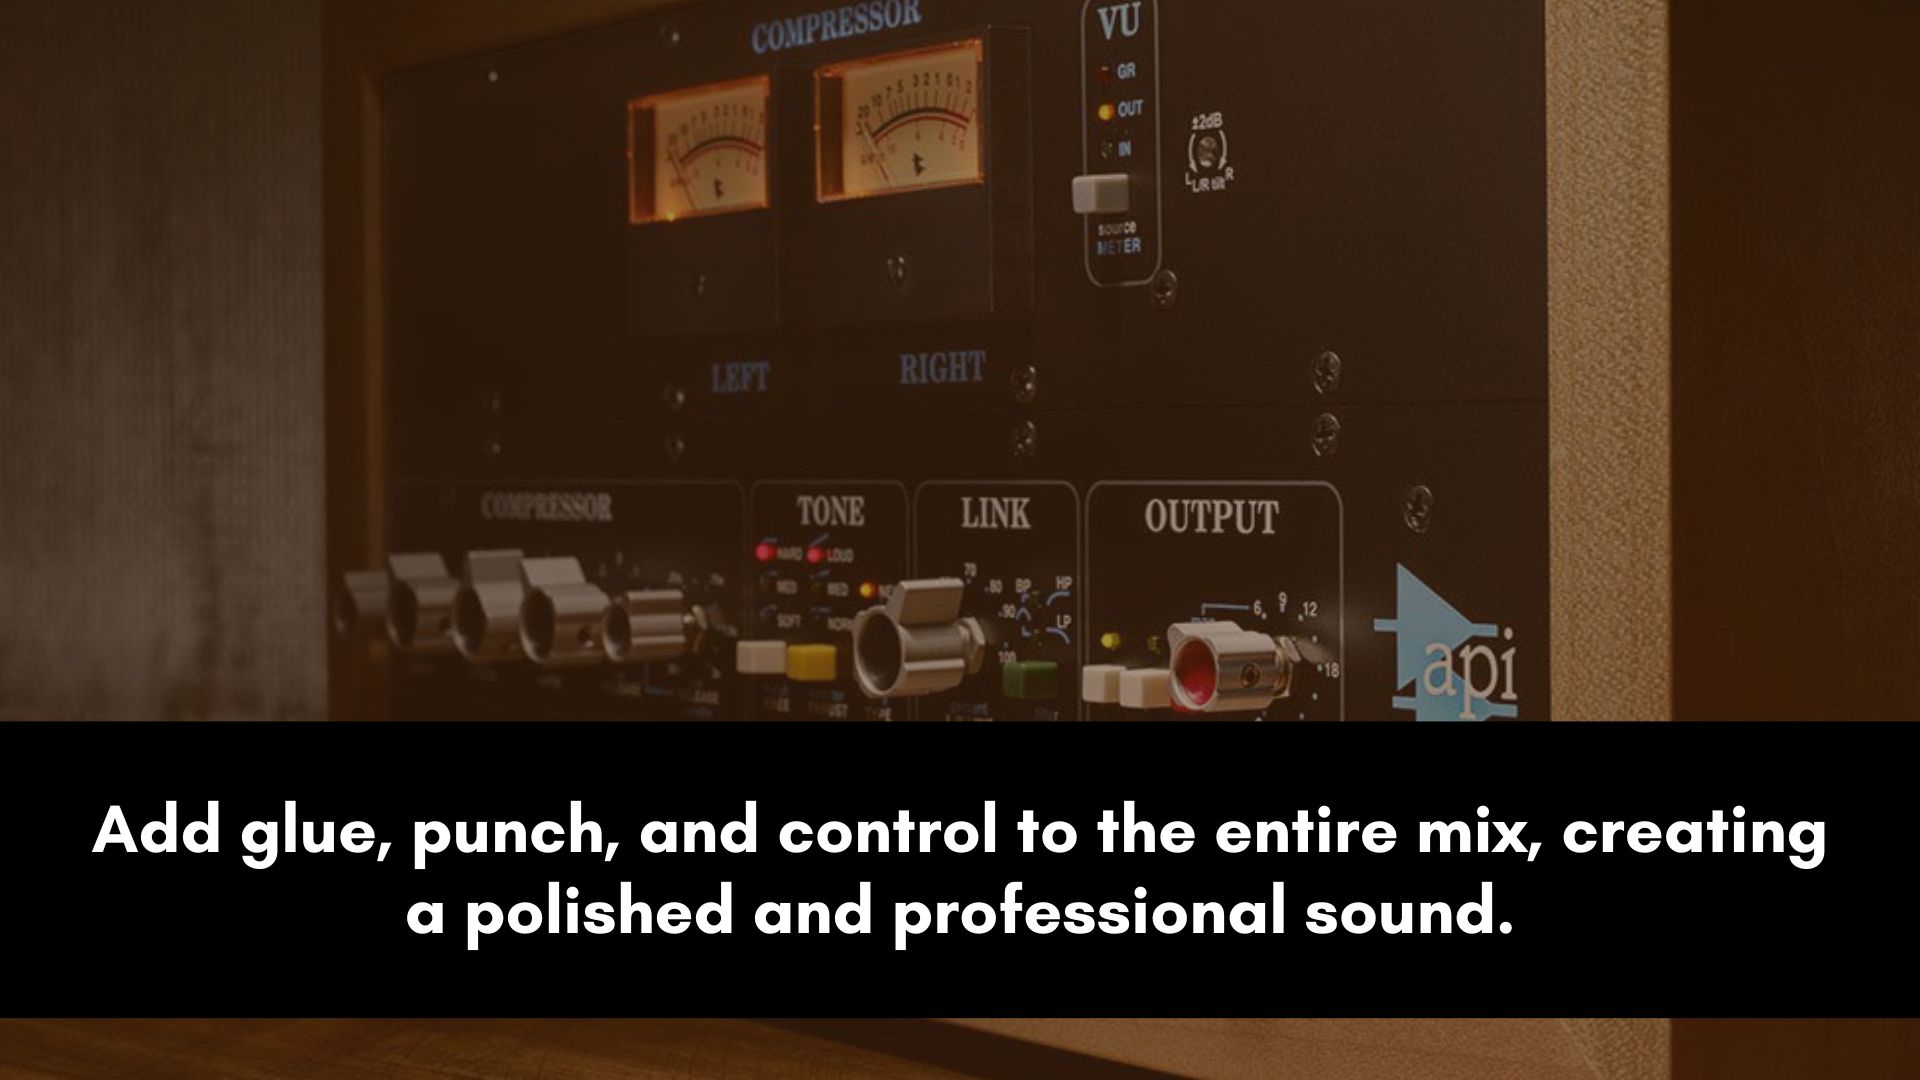
One of the primary purposes of mix bus compression is to "glue" the elements of your mix together, creating a cohesive and unified sound.
By applying gentle compression to the mix bus, you can subtly blend the individual tracks and instruments, making them sound like they belong together.
The compressor helps smooth out inconsistencies and levels between different elements, creating a seamless sonic bond.
This technique is particularly effective in genres like rock, where you want the drums, bass, guitars, and vocals to work together as a tight unit.
It adds a sense of cohesion and professionalism to your mix, making it sound polished and complete.
Avoiding Excessive Compression
While mix bus compression can bring many benefits to your mix, it's crucial to avoid excessive compression.
Over-compressing the mix can lead to a loss of dynamics, a flattened sound, and an unnatural mix.
Use your ears and exercise restraint to strike a balance between controlling dynamics and preserving the natural dynamics of the music.
Balance Individual Tracks
It's important to strike a balance between mix bus and individual track compression.
While mix bus compression can provide overall control and cohesion, individual track compression allows you to address specific dynamics and tonal issues on each track.
Consider using heavier compression on individual tracks and lighter compression for the mix bus, allowing for greater control and flexibility.
Remember, practice and experimentation are key to finding the right settings and achieving the desired results.
FAQ:
Should I compress the mix bus?
While mix bus compression can provide benefits such as controlling dynamics, enhancing cohesiveness, and adding character, it is not a mandatory step in every mix.
Some engineers prefer to apply gentle compression to the mix bus, while others opt for a more transparent approach.
Ultimately, it's important to trust your ears and make decisions based on the sound you're aiming to achieve.
Experiment with and without it to determine if it contributes positively to the overall balance and impact of your mix.
What kind of compressor do I need for the mix bus?
The ideal compressor for the mix bus should have the ability to handle the dynamics of your mix without introducing unwanted artifacts or distortion.
Look for a compressor that provides transparency and precise control over the dynamic range.
Compressors modeled after classic hardware units, such as SSL, Neve, or API, are often favored for their punch and glue-like effect.
However, there are also versatile software plugins available that offer a wide range of controls and options for shaping dynamics.
Ultimately, the best compressor for your mix bus will depend on your preferences, workflow, and the sonic goals you want to achieve.
Is mix bus compression the same as mastering compression?
Mix bus and mastering compression serve different purposes in the engineering process.
Bus compression is applied during the mixing stage and affects the entire mix, including all the individual tracks.
Its goal is to control the dynamics, enhance cohesiveness, and add a sense of glue to the mix.
On the other hand, mastering compression is applied during the mastering stage, which is the final step before distribution.
Mastering compression focuses on fine-tuning the overall mix to achieve a consistent and balanced sound across different playback systems.
It helps to optimize the dynamics, control peaks, and ensure the mix translates well on various platforms.
While both types of compression involve the use of compressors, their applications and objectives differ.
How much should you compress the mix bus?
It is generally recommended to apply mix bus compression in a subtle and transparent manner.
Light to moderate compression ratios, such as 2:1 or 4:1, are often a good starting point.
The threshold should be set to engage the compression gently, allowing the mix to breathe and maintain some dynamics.
Ultimately, the amount of should be determined by listening carefully and adjusting until the desired balance and impact are achieved.
