As a producer or mixing engineer, there's nothing quite like the sound of a perfectly tuned tom drum.
The satisfying thud and resonance can make or break a track, and as any seasoned musician knows, it is crucial to achieve that perfect tom drum mix.
With so many variables to consider, from drum size and material to playing style and mic placement, finding the ideal EQ settings can be a daunting task.
But fear not, because in today’s post, we're going to dive deep into the world of tone-shaping toms and explore the best settings to help you achieve that elusive, ear-catching sound you've been searching for.
How to EQ Toms Like a Pro
The tom drum is the heartbeat of any great drum kit, and getting the perfect frequency balance can take your sound from good to great.
In this module, we're going to break down the best settings for three different types of toms: floor toms, rack toms, and metal toms.
These techniques will help you achieve the perfect tom sound for any genre or style.
So grab your sticks, tune up your kit, and let's dive in!
Floor Tom EQ Settings

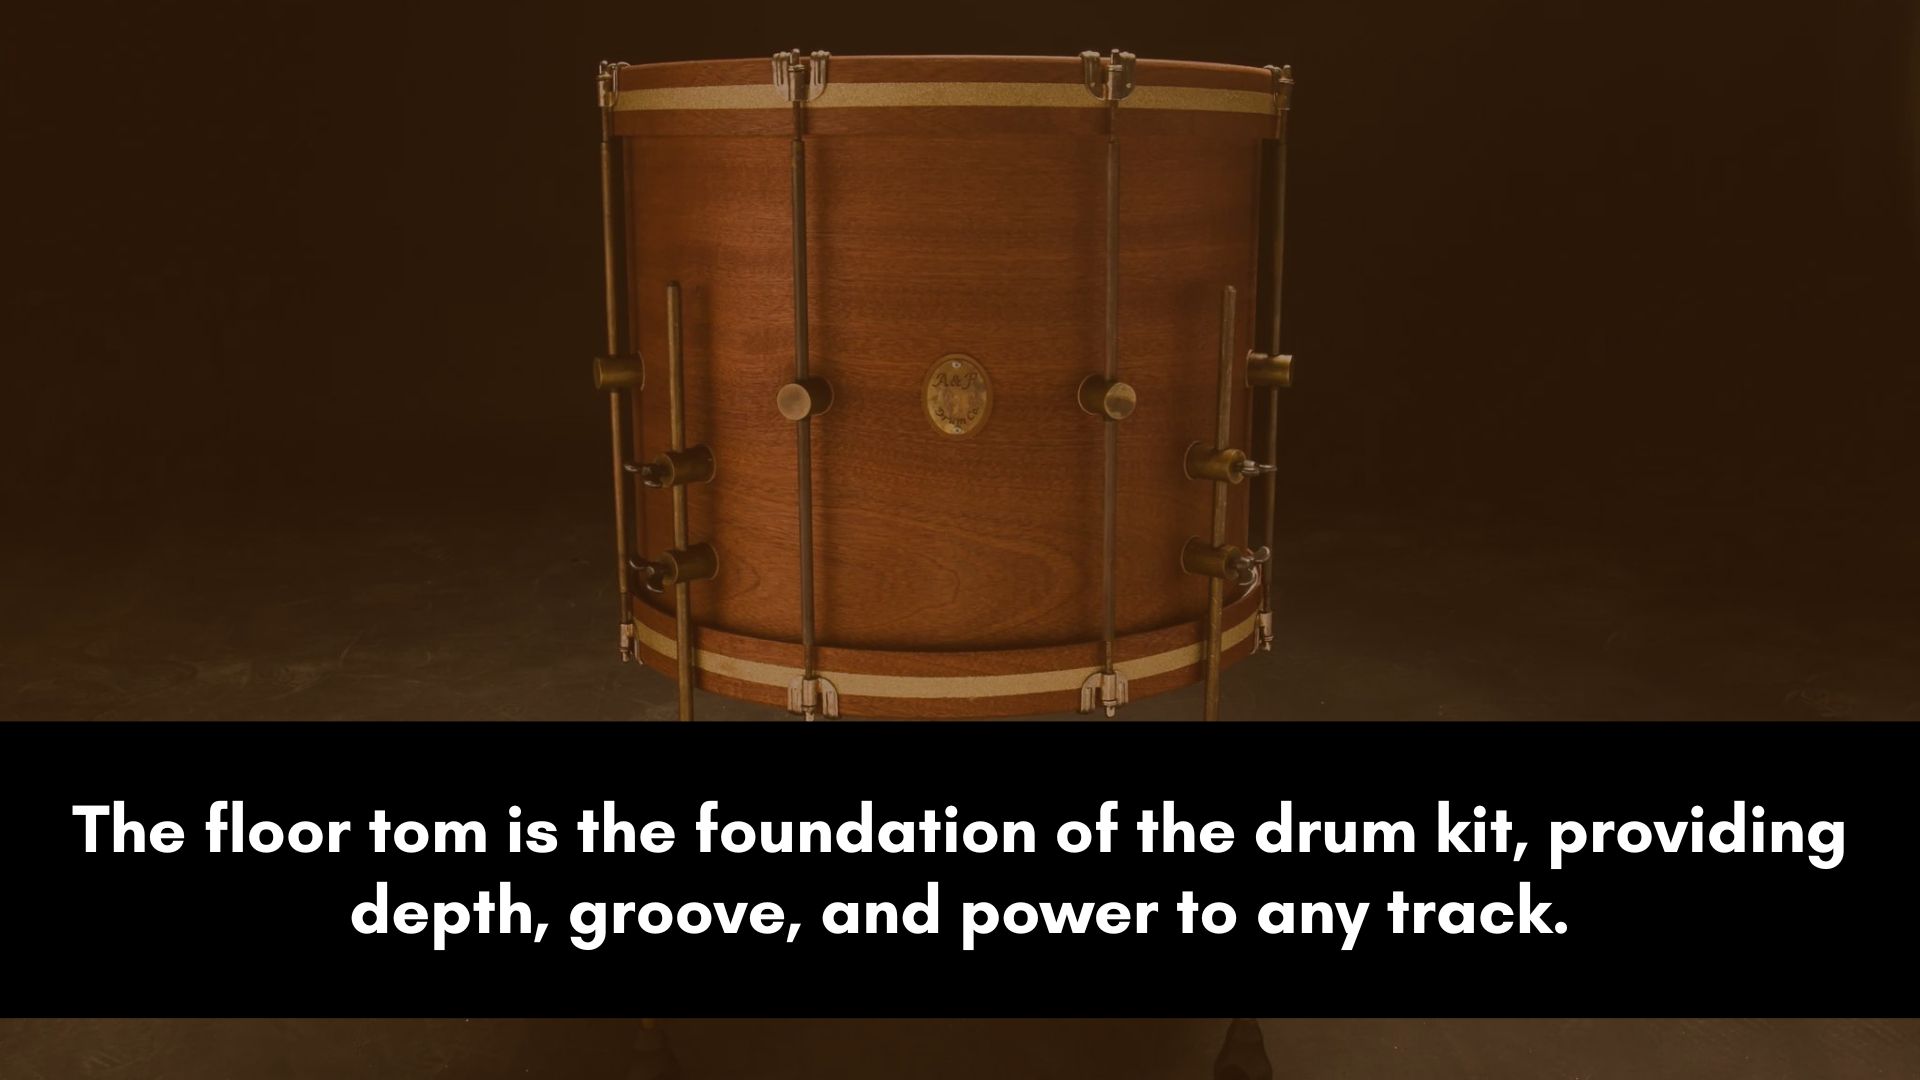
The floor tom is the foundation of the drum kit, providing depth, groove, and power to any track.
But if you’re not familiar with the frequency range of the floor tom, it can be really hard to get the perfect EQ settings.
To help you avoid guesswork, I’ll provide you with a cheat sheet to make the process easier.
Before diving into EQ'ing, start by checking if there are any phase issues and that your floor tom is properly tuned.
Use a drum key to tighten or loosen the drumheads until you achieve the desired pitch.
I wouldn’t recommend tuning live recorded drums since this is something you do before pressing the record button.
When it comes to samples, tune them to the key of the song (anywhere within the scale). Anything between 1-3 semitones should do the trick.
Floor toms produce a lot of low-end frequencies, so start by boosting the low frequencies on your EQ.
Start with a low-shelf filter and boost the frequency around 70 Hz to 90 Hz.
Increase the gain until you hear a satisfying thud, but be careful not to add too much, as it can mask the other low-end instruments.
If you’re working on a live recording, you might want to create a high-pass filter below 70 Hz to remove any rumble before boosting the bass frequencies.
Next, cut the mid-range frequencies to remove any muddiness.
Use a wide-band filter around 150 Hz to 300 Hz and gradually cut until the sound becomes clearer and more defined.
Finally, add some clarity and brightness to your floor tom by boosting the high-end frequencies. Create a high-shelf filter and boost around 4 kHz to 8 kHz.
This will add some presence to your floor tom, making it cut through the mix.
Remember to adjust the gain for each frequency band accordingly, depending on the characteristics of your specific floor tom and the overall sound of your mix.
Rack Tom EQ Settings

Rack toms are an essential part of any drum kit, providing depth, excitement, and character to any song.
But achieving the perfect sound for your rack toms can be a challenge for beginner mixing engineers, especially when it comes to EQ.
Here’s a cheat sheet to help you get a good start so that you don’t get stuck.
As with any drum mixing, checking phase and tuning your rack tom is crucial before EQ'ing.
Adjust the tension of the drumheads until you achieve the desired tone. If you’re working with samples, use pitch tools to set the key of your rack toms.
Rack toms produce a lot of low-mid frequencies, which provide them with their warmth and depth.
Create a wide-band filter between 150 Hz and 300 Hz and gradually increase the gain until you achieve the desired depth and fullness.
This is useful if they’re sounding too thin and you just want to add a bit of weight to them.
Be careful not to overdo it, as too much gain in this range can create a muddy sound.
To avoid a boxy sound, cut the midrange frequencies around 500 Hz to 800 Hz. Use a medium-band filter and gradually cut until you achieve a cleaner and more open sound.
If the rack toms are sounding muddy, create a medium-band cut around 250 Hz to 500 Hz to reduce the mud.
If the rack toms are lacking clarity and brightness, boosting around 6–10 kHz using a high-shelf filter can fix the problem.
This will help them cut through and add more presence.
Experiment and adjust the EQ settings to fit the specific needs of your track.
How to EQ Sample Toms

There is no one-size-fits-all answer to what the best EQ for sample toms is, as the EQ settings will depend on the specific needs of the track and the characteristics of the drums themselves.
However, here are some general guidelines that you can use as a starting point:
Boost the low-end frequencies: To add weight and impact to your samples, boost the low-end frequencies with a bell filter between 80 Hz and 120 Hz.
Cut the mids: To reduce any boxy or honky sound, cut the midrange frequencies around 400 Hz to 800 Hz.
Boost the high-end frequencies: To add some clarity and presence, boost the high-end frequencies with a high-shelf filter around 6 kHz to 10 kHz.
Remember, every drum and mix is unique, so these settings should be used as a guideline.
Test and adjust the EQ to fit the specific needs of your mix.
The best EQ settings will depend on the sound you're trying to achieve and the characteristics of the drums themselves.
Never do any EQ moves by default, only apply EQ when it's necessary and if it benefits the entire mix.