While mixing an electric guitar is not difficult, many of the more complex techniques can take some practice to master.
When you are just starting out, there are some basic practices you can follow.
If you follow these steps, you can avoid common mixing pitfalls and get started on your way to success.
They'll also provide a solid starting point for learning the fundamentals so that you can get a great-sounding guitar tone that fits perfectly in your mix.
Throughout the rest of this blog (website), we'll discuss these points in greater depth, but for now, let's get started.
How To Mix An Electric Guitar
The electric guitar is a crucial component in modern music production, lending its unique sound and versatility to a wide range of genres.
However, achieving the perfect mix for an electric guitar recording can often prove to be a challenge for beginners.
In this blog post, we will take a deep dive into the process of mixing an electric guitar, covering everything from tone shaping and compression to effects processing and more.
Whether you're a beginner or an experienced engineer, this guide will provide you with the tips and techniques needed to achieve a professional-sounding electric guitar mix.
Equalizing an Electric Guitar
The best way to get a great electric guitar tone is to separate the EQ into two different parts.
One part will be for surgical and the other will be for tonal enhancement.
This approach works perfectly for bad recordings.
You'll have much more flexibility when it comes to shaping the tone of the guitar.
A clean and transparent EQ can be used to remove any unwanted frequencies such as rumble, mud, harshness, etc.
For tonal EQ, that's when you can choose different EQs based on their character and how they affect certain frequencies.
This step is all about enhancing what's missing to help the guitar sit perfectly in the mix.
You can learn more about this approach in my blog post titled "How to EQ an Electric Guitar."
However, if you're going to be doing minor EQ adjustments, you can get away with using just one equalizer for both surgical and tonal EQ.
If you're creating one cut and two minor boosts, there's no need to do that in two stages.
You don't even have to worry about whether you should saturate or compress before EQ because it doesn't make a huge difference.
However, always feel free to experiment.
Adding Compression
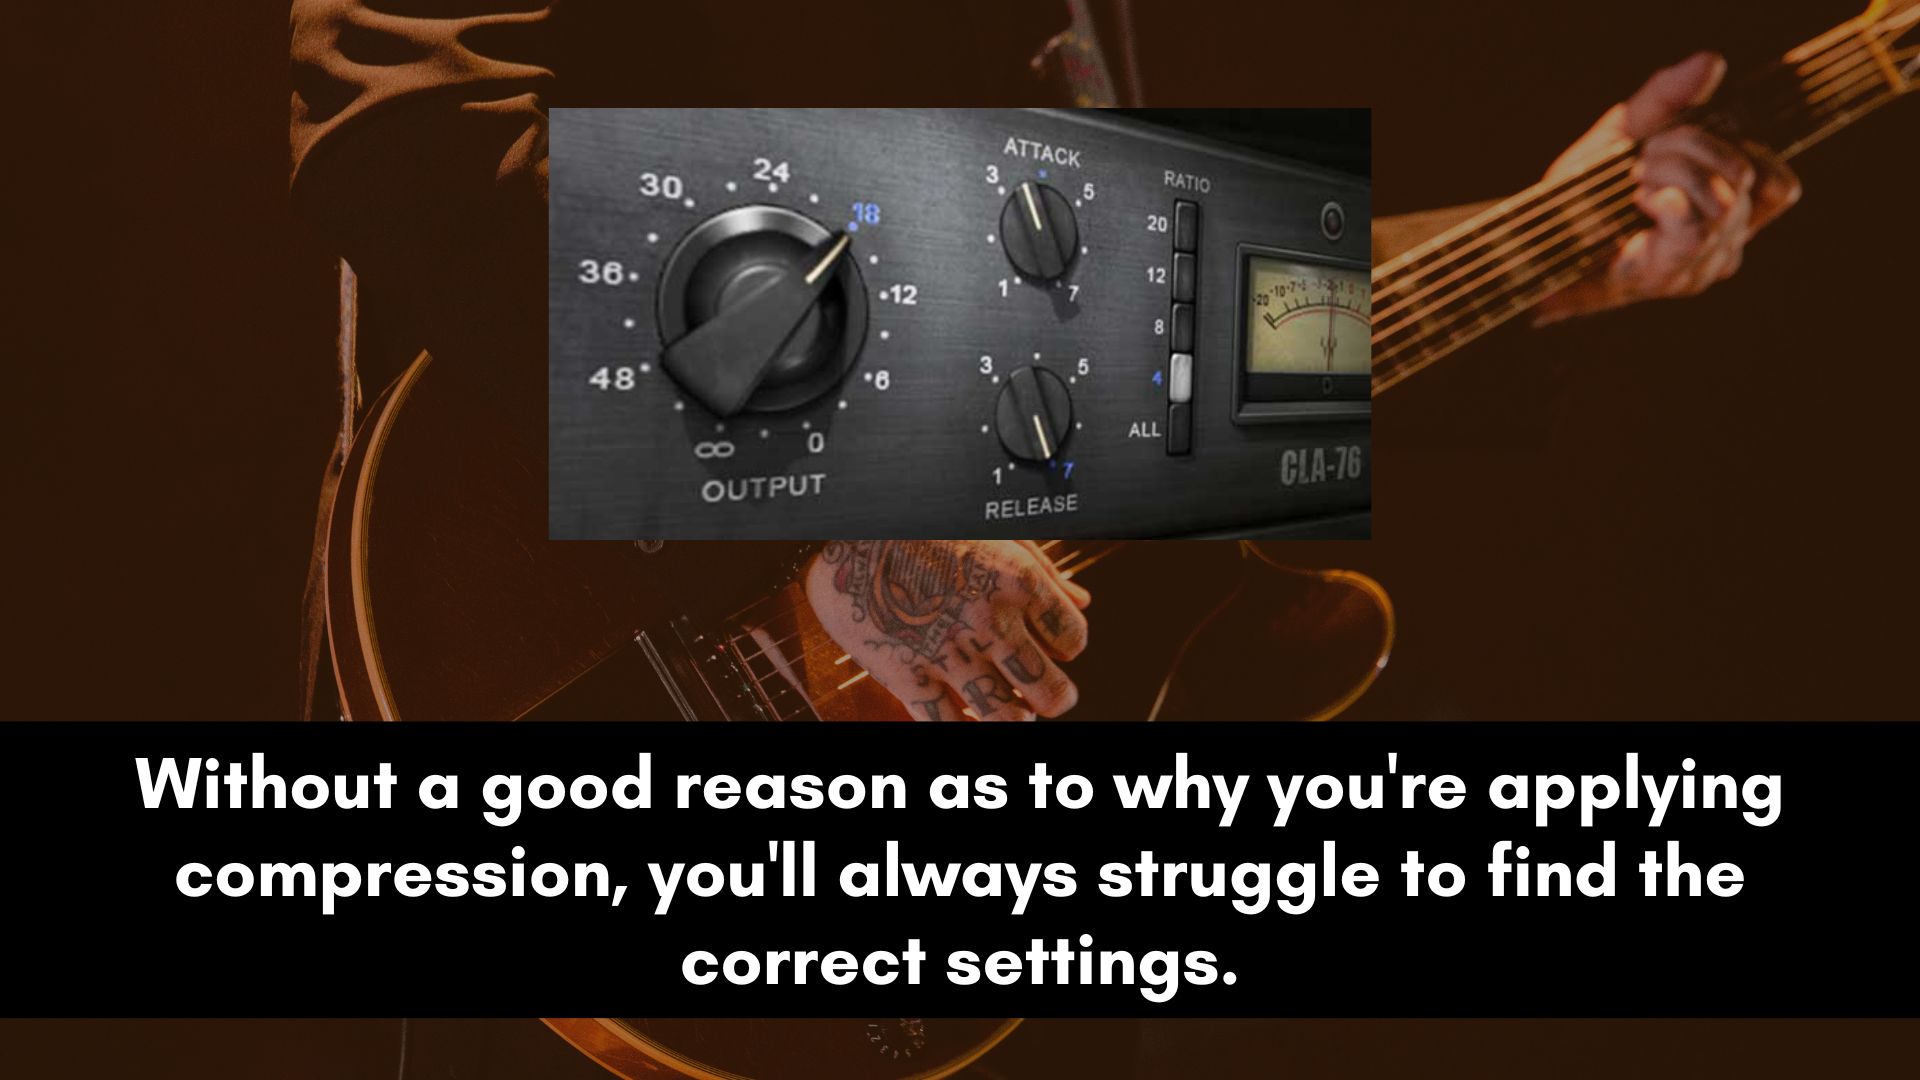
The one processing tool that most beginner engineers struggle with is compression. It can be a really hard tool to learn. But with the right teacher, you can learn it faster than everyone else.
The key thing is to understand that a transient is mostly around 50 ms long.
This means if you go over 50 ms on your compressor, you're no longer affecting the transients; you're now compressing the decay.
Once you master the attack, you can now determine if you want the guitar to be punchy (slow attack), smooth (fast attack), or somewhere in between with a medium attack setting.
From here on, you can now play around with the other parameters to shape the tone or control the dynamic range.
Another important thing is to know why you want to apply compression. The most common reasons are:
- Dynamic control
- Tonal control
- Controlling loud peaks/Transients (smooth)
- Emphasizing attack (punch)
Check out my new post "How to Compress Electric an Guitar" to get a better understanding about this stuff and more.
Without a good reason as to why you're applying compression, you'll always struggle to find the correct settings.
Tone Control With Dynamic EQ
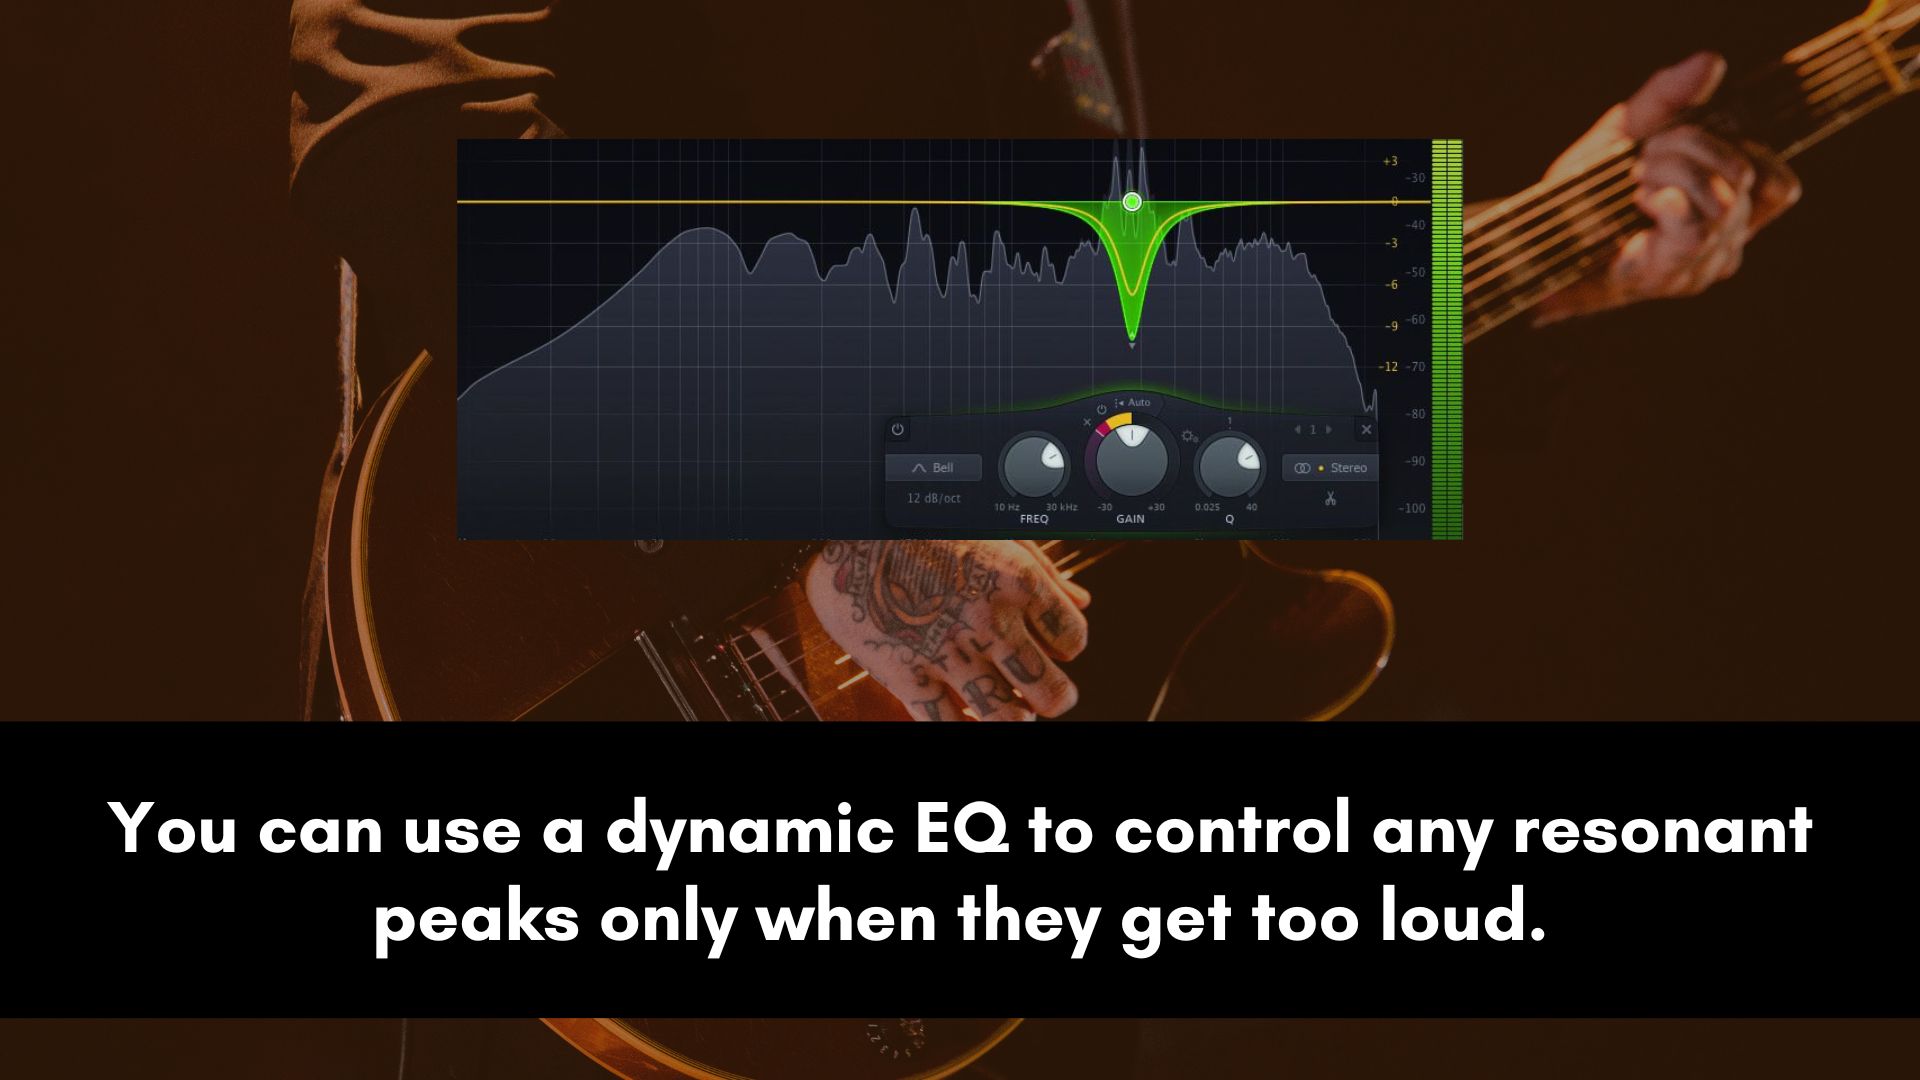
A dynamic EQ can be a powerful tool that can be used to help the guitar sit well in a mix. It can be used to solve problems, improve the tone, or even be creative.
Amateur recordings tend to have a lot of resonance peaks that will usually make an electric guitar sound harsh at loud volumes.
Fixing these peaks with a static EQ often changes the character of the sound and makes it dull.
The great news is that you can use a dynamic EQ to control any resonant peaks only when they get too loud.
When done right, it should sound transparent and keep the character of the sound intact.
When guitars are recorded with microphones that are on stands, they tend to have inconsistencies in their frequency response due to the guitarists moving during the performance.
You can use a dynamic EQ to fix these inconsistencies.
If you use a static EQ, you'll hear a certain problem (usually muddiness or harshness) occurring only in different parts of the song.
This can have your head spinning the whole day because the more you cut, the thinner the guitar will sound.
That's when you know that you need to fix the issue with a dynamic processor instead of a static one.
Or you can just insert Soothe 2 and call it a day.
Sidechain Effect
If there's a synth that's clashing with the guitar in a particular frequency, you can use a dynamic EQ or multiband compressor to duck the synth whenever the guitar kicks in.
This is crucial if the synth plays a section where there are no guitars playing.
The synth will have the needed punch and impact when it's playing on its own but pushed a bit back when the guitar kicks in.
However, if the synth and guitar are playing together throughout the entire song, then simply use a static EQ to reduce the frequencies that are clashing with the guitar.
There's really no need for dynamic processing since the problem happens throughout the entire mix.
Keep in mind that a guitar can clash with the vocals or any other sound in the mix besides a synthesizer.
I just used a synth as an example to explain why one would use sidechaining to create space for the guitar.
Adding Depth With Saturation
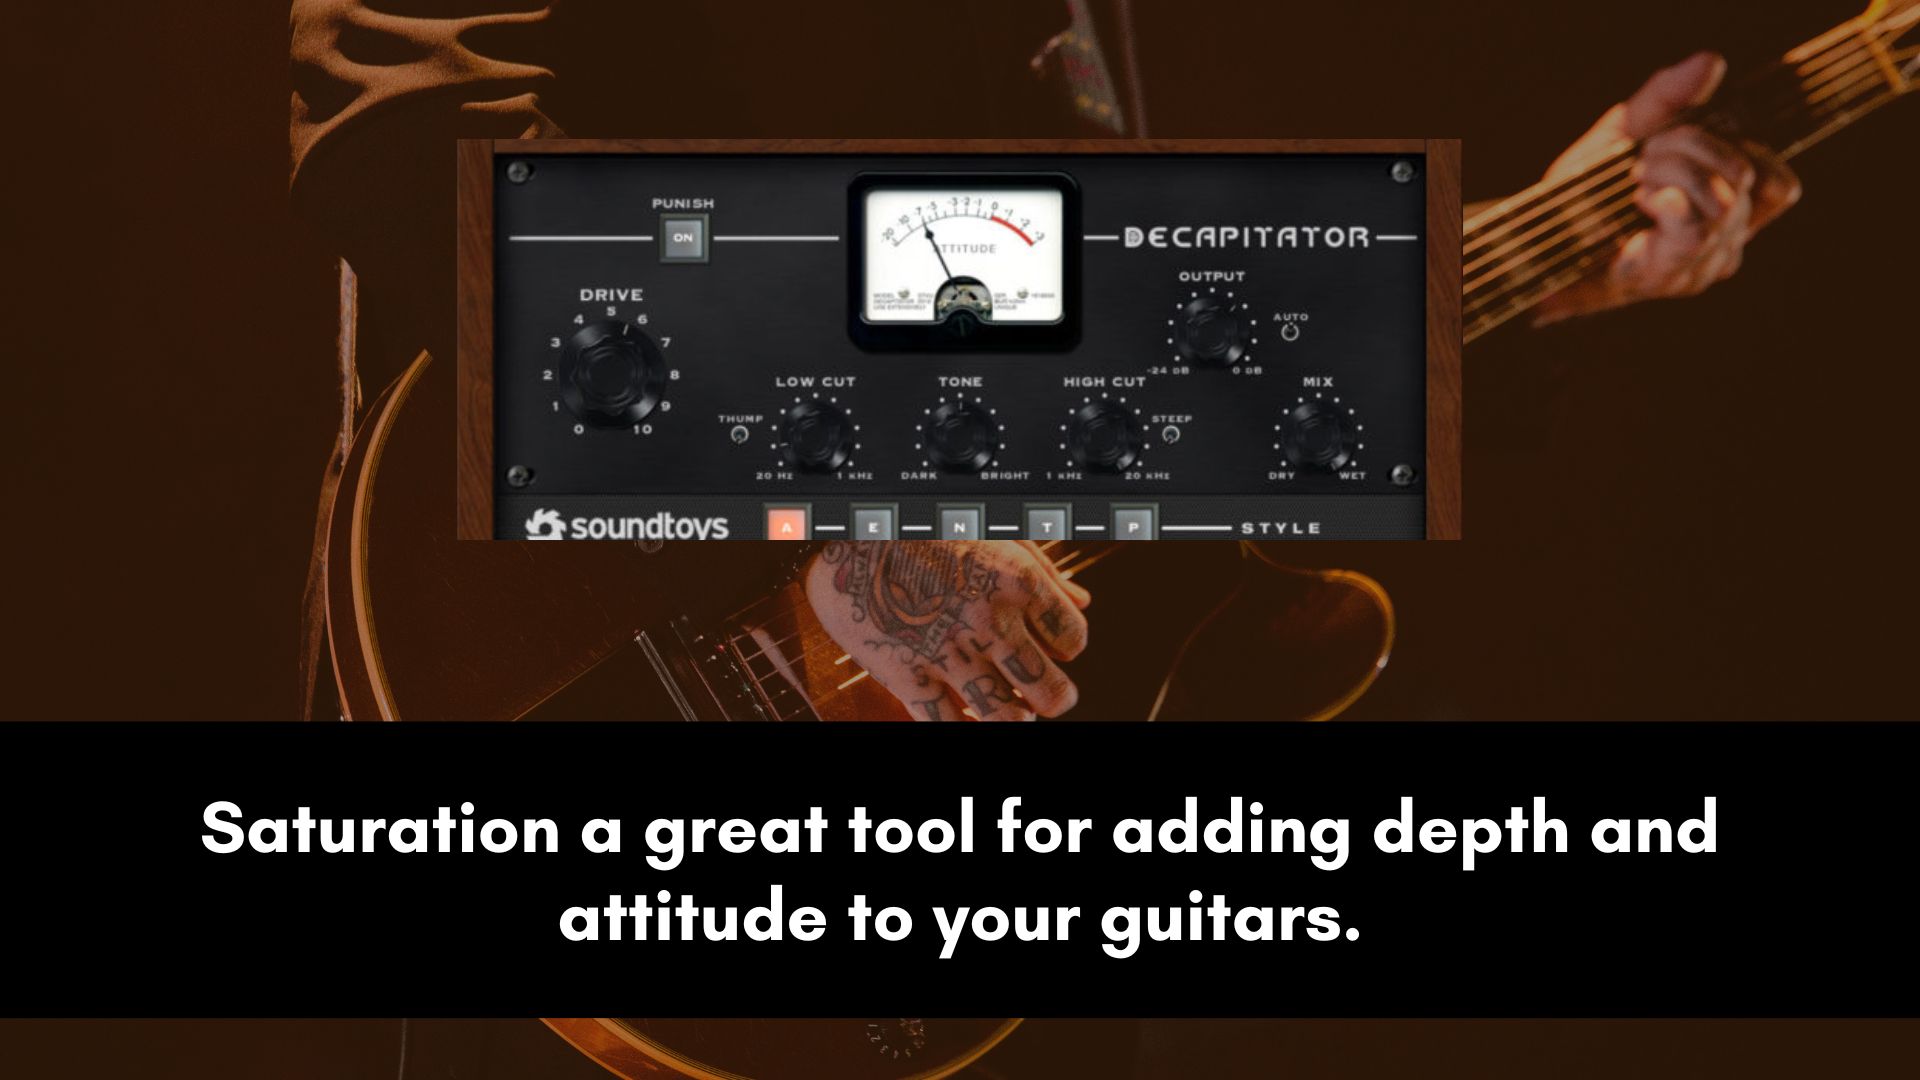
Modern recordings tend to sound too clean and boring. With saturation, you can bring some life to a dull guitar sound.
Since saturation is a combination of a soft-knee compressor and distortion, it will add extra harmonic content.
This will result in a more exciting tone with more character and depth.
Just like any other tool, saturation can be used for various reasons.
For instance, you can group all your guitar tracks and add saturation to glue them together so that they sound like one.
Another good use of saturation is to add some weight to a thin-sounding guitar with some tubes or apply transistor saturation to add sparkle and presence to a dull recording.
It's a great tool for adding depth and attitude to your guitars.
Saturation overuse can result in a thin-sounding guitar tone that struggles to cut through.
This is due to too much aliasing in most cases.
A little bit of aliasing is not an issue, but when it is audible, that's when you start to hear sounds disappear in a mix.
To avoid oversaturation, make sure that you're using a good combination of transparent plugins along with hardware emulation plugins.
Applying Reverb on Guitars

Once your guitars are well balanced, you can play around with reverbs to place them in their own space in the mix.
This also adds depth and emotion.
Understanding how different types of reverb affect a sound will help you always choose the best reverb for your guitars.
For example, a hall reverb sounds thick and lush, so if you're going to use it on the lead guitar, it will sound dull.
The guitar will be pushed to the back of the mix.
A chamber also boosts the midrange, so it's not a good choice for a dark-sounding guitar.
A plate reverb is bright and adds a bit of width; it's also thick, but not for long periods of time like a hall.
Spring reverbs are designed for electric guitars. They sound amazing on rhythm guitars and solos as well.
Once you understand all of that, then you can manipulate the mix in whatever direction you want.
Reverb is a very powerful tool for mixing.
You can control which guitar parts need to be upfront and push other sounds that are in the mix a bit to the back to create space for the lead guitar.
But be careful when using reverbs, because they can cause a lot of muddiness, clutter your mix, or just change the entire balance of a mix.
In some cases, you might need to use tools such as EQ to clean the reverb sound or a compressor to tame loud peaks (whenever necessary).
Using Delay
Delay effects can also be used to add excitement, memorable moments, depth, and width.
This is probably the most versatile tool for mixing music because it can be used in so many ways.
For instance, the slap delay effect can be used to make the guitars sound wider.
You can use delay throws to create excitement in different parts of the arrangement.
The ping-pong delay can add excitement and movement to a static and boring guitar recording.
There are two important things that you'll need to do to your delay effects to avoid clutter in the mix.
The first one is using EQ; you don't want your echo effects to sound identical to the original signal.
Giving them a different tone creates space for other sounds in the mix, and it sounds exciting to hear the echoes sounding different from the original guitar.
Don't overdo it though; you just need to reduce the top end, lower mids, and maybe the high mids if you're hearing any edginess or harsh frequencies.
The second one is reverb.
A delay effect on its own will mostly sound too dry.
So by applying a little bit of reverb to your delay effects, you place them in their own space in the mix.
This helps the effect fit perfectly with the rest of the music.
Don't forget to grab your free copy of the compression cheat sheet below.
Making Guitars Bigger and Wider
Making guitars sound big and wide in a mix can enhance the overall sound and feel of your music production.
There are several techniques and tools that you can use to achieve this effect.
You can start by boosting the low and high frequencies with EQ, add sustain and body with compression, and create a sense of space and depth with delay and reverb.
Applying a chorus effect or doubling plugin can thicken the sound and add a sense of width, while saturation can add harmonic richness and warmth.
Lastly, stereo imaging techniques can help widen the guitar's soundstage and create a sense of separation between the left and right channels.
By using these techniques in combination or separately, you can achieve a big and wide guitar sound that fits perfectly in your mix.