Jaycen is renowned for his impeccable mixes.
Jaycen Joshua’s vocal chain incorporates some of the most powerful tools and techniques in modern audio production.
If you’ve ever wondered how to achieve that industry-standard vocal sound, you're at the right place.
This step-by-step guide will show you how to replicate his chain and understand the choices behind each plugin.
Jaycen Joshua’s Vocal Chain
Famous vocal chains are essential for audio producers aiming to achieve industry-standard vocal quality.
Mastering these techniques allows you to understand professional mixing decisions.
They give you the flexibility to adapt and enhance your own productions for a polished, standout sound.
Let's get started.
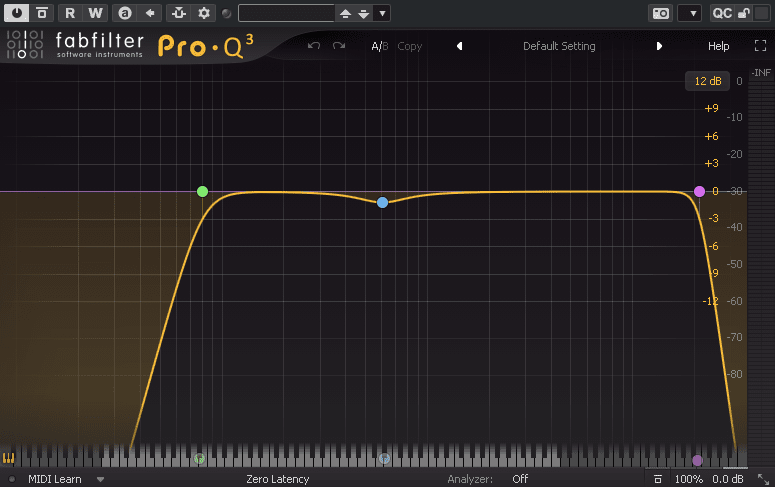
- Pro-Q 3: Surgical EQ

The first step in the chain is to reduce any unwanted frequencies.
Jaycen usually creates a high-pass filter to remove rumble in the subs and bass frequencies.
He also creates a low-pass filter. He says this removes digital noise in the higher frequencies.
The final step will be to remove any mud or boxy frequencies in the lower midrange. - Spectre: Enhancing Clarity and Presence

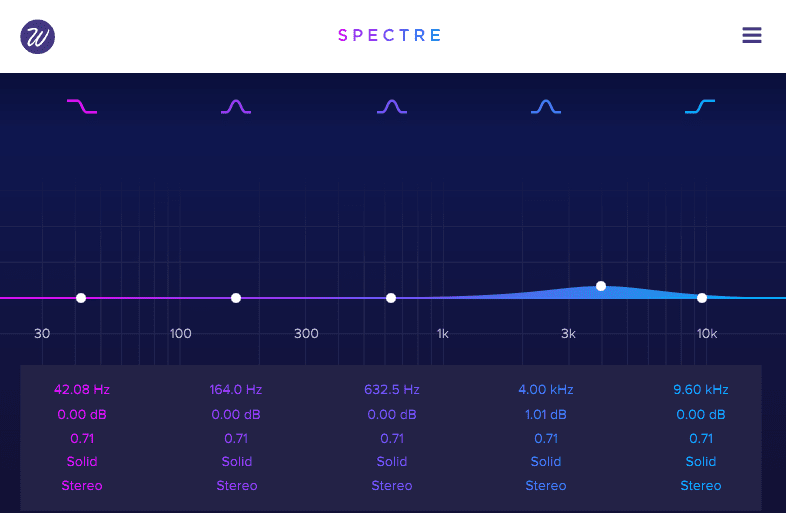
Spectre acts as a harmonic enhancer combined with EQ capabilities.
Joshua uses it to add harmonics and improve clarity by boosting the high frequencies.
Settings: Boost 1-3 dB around 1k, 5k, or 10k (adjust based on vocal context). But one boost is normally enough.
Purpose: Prepares the vocal for compression, creating a bright yet controlled top end.
This process is not compulsory, by the way, so you can skip this step, depending on the vocal. - Acustica El Rey: Smooth, Musical Compression

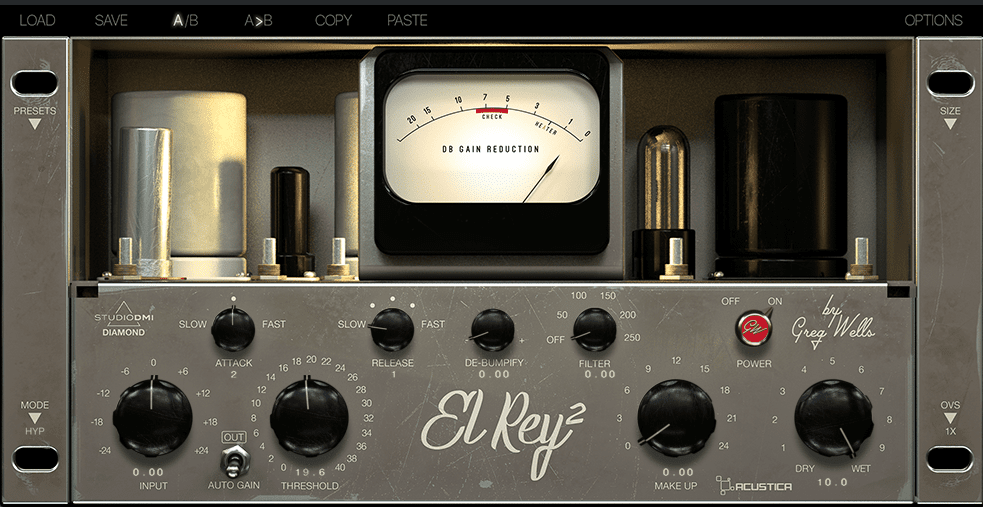
This vintage tube compressor, developed with Grammy-nominated Greg Wells, delivers ultra-smooth compression.
Settings: Medium attack, slow release, 80 Hz low-cut filter.
Compression Amount: Up to 1 dB of gain reduction.
Purpose: This musical compressor is used to add character and attitude to the vocals. It’s not meant to reduce dynamics. - McDSP MC2000: Multiband Precision

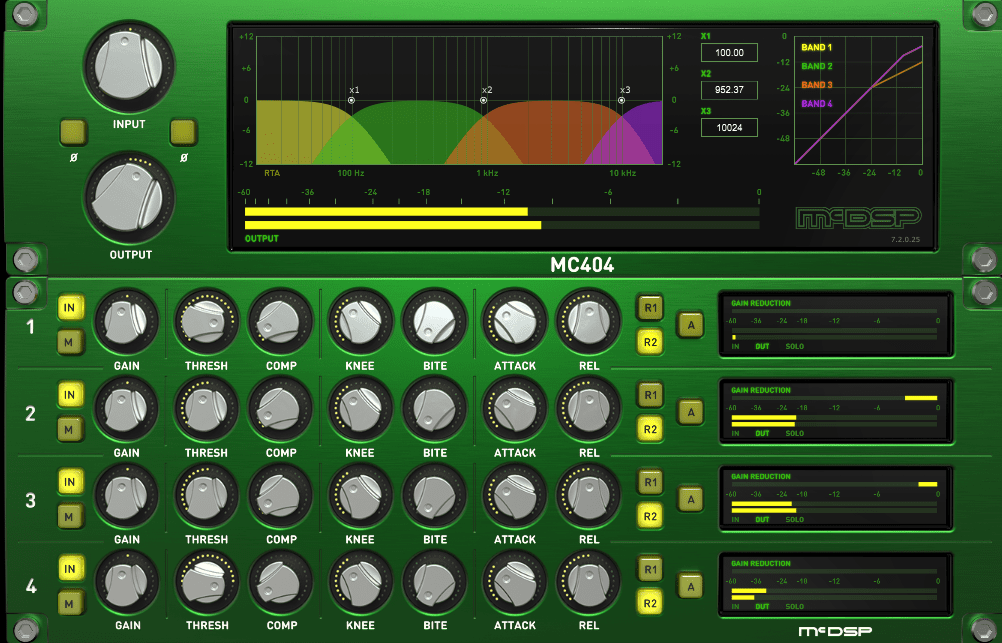
A favorite for adding character and targeted compression, Joshua’s trick here ensures even band processing.
This is the work horse in the vocal chain.
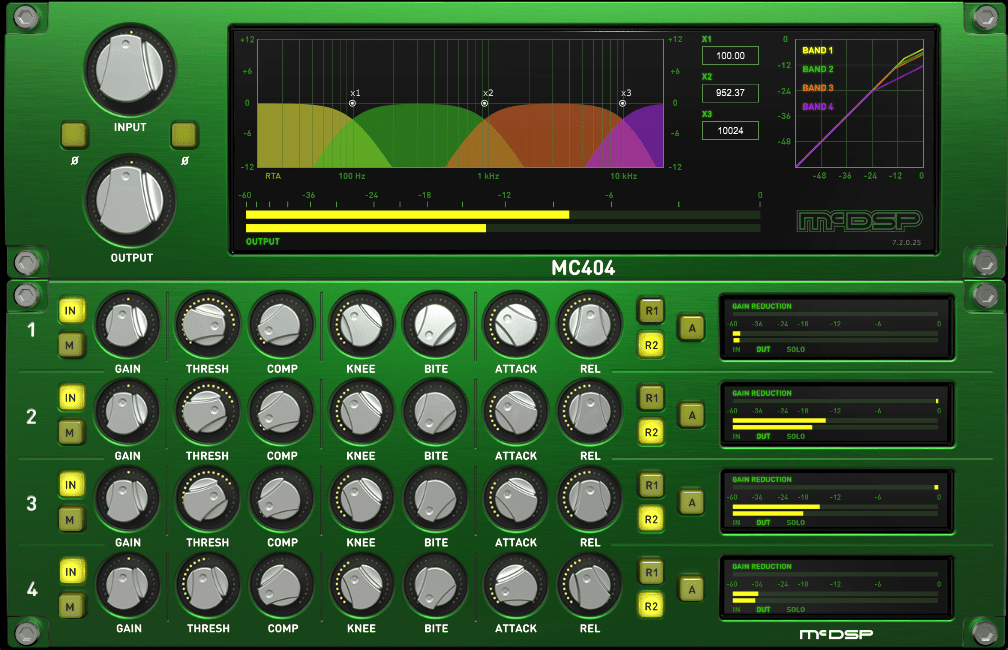
Technique: Balance crossover bands before reducing the threshold to 5-6 dB gain reduction.
Adjustments: Keep attack and knee parameters untouched; fine-tune the release for different bands, if necessary. 90% of the time, you’ll leave everything else untouched.
One other important thing to mention is that if you set the threshold at -20 for the first band, the second band must also be the same.
The goal is to make sure that the midrange is equally balanced. The high mids shouldn’t be heavier than the lower mids, or vice versa.
Finally, add some make-up gain to compensate for loss in volume. - FabFilter Pro-Q3 – Dynamic EQ

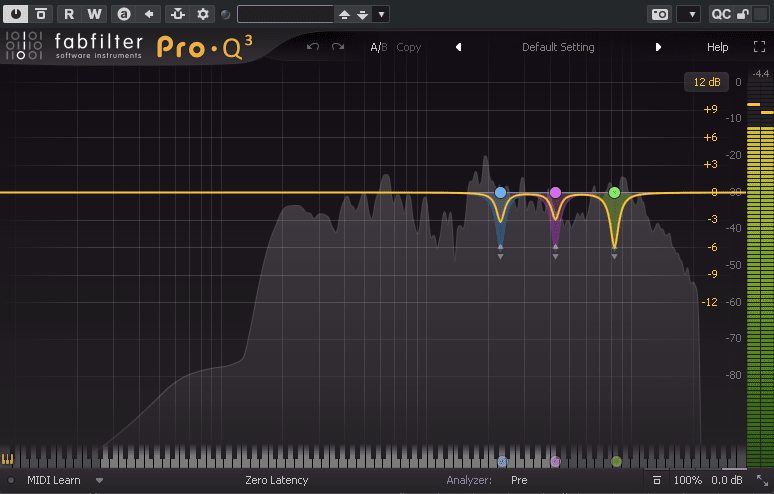
Jaycen applies Pro-Q3 for further dynamic resonance control.
You’ll need to sweep the spectrum to find resonant peaks and use a dynamic EQ to control those peaks.
Make sure that you’re using a narrow bandwidth (Q-Factor).
Method: Use dynamic mode to identify peaks and reduce them, resulting in a balanced sound.
Compression amount: Aim for a gain reduction of around -6 dB.
Tip: Don’t overdo it; trust your ears to avoid overly flat results. Too many cuts might introduce some phase issues. - Slate Digital Fresh Air: Adding High-End Sparkle

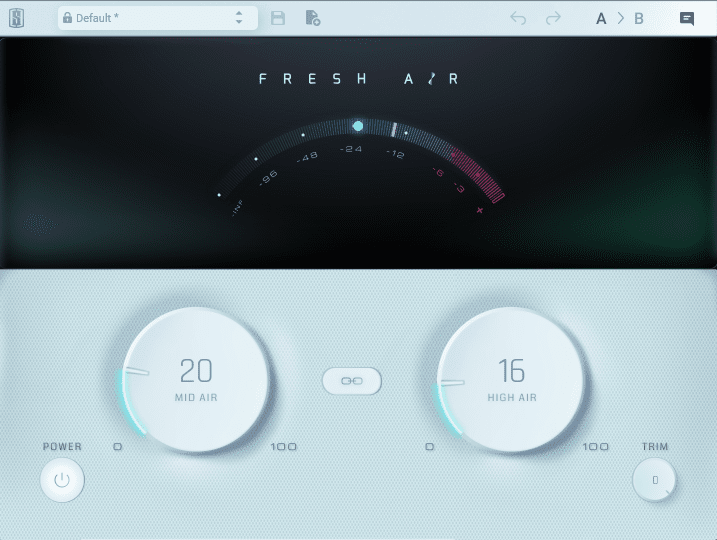
This free plugin enhances mid and high frequencies.
Suggested Settings: Mid-air at 22, high-air at 16.
Caution: If excessive high-end is needed, assess the original recording for potential ear fatigue (you might need to take a break). - McDSP MC2000: Keeping the Balance Intact

After controlling the resonant peaks and using the Fresh Air plugin, you might have some imbalances in the spectrum.
If that happens, you may need to add a second MC2000 multiband plugin to keep the balance intact.
This part is optional, and there are no strict rules. As a guideline, you can aim for a gain reduction of around 2 dB for each band.
You can also enable the high frequency band for this one to reduce any sibilance or harsh frequencies.
If you’re going to do that, make sure that you tweak the envelope.
A good starting point would be a fast attack and fast-to-medium release times. - CLA Vocals: Versatile Compression

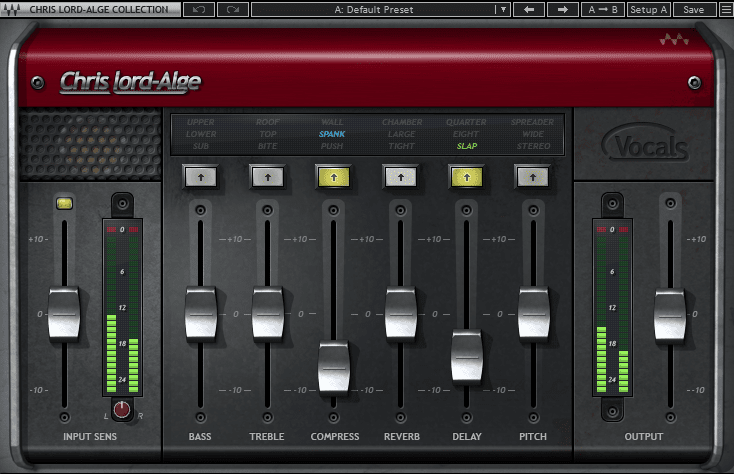
A go-to tool for adding essential parallel compression with modes such as PUSH, SPANK, and WALL.
He also applies the effect in some cases, especially the slap delay, to enhance the depth and presence.
Quick Setting: Start with SPANK for a more aggressive sound or select PUSH if you’re going for punchiness.
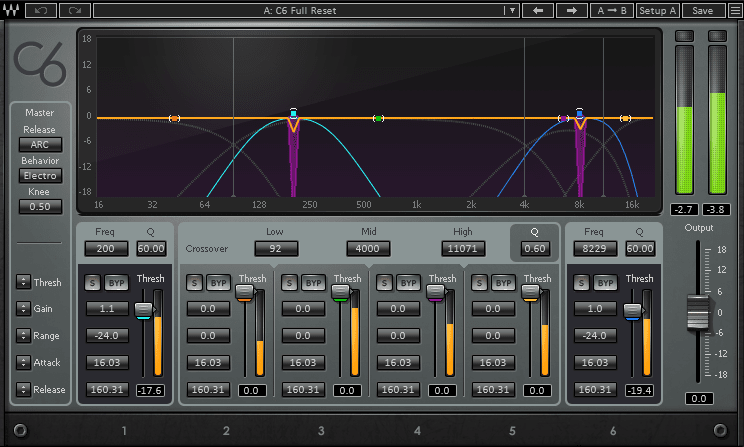
Pro Tip: Use subtle compression to maintain natural dynamics. - Waves C6: Multiband Resonance Control

Target specific frequencies around 200 Hz and 10k to maintain vocal balance.
This ensures that the voice doesn’t sound muddy or piercing in the top end.
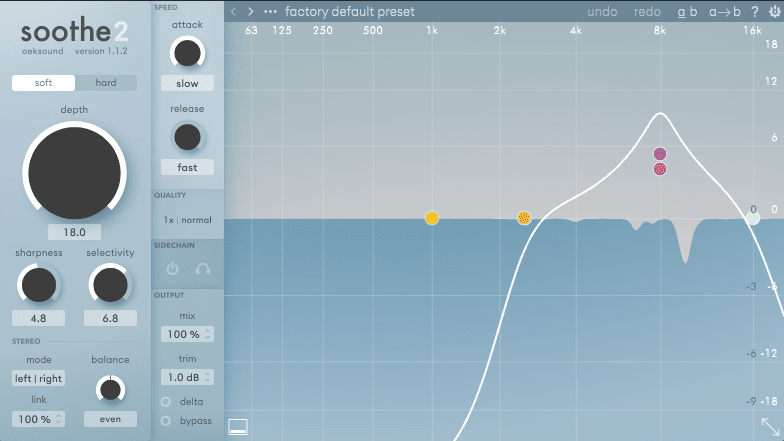
Application: Use multiple instances if needed, achieving up to 6 dB reduction in problematic areas. - Soothe 2: Final Resonance Smoothing

This dynamic suppressor automatically reduces harsh frequencies.
Setting: Around 7-8k with minimal reduction (2-3 dB).
Key Insight: Adjust depth and attack to taste.
Jaycen’s Secret Balancing Tip
Balancing vocals and instrumentals can be tricky.
Joshua recommends muting elements like hi-hats temporarily during mixing to refine vocal balance.
Use the snare drum as a guide to get the perfect volume balance for the vocals.
When your vocals are a bit louder than the snare, that’s usually the sweet spot.
There's also a trick that he uses to control depth in his mixes, it's called the Jaycen Joshua Trueverb trick.
It's a smart way of controlling the front and back panning for the sounds in your mixes.
Wrap
By following these steps, you can replicate Jaycen Joshua’s signature vocal chain and elevate your own mixes.
Each plugin and technique adds a layer of polish, ensuring that your vocals stand out with professional clarity and depth.
Experiment with these settings, listen critically, and don’t be afraid to tweak them based on your specific vocal material.
If you find this post valuable, you'll definitely like my new post where I share Jaycen Joshua's low-end secrets.
Good jod