You open the session. The drummer rushed the fill in bar 16. The kick is drifting behind the click in the chorus.
The snare top and bottom mics are fighting each other. There is a 4 dB hiss under every silent bar. You load a compressor and try to mix your way out of it.
Twenty minutes later the kit feels worse, not better.
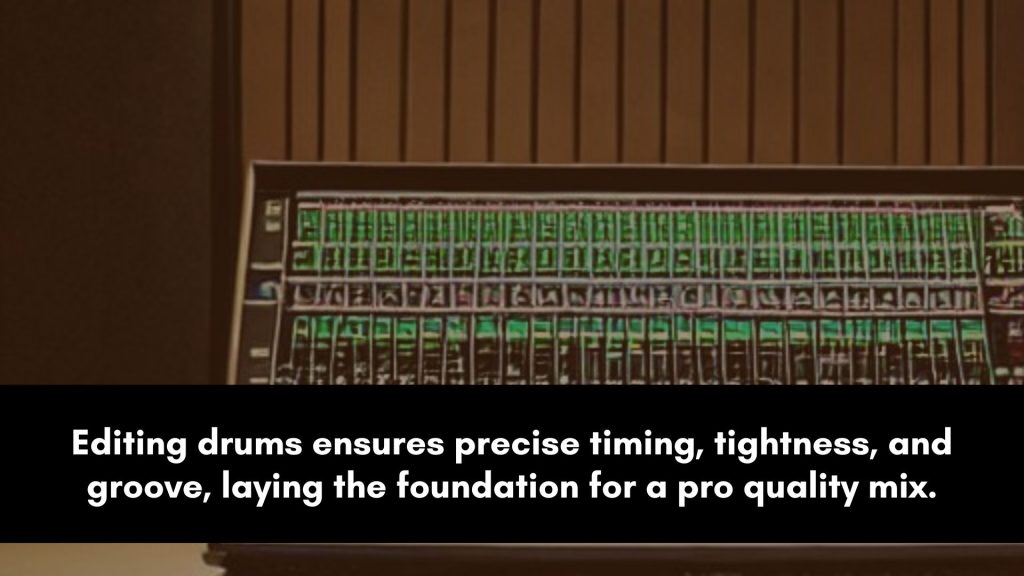
Editing drums is the prep stage that sits between the raw recording and the first plugin. It is unglamorous, repetitive work.
It is also the single biggest reason beginner drum mixes never feel tight, no matter how good the plugins are.
This guide walks through a 6-step edit pass that gets a raw drum multitrack ready for the mix.
By the end you will have a workflow you can run on any kit, in any DAW, before any compressor or EQ ever opens.
TL;DR: The Drum Editing Workflow
Run the same six steps in the same order on every kit.
Each step depends on the one before it. Skip ahead and the mix will fight you later.
- 1. Comp the best takes. Pick winning lanes and cross-fade the splices.
- 2. Strip silence and clean bleed. Cut noise in unused bars, leave fade handles on every region.
- 3. Check phase between mics. Kick in vs. out, snare top vs. bottom, overheads vs. close mics.
- 4. Quantize without killing the feel. Iterative or partial quantize, swing preserved, anchors on kick and snare.
- 5. Tune the kit if it needs it. Kick and toms tuned to the song key. Snare if it rings against the bass.
- 6. Group and route for the mix. Drum bus, snare sub-bus, tom group, overhead pair.
Why Editing Drums Matters Before You Mix
Drums are recorded with many microphones, by a human, over many takes. That combination creates problems no plugin was designed to fix.
Phase smear from misaligned mics, timing drift that puts the kick behind the click, ringing bleed in unused bars, and takes that almost work but need the right splices to actually work.
When you skip the edit and reach for a compressor, the compressor reacts to the misalignment instead of the performance.
The EQ boosts the bleed along with the body. The reverb sustains the noise floor. Every plugin you add is making the underlying problem louder.
Spend 30 to 60 minutes on the edit and the mix gets faster, not slower. The static balance falls into place.
The compressor settings shrink. The EQ moves, stop chasing ghosts. That trade is what every step below is buying you.
Step 1: Comp the Best Takes
Comping is the process of stitching the best moments from multiple takes into one clean performance.
Most DAWs handle it through lanes (Pro Tools playlists, Logic take folders, Cubase lanes, Ableton clip stacks).
The mechanics differ. The decisions are the same.
Solo each section in turn, listen across the takes, and pick the one that lands the groove and the fills cleanest.
Note the bar numbers where you switch. The goal is one composite track per drum mic, made of the best material across the session.
Cross-fade every splice. Even a 20 ms cross-fade prevents clicks at the seam.
Snap your splice points to a transient hit when you can, never in the middle of a sustained cymbal wash.
Move every mic of the kit together at every splice. Cutting only the kick lane will leave the snare and overheads in the wrong take.
Step 2: Strip Silence and Clean Bleed
Bleed is the sound of nearby drums leaking into a mic that is pointed at something else. The snare top mic picks up hi-hats.
The tom mics pick up huge amounts of snare. The kick mic catches the floor tom.
Bleed is unavoidable in a live kit, but ringing bleed in unused bars is what makes the kit sound noisy in the final mix.
Run strip-silence (or your DAW’s gate-to-region tool) on the close mics.
Set the threshold just above the bleed floor and the hold time long enough to capture each full hit.
Aim for clean regions around every hit, with empty bars muted entirely.
Leave fade handles on every region.
A 5 ms fade-in and a 30 to 50 ms fade-out on each clip prevents the abrupt cuts that read as clicks once the bus compressor kicks in.
The toms are the biggest offender here; their open mics catch the entire kit when nothing is hitting them.
The toms mixing guide goes deeper on what that bleed costs you in the EQ stage.
Step 3: Check Phase Between Mics
Phase is the single biggest hidden killer of beginner drum mixes.
When two mics capture the same source at slightly different times, their waveforms partially cancel.
The kit sounds thin, hollow, and small. No plugin recovers what phase cancellation already took.
Start with the kick.
Solo the kick-in and kick-out mics together. Flip the polarity on one of them and listen for the version with more low end and more click.
The right answer is whichever is louder and fuller.
The kick is the element most sensitive to phase drift, and the fix here is what makes the kick-mixing chain behave from the first plugin onward.
Do the same with the snare top and bottom.
The bottom mic captures the snare wires and is almost always wired out of phase relative to the top by physical placement alone.
Flip the bottom and listen for body.
The decision you make here changes everything about how the snare sits in the mix in the steps to come.
Then check the overheads against the close mics.
Nudge the kick close-mic samples a few milliseconds backward so its transient lines up with the overhead’s version of the same hit.
Same for the snare close mic against the overheads. Sample-level alignment matters more than any plugin you would have used to fix the smear.
Step 4: Quantize Without Killing the Feel
Quantization is what most beginners get wrong.
Snapping every drum hit to the nearest grid value turns a human performance into a robot, kills swing, and removes the push-pull that makes the song feel alive.
The point of editing is to fix what is broken, not to remove what was working.
Use iterative or partial quantize at 50 to 70 percent strength, not 100. That pulls hits closer to the grid without snapping them flat.
Quantize the kick and snare first; they are the anchors.
Group the rest of the kit to follow the kick edits so the bleed in the overheads moves with the close-mic edits.
Use Beat Detective in Pro Tools, Elastic Audio with conservative settings, or the equivalent tool in your DAW.
Detect transients first, audition the markers, and clean up any that landed in the wrong place.
The cleanup of false transients is what separates a usable quantize from a session full of clicks.
Listen all the way through against the rest of the band before you commit. If the kit feels stiff, back off the strength. If it still drifts, increase it 10 percent.
The kit that walks out of this step is the one you carry into the mixing workflow.
Step 5: Tune the Kit If It Needs It
Tuning is optional. Some kits arrive in good shape and need none.
But a kick that clashes with the bass note of the song, or a snare that rings against the chord changes, will fight the mix in ways no EQ can solve cleanly.
For the kick, find its fundamental pitch with a spectrum analyzer or your ear. If the song is in A minor, the kick wants to land around A1 (55 Hz) or its octave (110 Hz).
Use a pitch shifter on the kick close mic, 1 or 2 semitones at most, until the kick locks into the song. Bigger shifts start to sound artificial.
For toms, tune each one to a note that lives in the song.
For snare, the only real tuning move is to detune slightly if the ring is sustaining into a chord change and clashing.
Most snares do not need this.
The kick-and-bass relationship matters most; the drums-and-bass mixing guide walks through the rest of that alignment after the edit is done.
Step 6: Group and Route for the Mix
The last edit step is routing.
Clean routing makes every later decision faster, and a chaotic session at this stage means you will be re-routing in the middle of mixing instead of mixing.
Send every kit channel to a single drum bus. Send the snare top and bottom to a snare sub-bus, then send the snare sub-bus to the drum bus.
Group the toms onto a tom bus the same way. The overheads stay independent or feed a stereo cymbals bus.
That structure is what drum bus compression needs to behave. A glue compressor across a chaotic mix-of-everything bus pulls down the wrong elements.
The same compressor across a clean drum-only bus does the job in 2 to 3 dB.
Make your mono-versus-stereo routing decisions now too. Kick and snare to mono buses. Toms and overheads to stereo buses.
If you are still working out which elements should be where, the mono vs. stereo guide for drums covers the trade-offs element by element.
Quantize Settings Cheat Sheet
Use this as a launching point for quantize decisions by element and genre.
The strength column is the percent of the way each hit moves toward the grid. 100 percent snaps flat; 50 percent pulls toward the grid without killing the human feel.
Adjust by ear after you load these.
| Element | Grid | Strength | Swing preserve | Notes |
|---|---|---|---|---|
| Kick | 1/16 | 60–80% | off | Anchor the kit; quantize first. |
| Snare | 1/16 | 60–80% | off | Group to kick edits so backbeats stay locked. |
| Toms | 1/16 or 1/32 in fills | 40–60% | on | Lighter strength preserves the build of a fill. |
| Hi-Hats | 1/16 | 30–50% | on | Hats hold most of the swing; quantize lightly. |
| Overheads | follow close mics | n/a | n/a | Move with the close-mic edits, do not edit independently. |
| Rock / Pop | 1/16 | 60–80% | off | Tight pocket, less feel preserved. |
| Hip-Hop / R&B | 1/16 or 1/32 | 30–50% | on | Swing and pocket are the song; quantize sparingly. |
| Metal | 1/16 or 1/32 | 80–100% | off | Tight and aggressive; high strength is the genre default. |
3 Common Editing Mistakes That Cost You at Mix Time
Every mistake below shows up as a different mix problem later.
Spot them at the edit stage, and the mix stage gets quieter.
- 1. Quantizing every element to 100 percent. The kit goes from human to robot. Hats lose their swing, fills lose their build, the pocket disappears. Use 50 to 80 percent on anchors, less on the rest.
- 2. Skipping the phase check. The hollow, thin drum sound you cannot fix with EQ is almost always a phase problem. Flip polarities on the kick out and snare bottom before you load a single plugin.
- 3. Editing the close mics without the overheads. When you move a kick hit forward and the overhead still hits late, you create comb filtering on every snare hit. Group the kit and edit it as one performance, not as eight independent tracks.
Frequently Asked Questions
The short answers to the questions that come up most often when working through the drum editing process.
How long should editing drums take?
For a three-minute song with a competent performance, plan on 30 to 60 minutes of editing. A loose performance or a long song can stretch to two hours.
The time invested at the edit stage pays back several times over in the mix, where the compressor settings shrink and the EQ moves get smaller because the underlying recording is already clean.
How do you quantize live recorded drums?
Detect transients on the kick and snare first using your DAW’s transient-detection tool (Beat Detective, Elastic Audio, Cubase Hitpoints, Logic Flex Time).
Group every drum track to follow those anchors.
Apply iterative or partial quantize at 50 to 80 percent strength so the hits move toward the grid without snapping flat.
Listen back and back off the strength if the kit starts to feel stiff.
How do you slip edit drums?
Slip editing moves the audio inside a clip without moving the clip boundary itself.
In Pro Tools, hold Control (Windows) or Command (Mac) and drag the waveform. In Logic, use the slip tool.
The use case is nudging a single hit a few milliseconds without touching the surrounding region.
That’s how you fix one stray kick that is dragging behind the click without re-editing the whole bar.
Should you edit drums before or after mixing?
Edit first, always. Plugins react to whatever is on the track.
If the recording is full of phase smear, ringing bleed, and timing drift, the compressor and EQ will react to that noise instead of the performance.
Clean edits make every later mix decision smaller, faster, and more musical.
Can you edit drums in GarageBand?
You can do basic editing in GarageBand: cut, splice, fade, and groove track quantize for MIDI drums.
Multi-mic kit editing (phase alignment, beat detective, lane comping) is limited compared to Logic, Pro Tools, or Reaper.
For a single-mic or programmed kit, GarageBand is enough. For a real multi-mic recording, upgrading to Logic or another full DAW is worth it.
What is the difference between quantizing and tab-to-transient editing?
Quantization moves audio toward a grid value.
Tab-to-transient is a navigation feature that jumps the cursor between detected transients without moving anything.
Engineers use tab-to-transient to find edit points fast (snare hit one, snare hit two, snare hit three) and then apply small manual nudges.
Quantize automates the movement; tab-to-transient automates the navigation.
The Bottom Line
The fastest drum mixes start with the cleanest drum edits.
Comp the best takes, strip the bleed, fix the phase, quantize without killing the feel, tune what needs it, and route the kit cleanly.
Six steps. Sixty minutes. Every plugin you load after that gets to do its actual job instead of fighting the recording.
Once the edit is locked, the rest of the chain has its own dedicated walkthroughs in the complete drums mixing guide.
The edit is the boring part. It is also the part that decides whether the mix takes 20 minutes or 20 hours.