You import the stems. You push the faders up to taste. You add a compressor on the kick, an EQ on the vocal, and a limiter on the master. The master meter slams red.
You pull every fader down 6 dB. The plugins still sound weird. You back off the limiter. The mix sounds quieter and worse.
Two hours in, the volume math has eaten the session.
The problem is gain staging. Or the lack of it.
Every stage in a modern session (input, plugin, channel, bus, master) has an ideal level range, and most beginner mixes ignore all of them.
The result is plugins reacting to levels they were never designed for, masters clipping by default, and faders riding extreme positions that make small level changes feel like cliff edges.
This guide covers the targets, the workflow, and the cheat sheet.
By the end your sessions will run with consistent headroom, plugins behaving the way their designers intended, and faders living near unity where they belong.
TL;DR: The Rule in 30 Seconds
The shortest version of the rule.
Hit these targets, and most of the work is done before you reach for the first plugin.
- Recording: peaks around -10 dBFS, average -18 dBFS. Never above -6 dBFS.
- Mix channels: clip gain each track so peaks land around -10 dBFS, average around -18 dBFS.
- Plugins: -18 dBFS average input. This is what most plugins were designed for.
- Faders: within ±5 dB of unity (0 dB). Rebalance with clip gain, not extreme fader rides.
- Mix bus: peaks around -6 dBFS, average around -12 to -10 dBFS. Headroom for mastering.
- Master: never above -0.3 dBFS true peak. Streaming wants quieter.
What Gain Staging Actually Does
Gain staging is the practice of managing signal level at every stage of the chain so each piece of gear or software receives audio at the level it was designed for.
The chain runs from the microphone preamp through the audio interface, into the DAW channel, through every plugin, onto the bus, and out to the master.
Each link in that chain has an ideal operating range.
Modern plugins are largely designed to emulate analog gear from an era when 0 VU (a level meter for analog tape) corresponded to roughly -18 dBFS in the digital world.
Feed a plugin -3 dBFS and you push it into the equivalent of analog distortion territory whether or not the plugin sounds distorted; the harmonics, the compression behavior, and the EQ curve all change.
Beyond plugin behavior, clean gain staging gives you headroom.
Each stage with proper headroom prevents clipping at the next stage and leaves room for transient peaks.
It also avoids the cumulative gain creep that turns a -6 dBFS recording into a +3 dBFS overload by the time it hits the master.
Target Levels at Every Stage
Every stage of the signal chain has its own target.
Knowing these numbers turns gain staging from guesswork into a checklist.
- Microphone preamp: input gain set so the loudest performance hits around -10 to -8 dBFS at the converter.
- Audio interface output: -18 dBFS average, -10 dBFS peaks. This protects the interface’s analog stage from clipping and gives the DAW clean headroom.
- DAW channel input: after recording, the channel meter should sit around -18 dBFS average, -10 dBFS peak. Adjust with clip gain if necessary.
- Plugin input: -18 dBFS average is the universal sweet spot. Some plugins have their own meter for the right input level.
- Channel fader: within ±5 dB of unity (0 dB). Faders riding at -20 or +6 dB are a sign of poor gain staging upstream.
- Mix bus: peaks around -6 dBFS, average -12 to -10 dBFS, leaving 6 dB of headroom for mastering.
- Master output: never above -0.3 dBFS true peak. For streaming services, the limiter typically lands the integrated loudness between -14 and -10 LUFS.
During Recording: Setting Input Levels
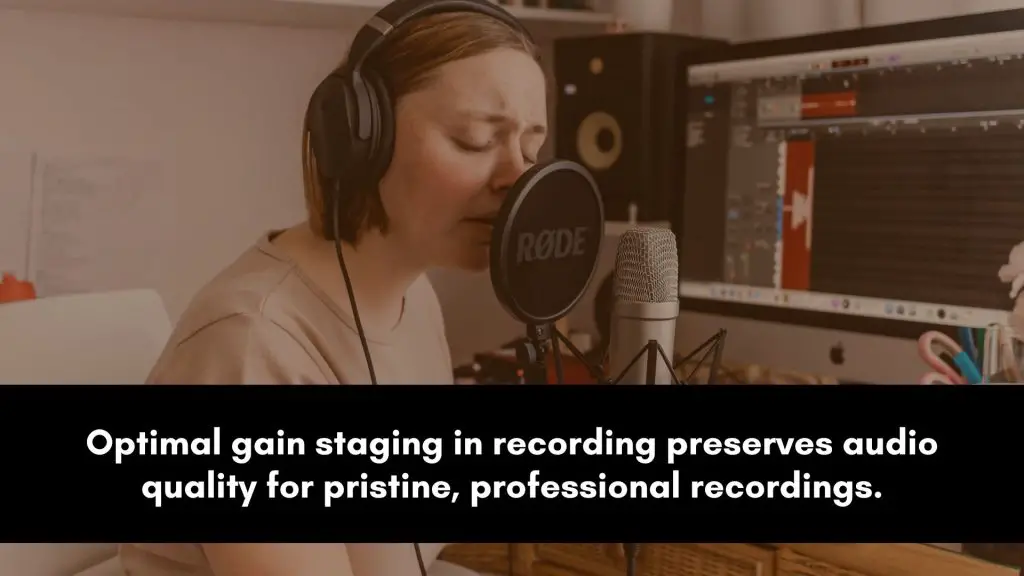
Gain staging starts at the microphone or DI box before any digital processing exists.
The input gain on the preamp determines the level of every recorded take, and it cannot be undone later without compromise.
Set the preamp so the loudest performance hits around -10 to -8 dBFS at the converter.
This gives the converter clean headroom for transients while still capturing enough signal to stay well above the noise floor.
Hitting -3 dBFS during recording is a sign the preamp is too hot; pulling it down preserves dynamics and prevents the transient overload that no plugin can rescue.
The most common recording-stage mistake is chasing the loudest possible level.
Modern converters have so much dynamic range that recording at -18 to -10 dBFS still captures every detail with massive headroom to spare.
Loud recording from the late 1990s and early 2000s came from low-resolution converters; modern 24-bit converters do not need that.
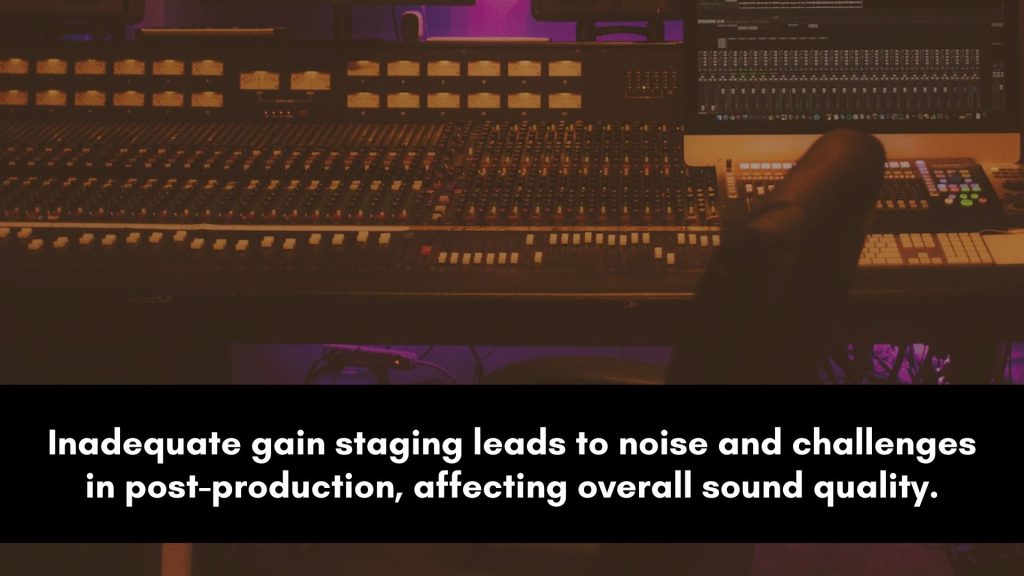
In the Mix: Managing Channel Levels
The mix stage is where most gain-staging problems compound.
Each channel arrives at a different level depending on the original recording, and plugins on every channel can introduce additional gain or attenuation.
Without active management, the signal balloons by the time it reaches the master.
The right move is clip gain (or a trim plugin as the first insert on every channel).
Adjust the clip gain so each channel sits at the same loudness target before any other plugin loads. Most engineers use -18 dBFS average as the unifying target.
This puts every plugin downstream in its design sweet spot.
The fader then handles balance, not corrective gain. A well-staged session keeps every fader within ±5 dB of unity.
Faders riding extreme positions are a symptom of upstream gain problems; the fix is clip gain, not pushing the fader further.
The full mix-bus stage that follows this clean channel staging is covered in mix bus processing.
Plugin-Friendly Levels and the -18 dBFS Standard
Most plugins designed to emulate analog gear (compressors, EQs, saturators, channel strips) were modeled at -18 dBFS average input.
Feed them that level and they behave the way their designers intended.
Feed them hotter and the harmonic generation, compression curve, and EQ response all shift.
This is most noticeable on compressors and saturators. An 1176 emulation at -3 dBFS sounds aggressive, slightly distorted, almost out of control.
The same plugin at -18 dBFS sounds smooth, musical, and predictable. The plugin is not broken at the hot input; it is operating outside its design range.
The compression behavior covered in the audio compression guide assumes plugin-friendly input levels.
The same logic applies to EQ plugins, especially the analog-modeled ones (Pultecs, Neves, APIs).
The harmonic content and saturation characteristics that give those plugins their warmth only appear at the right input level.
The full EQ workflow that depends on this is in the EQ complete guide.
VU Meters and Modern Metering
Gain staging gets easier when you can measure what you are doing.
The DAW’s stock peak meter is not enough; you need an average-loudness meter that matches how the human ear and how analog gear perceive level.
A VU meter (or a VU-style plugin like Klanghelm VUMT or Waves VU Meter) is the most useful staging meter on individual channels.
Set it to 0 VU = -18 dBFS and aim for 0 VU on the loudest sustained content. Peaks will sit roughly 8–10 dB above the VU reading, which is normal.
The VU shows you average level, which is what plugins react to.
For the master bus, an integrated LUFS meter is the modern standard. Streaming services normalize tracks to a target LUFS value (Spotify -14, Apple Music -16, YouTube -14).
The integrated LUFS reading at the end of the master determines how loud your track plays back.
Free tools like Youlean Loudness Meter cover this stage well.
Gain Staging Cheat Sheet
The full cheat sheet.
Use this as the at-a-glance reference for every stage of the chain.
| Stage | Target average | Target peak | Tool | Notes |
|---|---|---|---|---|
| Preamp / converter input | -18 dBFS | -10 to -8 dBFS | Interface meter | Never above -6 dBFS during recording |
| DAW channel (post-record) | -18 dBFS | -10 dBFS | Clip gain | Adjust at the clip, not the fader |
| Plugin input | -18 dBFS | -10 dBFS | Plugin meter or VU | Universal plugin sweet spot |
| Channel fader | within ±5 dB of unity | — | Channel fader | Faders for balance, not corrective gain |
| Drum bus | -14 to -12 dBFS | -6 to -4 dBFS | Bus meter | Element-specific targets in the drums guide |
| Vocal bus | -16 to -14 dBFS | -6 dBFS | Bus meter | Specifics in the vocals guide |
| Mix bus (pre-master) | -12 to -10 dBFS | -6 dBFS | LUFS or VU | Headroom for mastering |
| Master output | -14 to -10 LUFS | -0.3 dBFS true peak | LUFS meter + true-peak limiter | Streaming-ready; see mastering guide |
3 Common Mistakes That Wreck Translation
Three mistakes account for most gain-staging problems.
Each one is easy to spot once you know what to look for.
- 1. Recording too hot. Peaks at -3 dBFS during tracking are too hot for modern converters. Pull the preamp down so peaks land around -10 to -8 dBFS. Modern 24-bit converters have so much headroom that quiet recording captures everything; there is no upside to recording at digital ceiling.
- 2. Ignoring plugin input levels. Slamming an 1176 emulation at -3 dBFS gives you analog-style distortion you did not ask for. Use clip gain on the channel so the plugin sees -18 dBFS average. The same plugin then behaves like the analog gear it models. If the plugin sound feels harsh or weird, check the input level before changing settings.
- 3. Riding the fader to fix the gain. A fader living at -30 dB is doing corrective gain work that belongs at clip gain. Pull the clip down so the fader sits within ±5 dB of unity. The mix becomes easier to adjust in small increments and stays predictable on the master bus.
Frequently Asked Questions
Short answers to the questions that come up most often about gain staging.
What is gain staging and why does it matter?
Gain staging is the practice of managing signal level at every stage of the audio chain so each plugin, channel, and bus receives audio at the level it was designed for.
It matters because most plugins (especially analog emulations) only behave correctly within a specific input range.
Clean staging also gives you headroom that prevents clipping on the master and protects against cumulative gain creep.
What is the -18 dBFS standard?
The -18 dBFS standard refers to setting average channel and plugin input levels to -18 dBFS, which corresponds to 0 VU on analog meters.
Most modern plugins (compressors, EQs, saturators) emulate analog gear that was designed to operate at 0 VU, so feeding them -18 dBFS average input puts them in their design sweet spot.
Hotter levels push the plugins into the equivalent of analog overload.
Can you gain stage after recording?
Yes, by using clip gain or a trim plugin as the first insert on every channel.
Both methods adjust the level going into the rest of the chain without touching the fader.
Recordings that arrived too quiet or too loud can be brought to -18 dBFS average at the channel input before any other plugin loads.
This effectively gives you clean staging even when the recording itself was poorly staged.
What is the difference between volume and gain?
“Gain” refers to the input level into a stage (preamp, plugin, channel), measured before any processing.
Volume refers to the output level from a stage (typically the fader or the speaker), measured after processing.
Gain staging is the management of gain values across the chain; volume is just one of several level controls and only acts at the output end of each stage.
Should I use a VU meter for gain staging?
A VU meter (or a VU-style plugin set to 0 VU = -18 dBFS) is the most useful tool for staging individual channels.
It shows average loudness, which is what plugins respond to.
The DAW’s stock peak meter is fine for spotting clipping, but it does not show you whether the average level is in the right zone for plugins to behave correctly.
Does gain staging matter at the mastering stage?
Yes. Mastering plugins behave best when fed a mix bus signal with peaks around -6 dBFS and average around -12 to -10 dBFS.
Slamming the mastering chain with a hot mix bus distorts the mastering plugins’ behavior the same way a hot plugin input does on a channel.
Clean gain staging upstream is the prerequisite for the mastering stage referenced in the cheat sheet above.
The Bottom Line
Gain staging is the discipline that makes every plugin behave, every fader stay near unity, and every master stay clean of clipping.
The numbers are simple. -18 dBFS average on channels and plugins. Peaks around -10 dBFS. Faders within ±5 dB of unity.
Mix bus with 6 dB of headroom for mastering. Hit those targets, and most of the volume math takes care of itself.
Clean levels are the foundation that everything else sits on.
Once the gain structure is set, the spatial decisions (panning, stereo placement, depth) live in audio panning secrets.
The two stages pair together: levels first, placement second.