You’ve dialed in a clean serial chain on the lead vocal.
Two compressors at light gain reduction, 4–5 dB total, gain matched, sitting fine in the mix. The vocal is even. The problem is it’s also small.
It needs weight, body, and the kind of thickness that makes a chorus feel like it’s two feet wider than the verse.
Adding more compression on the dry channel just flattens it further.
The fix is parallel.
You crush a copy of the vocal on an aux, blend it back underneath the dry channel at a low level, and the lead vocal grows weight without losing its original transients.
The dry signal keeps the air, the consonants, and the human shape. The crushed signal adds the body that “produced pop vocal” sounds like.
The playbook below treats parallel as five distinct jobs because a body-lift aux and a breath-control aux are not set up the same way.
It also covers the two steps most tutorials skip: EQ and de-essing on the crushed bus itself.
TL;DR
- Aux send method: route the dry vocal to an aux, insert a compressor, and blend back underneath the dry channel.
- Aux compressor: 8:1 ratio, 1–3 ms attack, 60 ms release, 8–10 dB of gain reduction.
- Blend level: -15 to -20 dB under the dry channel. Audible but not dominant.
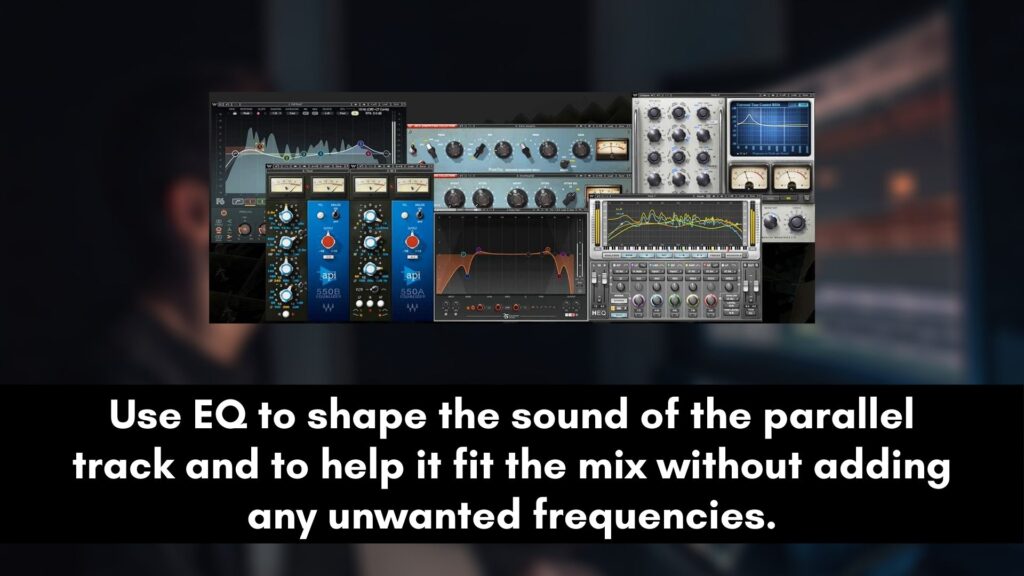
- EQ the parallel: high-pass at 200 Hz and low-pass at 8 kHz. Remove what doesn’t add body.
- De-ess the parallel: a separate de-esser on the aux, the crushed signal exaggerates sibilance.
- Automate the send: louder in choruses and lower in verses.
The routing comes first, then the cheat sheet, then the specialist jobs: doubles, breaths, and the stacked-aux move.
Is Parallel Compression Necessary on Vocals?
Not always. A well-dialed serial chain (fast peak-tamer into slow body-smoother) handles 90% of the dynamic control a vocal needs.
Many genres do not benefit from parallel compression on top of that.
Jazz, acoustic, and folk vocals usually sound worse with parallel. The added weight kills the natural dynamic shape those genres are built on.
Parallel earns its place when the vocal needs to feel bigger than the dry chain can make it. Modern pop, R&B, hip-hop, EDM, and produced rock all benefit.
The dry chain controls the dynamics. The parallel adds the size that distinguishes a “produced” record from a “well-mixed” record.
If you have the full serial chain already in place from our main vocal compression guide and the vocal still feels small in the chorus, parallel is the answer.
The honest test: bypass everything and listen to the dry vocal in solo. Is it small? If yes, you might need parallel. Is it big and rich? You probably do not.
The Basic Setup (Aux Send Method)

Two ways to set up parallel compression. The aux send method is cleaner, more flexible, and what pro engineers use.
The duplicate-track method works but is harder to automate and harder to A/B. Either route, the underlying trick is the same one parallel compression teaches for any source.
Create an aux bus. Set a pre-fader send from the lead vocal channel to that aux.
Pre-fader matters because it keeps the aux signal independent of any volume automation on the dry channel.
Insert a single hard compressor on the aux: 8:1 ratio, 1–3 ms attack, 60 ms release. Pull the threshold for 8–10 dB of gain reduction on the loudest moments.
The signal on the aux will sound crushed and plasticky in solo. That is correct.
Those attack and release numbers are not arbitrary; vocal compression attack and release settings explains what each one trades.
Bring the aux fader up until the parallel is audible underneath the dry vocal, typically -15 to -20 dB below the dry channel.
The vocal should feel thicker, denser, and slightly larger. If you can hear the crushed character clearly, the aux is too loud.
If the vocal sounds identical, the aux is too quiet. Sit in the middle.
Parallel Compression on Vocals Cheat Sheet
Five common use cases below. Each is a different parallel role, and each calls for slightly different settings on the aux compressor.
Pick the row that matches what you’re trying to add to the vocal, not the genre alone.
The vocal compression cheat sheet holds the genre-first numbers for the dry chain; this table covers only the aux.
| Use Case | Aux Compressor | Ratio | Attack | Release | GR | Blend |
|---|---|---|---|---|---|---|
| Body lift (default) | FET (1176-style) | 8:1 | 1–3 ms | 60 ms | 8–10 dB | -15 dB |
| Doubles thickener | VCA | 6:1 | 5 ms | 80 ms | 6–8 dB | -18 dB |
| Breath control | Opto + gate | 4:1 | 10 ms | 100 ms | 4–6 dB | -20 dB |
| Energy / excitement | FET (driven) | 12:1 | 0.1 ms | 40 ms | 10–12 dB | -18 dB |
| Multi-parallel glue | Bus VCA | 6:1 | 5 ms | 60 ms | 6 dB | -22 dB |
Want to see if your vocal actually needs parallel before you set up the aux? Drop your WAV or MP3 into the Compression Analyzer.
Thickening Doubles and Stacks
Parallel compression on a single lead vocal adds body.
Parallel compression on a vocal double bus does something different: it glues two separate takes into one cohesive layer that feels like a single, wider voice.
Bus your double tracks (typically the wide left and wide right doubles) to a single doubles bus. Send that bus to its own parallel aux.
On the aux, use a VCA compressor at 6:1 ratio, 5 ms attack, 80 ms release, and 6–8 dB of GR. Blend back at -18 dB.
The two separate takes lose their individual identity and start to feel like a unified textural layer behind the lead.
Two common doubles-specific issues to watch for.
First, sibilance from doubles often stacks unpredictably, so a separate de-esser on the doubles bus before the parallel is usually necessary.
Second, doubles parallel almost always needs more low-end roll-off than lead parallel. High-pass the aux at 300–400 Hz to keep the doubles from muddying the lead.
Breath Control: Gate First, Then Crush

Breath control is the niche parallel use case most tutorials skip.
The problem: when you compress a vocal heavily, the compressor pulls up the level of the inhalation between phrases as much as it pulls up the syllables.
The result is a vocal with very prominent, unflattering breath sounds between each line.
The fix is a gate on the parallel aux placed before the parallel compressor. Set the gate threshold above the loudest breath but below the quietest sung syllable.
The breaths get cut out before the parallel compressor sees them, and only the actual vocal content gets crushed and blended back.
The dry channel still has the natural breaths (which sound human), but the parallel layer adds body only on the sung notes.
Settings on the gate-then-parallel chain: gate threshold around -25 dB (adjust by ear), gate attack 1 ms, gate release 50 ms.
Then the parallel compressor downstream: 4:1 ratio, 10 ms attack, 100 ms release, 4–6 dB of GR, blended at -20 dB. Subtle but effective.
The vocal feels controlled, and the breaths stop feeling like a feature.
Try the parallel approach on your actual vocal: drop a lead, a double, or a full chorus stem into the Compression Analyzer →.
EQ and De-Essing the Crushed Bus
The parallel aux is its own signal once you’ve crushed it. Treat it that way.
EQ and de-essing on the parallel are not optional polish, they are required steps that separate amateur parallel from pro parallel.
EQ the parallel
Apply a high-pass filter at 200–300 Hz on the parallel bus.
Low frequencies do not add useful body to a vocal when they come from heavily compressed material.
They add mud. Then low-pass at 8–10 kHz to remove the harsh top end the compressor exaggerates.
What’s left is the midrange body of the vocal, which is the only part that genuinely benefits from parallel processing.
A narrow dip around 2–3 kHz can help if the parallel sounds honky.
De-ess the parallel
Heavy compression exaggerates sibilance dramatically.
The parallel signal will have far more harsh “s” and “sh” energy than the dry signal even though they started from the same source.
Insert a separate de-esser on the parallel bus after the compressor. Target 5–9 kHz, 4:1 ratio, fast attack, 80 ms release, 3–5 dB of GR on the harshest sibilants.
If you’re unfamiliar with de-essing setup, our vocal de-essing guide covers it in full.
Stacking Compressors, Brauer-Style
This is the advanced move, popularized by mix engineer Michael Brauer.
Instead of one parallel compressor, you run the vocal to two or three auxes, each with a different compressor character, and blend them all back at different levels.
Brauer’s exact chain gets a post of its own: the multi-compressor vocal chain.
A typical three-bus multi-parallel setup: aux #1 with a fast FET (1176-style, 8:1, fast attack, 8 dB GR) for transient body.
Aux #2 with a slow opto (LA-2A-style, 4:1, slow attack, 4 dB GR) for smooth sustain lift. Aux #3 with a saturated FET (12:1, 10 dB GR, with a touch of drive) for harmonic excitement.
Each one blends back at -20 to -24 dB.
The combined effect is a vocal that has weight, sustain, and excitement layered into it without any single processor sounding processed.
Multi-parallel is overkill for most home recordings and most genres.
It earns its complexity on lead vocals in pop, R&B, and modern hip-hop, where the lead has to carry the entire arrangement.
Don’t reach for it until single-parallel stops giving you what the vocal needs.
3 Common Mistakes
When the parallel sounds wrong, the cause is nearly always one of these three. Body versus smear gets decided right here.
- Blending the parallel too loud. If you can clearly hear the crushed character, the aux is too loud. Parallel is supposed to be felt, not heard. -15 to -22 dB under the dry channel is the workable range. If your parallel needs to be louder than -15 dB to do anything useful, the aux compressor isn’t working hard enough. Pull the threshold down on the aux, not the fader up.
- Skipping EQ on the parallel. A crushed vocal full-range will muddy the low end and sharpen the top end of the lead in ways the dry channel doesn’t. High-pass the parallel at 200–300 Hz and low-pass at 8–10 kHz. The parallel is for midrange body. Anything outside that band is making the mix worse, not better.
- Forgetting to de-ess the parallel. Heavy compression exaggerates sibilance. A dry vocal with controlled “s” sounds plus a parallel without de-essing equals a final vocal with harsh, painful sibilants. The parallel needs its own de-esser after the compressor, every time.
Ready to stop guessing? The Compression Analyzer will show your vocal’s crest factor, tell you which dynamic band it falls into.
Frequently Asked Questions
Six questions, all from the same setup session.
Each answer assumes a modern pop, R&B, hip-hop, or produced rock context. Acoustic, jazz, and folk vocals follow different conventions.
Is parallel compression necessary on vocals?
Not always. A well-dialed serial chain handles most of the dynamic control a vocal needs, and many genres (jazz, acoustic, and folk) sound worse with parallel on top.
Parallel earns its place when the lead vocal still feels small after the dry chain is in place, which is most often in modern pop, R&B, hip-hop, EDM, and produced rock.
The honest test is to bypass everything and listen to the dry vocal in solo. If it feels small or thin, parallel is the answer.
If it feels big and rich already, parallel will only make the mix worse.
What ratio should you use for parallel compression on vocals?
8:1 with a fast attack is the standard for body lift parallel. Higher ratios (12:1+) with a driven FET work for the energy and excitement use case.
Lower ratios (4:1 to 6:1) work for breath control and doubles, where you want less aggressive processing.
The ratio matters less than the total gain reduction the aux compressor is doing.
Most parallel applications want 6 to 10 dB of GR on the aux, and then the signal is blended back at -15 to -20 dB under the dry channel.
How loud should the parallel bus be blended back?
-15 to -22 dB under the dry channel, depending on the use case. Body lift sits at -15 dB. Doubles thickener sits at -18 dB.
Breath control sits at -20 dB. Multi-parallel layers each sit at -20 to -24 dB.
If you can clearly hear the crushed character of the parallel in the mix, the aux is too loud. Parallel is supposed to be felt, not heard.
If your parallel needs to be at -10 dB to be useful, the aux compressor is not pulling enough gain reduction.
Should you EQ the parallel track?
Yes, always. High-pass at 200 to 300 Hz to remove low-end mud, and low-pass at 8 to 10 kHz to remove the harsh top end the compressor exaggerates.
The parallel signal exists for midrange body, not full-range processing.
Anything outside the 200 Hz to 8 kHz band on the parallel will fight the dry channel in unpredictable ways.
A narrow dip around 2 to 3 kHz on the parallel can help if it sounds honky after high-pass and low-pass filters.
Should you de-ess the parallel track?
Yes, always. Heavy compression exaggerates sibilance dramatically.
The parallel signal will have far more harsh “s” and “sh” energy than the dry signal even though they started from the same source.
Insert a separate de-esser on the parallel bus, after the compressor, targeting 5 to 9 kHz with a 4:1 ratio and 3 to 5 dB of gain reduction on the harshest sibilants.
Skipping this step is the single most common reason parallel-compressed vocals end up sounding harsh in the final mix.
Can you use parallel compression on background vocals?
Yes, and it is often more useful on backgrounds than on the lead.
Bus all your background takes to a single backgrounds bus, then send that bus to a parallel aux.
Use a VCA compressor at 6:1, 5 ms attack, 80 ms release, 6 to 8 dB of gain reduction, and blend back at -18 dB.
The individual background takes lose their separate identity and become a single textural layer behind the lead vocal.
This is exactly what backgrounds are supposed to do.
The Bottom Line
Parallel compression on a vocal is what separates a mixed record from a produced one. The basic move is a hard-compressed aux blended back at -15 to -20 dB.
The refinement lives in the details: EQ the parallel, de-ess the parallel, gate before it for breath control.
For lead vocals that carry an entire production, stack the auxes.
Each step is a small refinement, and the cumulative effect is a vocal that feels weight-bearing in the mix without ever sounding processed.
And if you’d rather skip the meter reading altogether, the Compression Analyzer gives you the crest factor and settings in about 10 seconds.
Parallel sits on top of the serial fundamentals; the complete audio compression guide is where those get built.