Hi-hats can often be overlooked, but they are essential to creating a rhythmic backbone and adding excitement to your tracks.
As a mixing engineer, I know how important it is to get the hi-hats just right.
Today I want to share my approach to mixing hi-hats and show you how to take your drum mixes to the next level.
From choosing the right samples to processing techniques and panning tips, we'll cover everything you need to know to make your hi-hats shine in the mix.
How to Mix Hi-Hats
Hi-hats are an essential part of modern music production, particularly in genres such as hip-hop, trap, and electronic dance music (EDM).
They add a rhythmic and percussive element to a track, providing the necessary groove and swing to get people moving.
However, getting the right mix of hi-hats can be challenging, especially for beginners.
In this blog post, we will discuss some tips and techniques on how to mix hi-hats effectively.
So, grab a cup of coffee, sit back, and let's dive in!
Choose the Right Sample
The first step in mixing hi-hats is selecting the right sample.
A good sample should complement the other elements of the track and fit the overall vibe and style.
A dull and lifeless sample can make a track sound flat and uninteresting, while an overly bright and harsh sample can be grating to the ears.
So, it's essential to spend some time finding the right hi-hat sample that fits your track.
How to EQ Hi-Hats

Once you've selected a great-sounding hi-hat sample and got the correct volume, the next step is to EQ it.
EQing can help remove any unwanted frequencies and shape the sound.
Here are some tips for EQing hi-hats:
- Cut unwanted frequencies: Start by using a high-pass filter to cut out any low and midrange frequencies below 400 Hz. This will clean up the mix and make space for other elements.
- Boost the high frequencies: Hi-hats are generally high-frequency instruments, so you can boost frequencies above 8 kHz to make them stand out in the mix. Be careful not to overdo it, as too much top-end can make them sound harsh and piercing.
- Tame harshness: If the hi-hats sound too harsh or piercing, you can use a narrow band EQ to cut out the offending frequencies. A range of 2-4 kHz is a common area to look for harshness.
- Add body: If the hi-hats sound thin or weak, you can boost the midrange frequencies (around 1-2 kHz) to add some body and presence.
- Use dynamic EQ: If you want to control certain frequencies only when they become problematic, dynamic EQ can be very useful. For example, you can use a dynamic EQ to reduce resonant frequencies only when they get too loud in the mix.
Here's a hi-hat EQ cheat sheet to help you avoid getting stuck or relying on guesswork:
- High-pass filter: 200-300 Hz
- Boost high frequencies: 8-12 kHz
- Cut harshness: 2-4 kHz
- Add body: 1-2 kHz
- Dynamic EQ: adjust to taste
Remember, these are just guidelines, and the specific EQ settings will depend on the individual track and mix.
Use your ears and experiment until you find the right balance.
Panning Techniques
Panning can help create a sense of space and depth in the mix.
For example, panning the hi-hats slightly to the left or right can make the mix sound wider and more immersive.
However, it's important not to pan too far left or right, as this can create an imbalance in the stereo image.
Here are some tips for panning hi-hats in a mix:
- Use subtle panning: Panning too much can create an unnatural stereo image and make the mix sound unbalanced. A good starting point is to pan slightly to the left or right, around 10–20%, depending on the style of music.
- Consider the rest of the mix: For example, if you have a tambourine that’s panned to the right, you might want to pan the hat to the left to balance the stereo image.
- Use automation: Automating the panning of the hi-hats can help create movement and excitement for the listener. You can also use auto-pan plugins to make your job a lot easier.
Remember, panning instruments is an art, so trust your ears and experiment until you find the perfect balance.
Hi-Hat Compression Settings

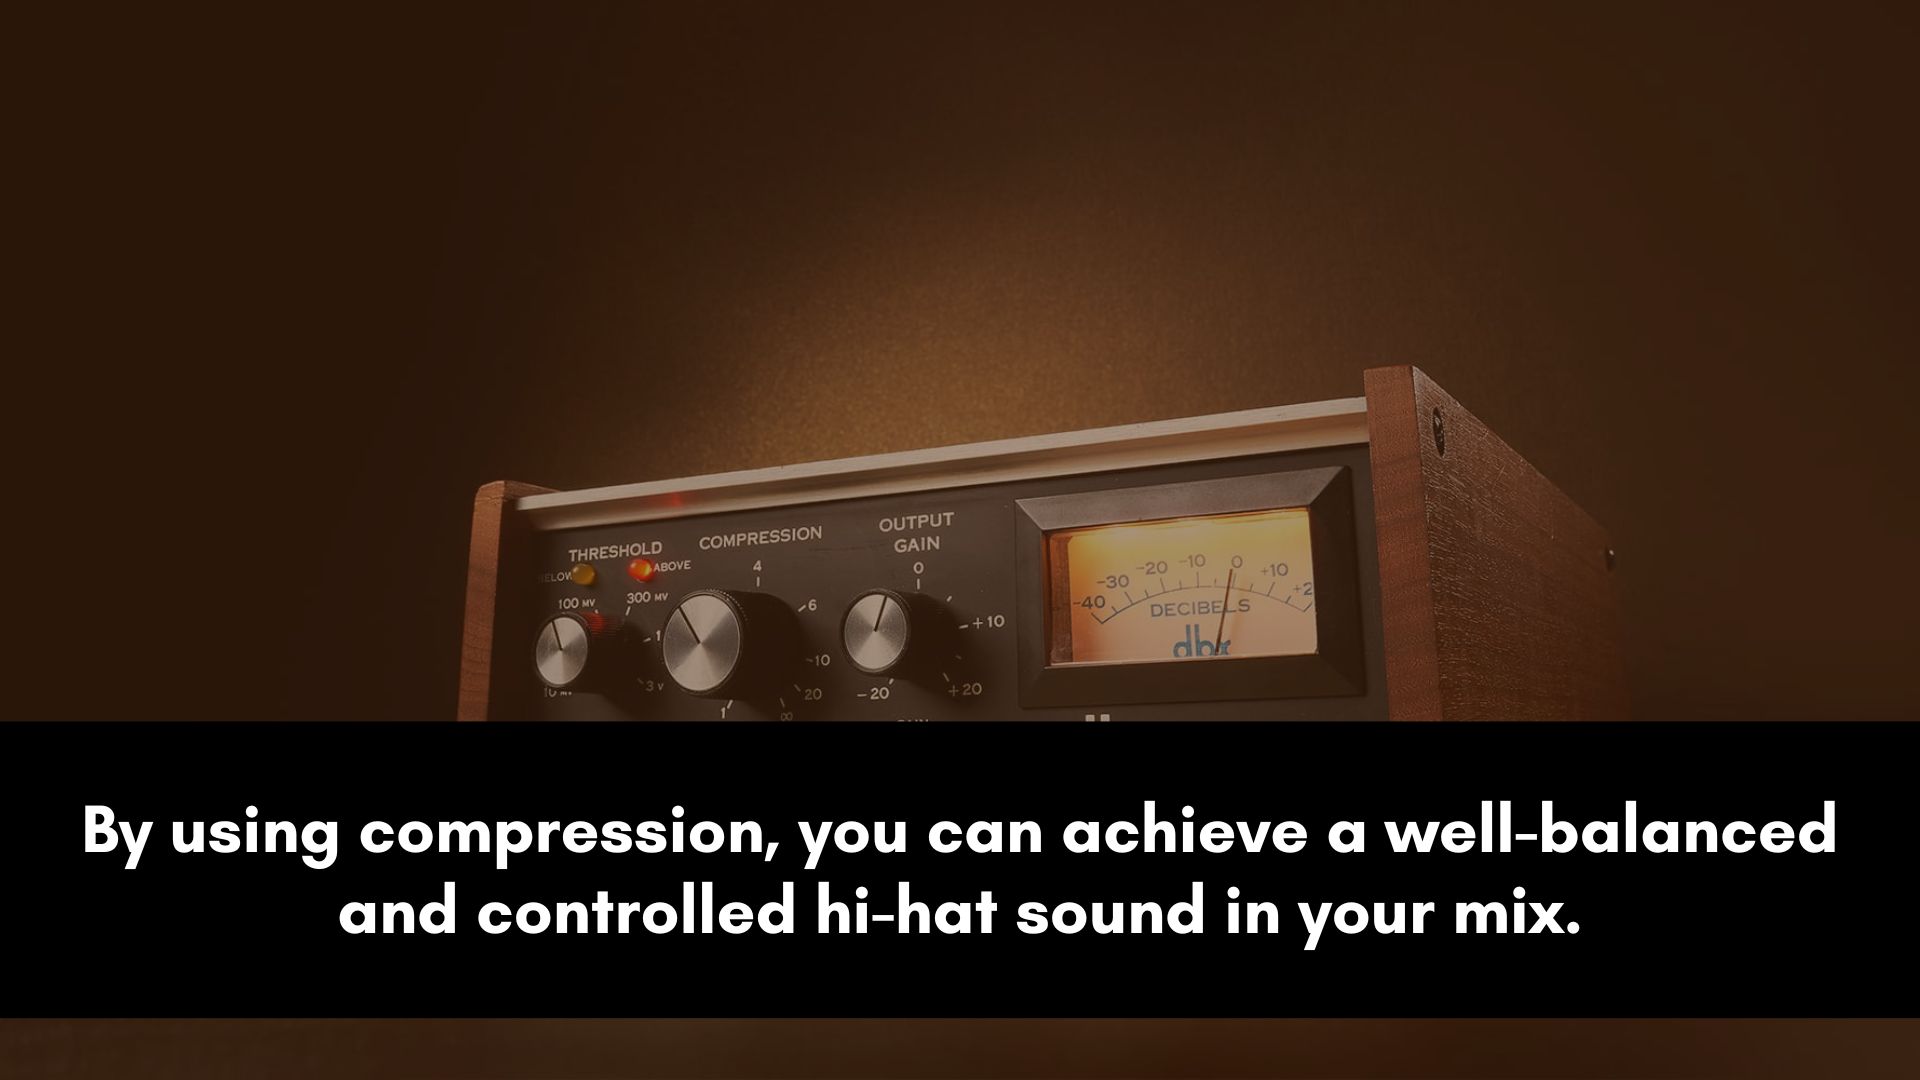
Compression can be used to even out the dynamics of the hi-hats and make them more consistent in volume.
A fast attack time and a low ratio can help control the transients of the hi-hat and make it sit better with other sounds.
However, it's important not to over-compress, as this can make them sound dull and lifeless.
Compressing hi-hats can be tricky, as they are often very dynamic and can easily become overpowering in a mix.
Here are some hi hat compression settings to help you get started:
- Use a Fast Attack Time: Hi-hats are fast-transient sounds, so it's important to use a fast attack time on the compressor to catch the initial transient. This prevents them from becoming too loud or harsh.
- Use a Medium Release Time: A medium release time will help to smooth out the sound without completely removing the natural decay. This will preserve the dynamics while also keeping them under control. But use a fast release for a fast hi-hat pattern.
- Set the ratio to 2:1 or 3:1: A gentle compression ratio, such as 2:1 or 3:1, will help control the dynamic range of the hi-hat without squashing it completely. This will preserve its natural sound while still keeping it in check.
- Consider Dynamic EQ or Multiband Compression: If the hi-hats are particularly harsh or sibilant in certain frequency ranges, you may want to consider using dynamic EQ or multiband compression to target those specific frequencies. This will reduce harshness and control the dynamic range without affecting other frequencies.
Apply Time-Based Effects

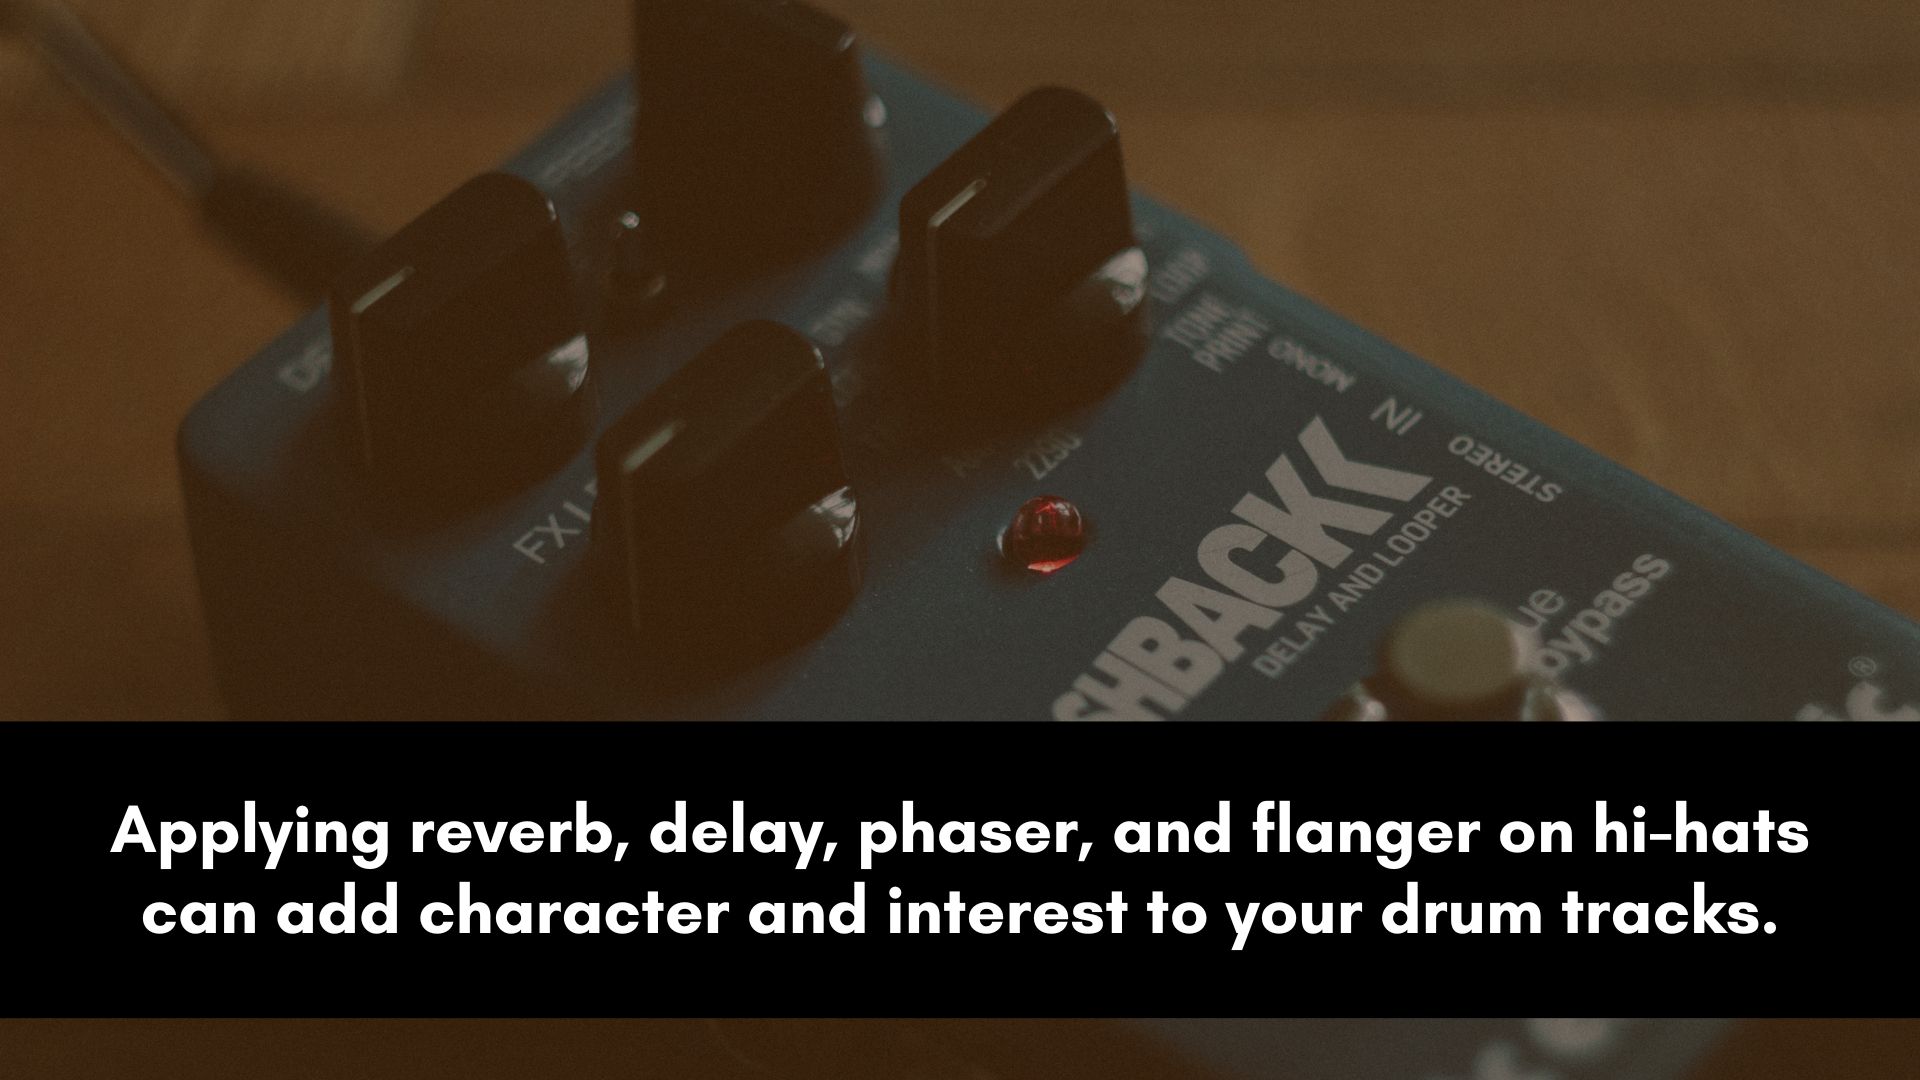
Using time-based effects such as reverb, delay, phaser, and flanger on hi-hats can add a lot of character and excitement to your drum tracks.
Here are some tips for using these effects effectively:
- Reverb: Adding reverb to hi-hats can give them a sense of space and depth. Consider using a short, bright reverb to add a subtle sense of ambiance. Be careful not to overdo it, as too much reverb can make them sound washed out and distant.
- Delay: Delay can be used to create interesting rhythmic patterns. Try using a dotted eighth-note delay to create a rhythmic echo effect, or experiment with ping-pong or longer delay times for a more atmospheric sound. You can also try panning the delayed signal to create a wider stereo image.
- Phaser: Phaser can add a swirling, psychedelic character to hi-hats. Use a subtle amount of phaser to add some ear candy to static hi-hat patterns, or crank it up for a more extreme effect. However, too much phaser can make them sound out of phase and lose their impact in the mix.
- Flanger: Flanger can add a metallic, sweeping character to hi-hats. Use a subtle amount of flanger to add movement to a static pattern. Like with the phaser, be careful not to overdo it, as too much can make the hi-hats sound unnatural and lose impact.
Getting Rid of Harshness
Hi-hats can sometimes sound harsh in a mix, especially if they have a lot of high-end frequencies.
Here are some tips to make hi-hats less harsh:
- Use EQ: One of the most effective ways to reduce harshness in hi-hats is to use EQ to cut the harsh frequencies (around 2-4 kHz). Look for the harsh frequencies in the hi-hat by sweeping a narrow-band EQ across the high end of the spectrum. Once you identify the harsh frequencies, you can use EQ to cut those frequencies by a few dB.
- Apply Compression: Applying compression can help to tame the harshness in hi-hats by controlling transients. A fast attack time and a fast to medium release time can help reduce the sharp transients while also making the sound more consistent in level.
- Saturation or Distortion: Using subtle amounts of saturation or distortion on drums can help to round off the harsh edges of hi-hats, making them sound more natural and warm.
- Reverb and delay: A small amount of reverb and delay can create a sense of space around the hi-hat sound, which can smooth out any harshness.
- De-essing: a de-esser can be a great tool for reducing harshness on hi-hats. However, be careful, because too much can make them sound dull.
By experimenting with these techniques and using your ears to guide you, you can achieve a more natural and pleasing hi-hat sound for your mixes.
Mixing Trap Hi-Hats
Here's a step-by-step tutorial on how to mix trap hi-hats:
Start by selecting a hi-hat sample that fits the vibe of your trap beat. Choose one with a good balance of brightness and character.
After placing the hi-hat in your mix, use EQ to shape its sound.
Cut the lower midrange frequencies to remove muddiness and make space for other instruments in the mix.
Boost the high frequencies to bring out the crispness of the hi-hat.
Set the volume of the hi-hat so it's audible but not overpowering. Make sure it blends well with other elements like the snare and kick.
Consider panning the hi-hat slightly to the left or right to create a sense of width. This can enhance the stereo image and make the beat feel more immersive.
Apply light compression to control the dynamic range of the hi-hat. Use a fast attack to catch transients and a medium release to maintain natural dynamics.
If needed, add a touch of reverb to place the hi-hat in a virtual space.
Use a short decay time to keep it present in the mix without making it sound distant.
Remember to listen critically and make small adjustments as you go.
Play around with different settings and compare your mix with reference tracks to ensure your trap hi-hats sound polished and well-balanced.
FAQ:
How Loud Should Hi-Hats Be in a Mix?

The loudness of hi-hats in a mix can vary depending on the style of music and the overall sound of the mix.
However, as a general rule of thumb, they should be loud enough to be heard and provide a sense of rhythm and groove, but not so loud that they become piercing when the song is played at loud volumes.
One way to ensure that the hi-hats are at the right volume is to reference other tracks in the same genre and listen to how loud they are in those mixes.
This can give you a good starting point.
Another approach is to use a reference track that has a similar sound and style to the mix you're working on.
Level match the reference track with your mix, and then compare the volume of the hi-hats in the reference track to your mix.
Adjust the volume until they sound balanced with the rest of the mix. Use the reference track as a guide; you don’t have to match it exactly.
It's also important to keep in mind the dynamic range of the mix.
The hi-hats should not clip or distort when played back at high volumes, so it's important to leave some headroom in the mix to accommodate any sudden spikes in volume.
Where should hi-hats be in the mix?
Hi-hats should be in the mix at a level where they're heard clearly but not too loud.
They usually sit higher in the frequency range, adding rhythm and energy.
Make sure they don't overshadow other sounds, finding a balance that complements the track's groove and overall feel.
Should hi-hats be in mono or stereo?
Hi-hats are often recorded and mixed in stereo, especially when using overhead microphones to capture the natural spatial positioning of the drum kit.
Panning hi-hats in alignment with overheads helps maintain phase coherence and a balanced stereo image.
Should hi-hats be louder than the melody?
No, hi-hats shouldn't be louder than the melody.
Melody is usually the main focus of the music, and hi-hats are part of the rhythm section.
They should be balanced so both can be heard clearly.
If hi-hats are too loud, they can overpower the melody and make the mix sound unbalanced.
It's important to find the right volume for each element to create a harmonious and well-mixed song.