Today I would like to share with you a great checklist that you can use to prepare your vocals for mixing.
Getting your vocals well prepared will make the process of mixing much smoother and FASTER.
This is simply because you won't be focused on fixing problems but spend most of your time making sure that the voice sits perfectly in the mix.
So, make sure that you do spend some time on these tedious tasks. After doing all this stuff, do take a break.
Try to avoid mixing immediately after mix preparation because doing all this stuff is time-consuming and energy-draining.
Preparing Vocals For Mixing
Honestly, mix prep is not fun to do and that’s why many studios have an assistant mixing engineer to take care of it.
If you choose to skip all of this then you run the risk of having an unnecessary long chain of plugins when mixing.
That could lead to ruining a good voice and messing up its good charateristics.
Doing all this preparation will help you use less compression, and avoid plugins such as gates, de-esser, de-breath, de-noise, etc.
Avoiding these plugins will keep the voice intact with no digital artifacts and as a result, your vocals will require minor tweaks to sound professional and compete with other professional mixes.
Vocal Comping
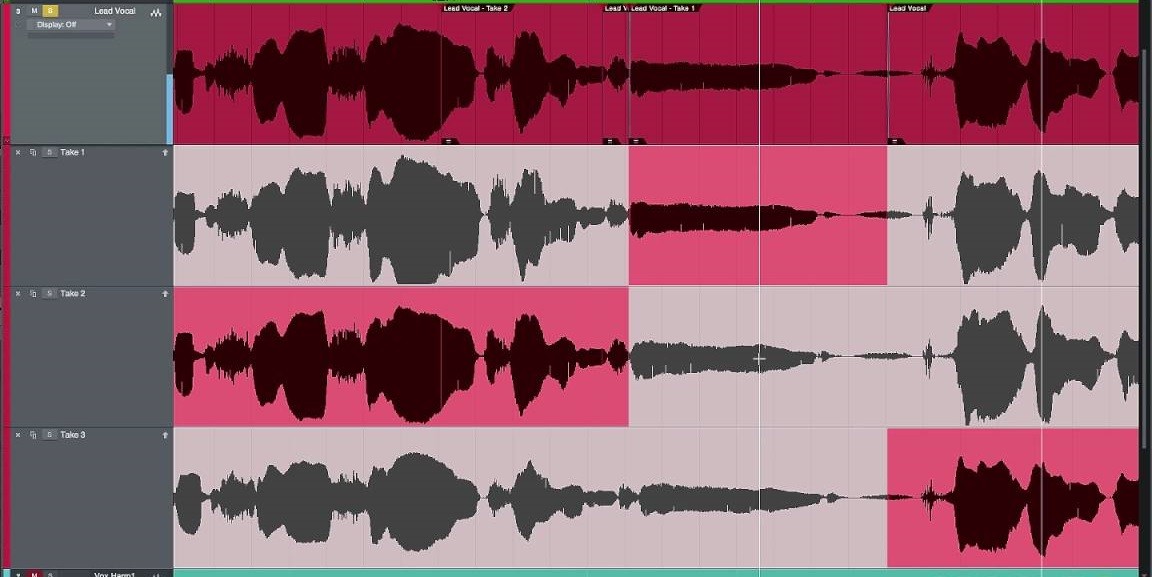
After a vocal recording session, it's crucial to take all the best takes and put them together to create one great vocal performance.
This process is called vocal comping.
When recording, engineers tend to record multiple takes for the lead vocal, this is also called double tracking.
The advantage of having multiple takes is that some phrases might sound bad in one take but sound great in a different take.
So you simply take all the good parts and put them together in one track then remove all the bad takes to create an amazing lead vocal performance.
This is usually done for the lead voice and not so much for the supporting vocals (adlibs, harmonies, backings, etc.).
Comping is an important step and can never be underestimated. It can turn a complex recording session into a simple one that can be navigated and managed much easier.
Remove Silence & Clicks
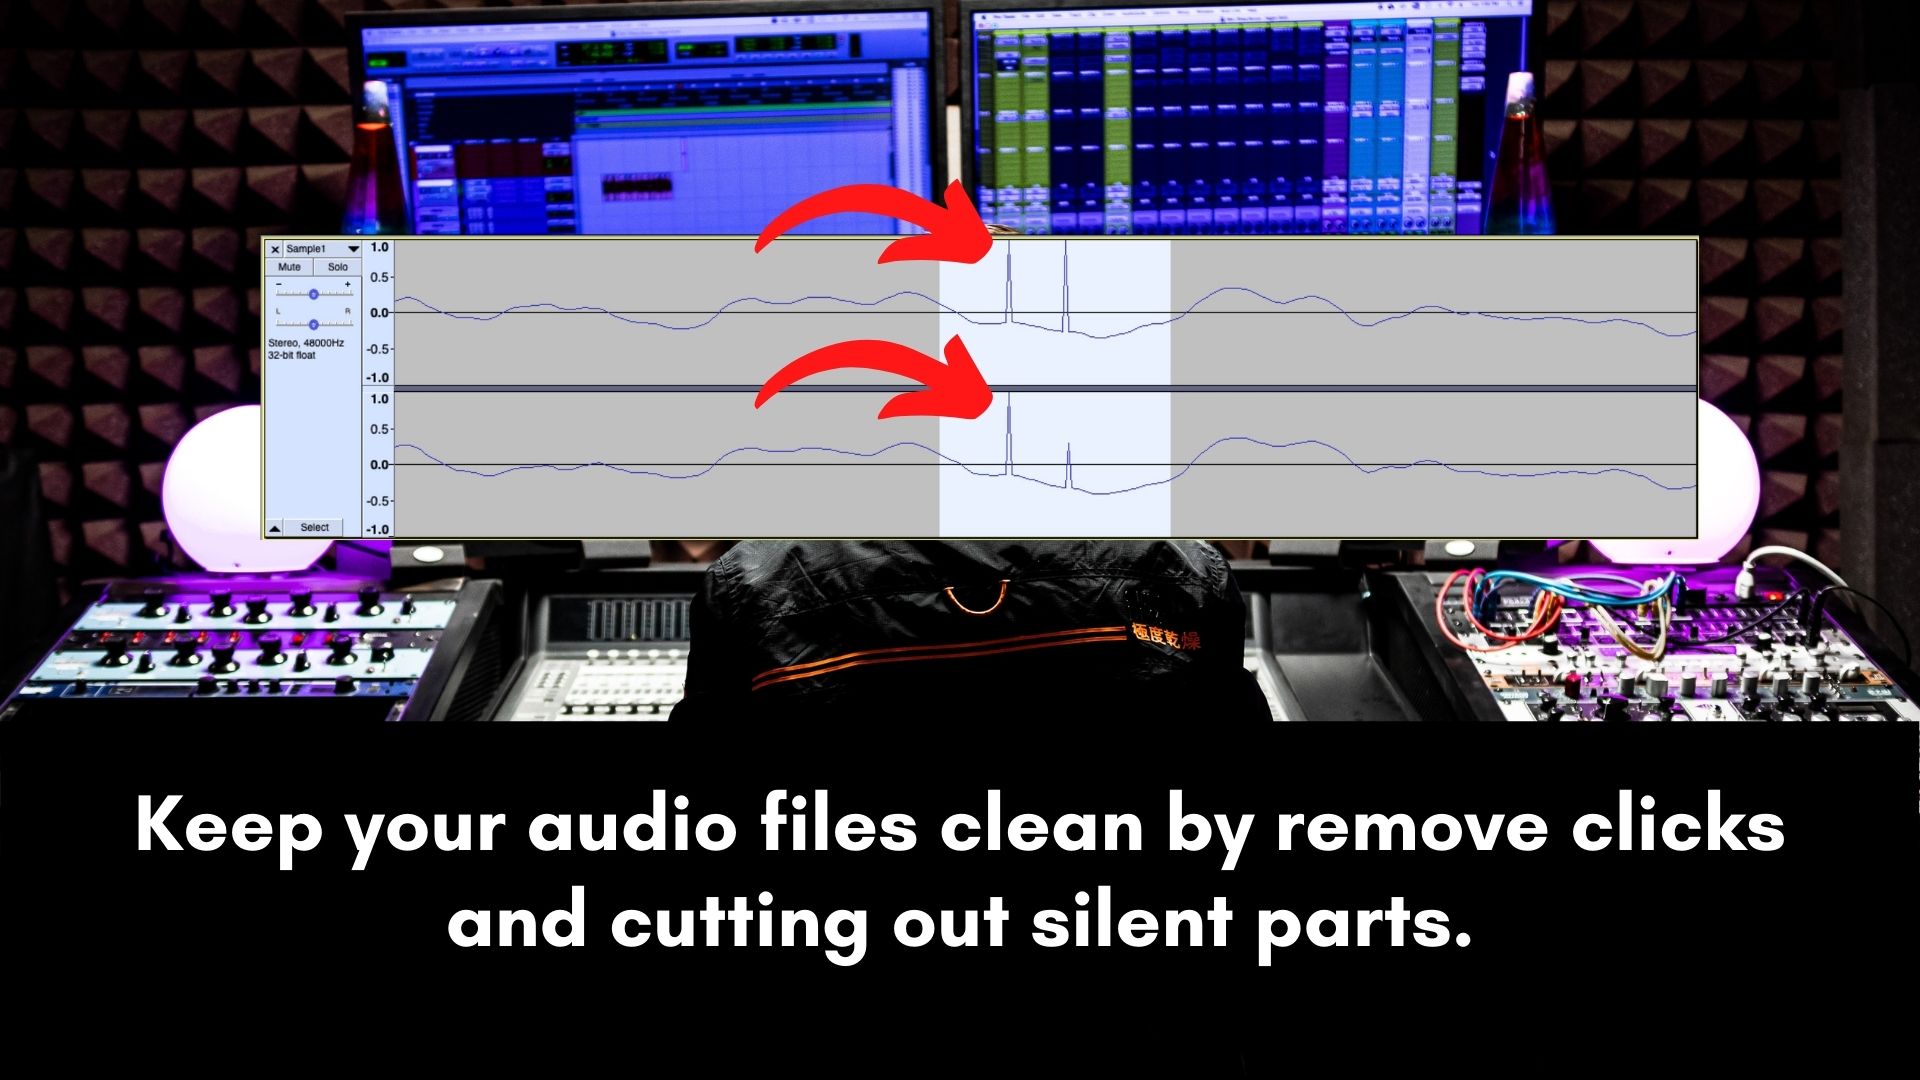
Removing silence and clicks might seem like a minor thing that you can get away with. Silent areas could have hum, background noise, and other unwanted sounds besides the voice.
That is why it's very important to manually cut out silent parts where there's no vocal playing to keep the vocal production clean.
Once you’ve removed all the silent parts from your audio files then take a moment to check for nasty clicking noises.
If you find any clicks on your recordings then you need to fix them because they’ll be exaggerated when applying compression.
There are many different tools that you can use to de-click your audio files. You can do it manually by using the pencil tool on your DAW to fix the broken waveform or simply use a plugin.
If it’s just a few clicks then I’ll do it manually but if there’s too many then that’s when I’ll go for a plugin.
I just prefer to do things manually because I’m old school and it gives me much more control.
Fix Timing Issues
In some vocal recordings, you might find that there are timing issues that you may choose to fix, or not.
In some genres, you might be forced to leave the timing untouched to preserve the human feel.
In musical styles such as classical and jazz, the musicians tend want their songs to sound organic without it being robotic (quantized).
So, before you fix any timing issues make sure that you have a clear understanding of the genre and the artist’s vision for the song.
That way you'll be able to determine whether it's a good idea to correct timing issues or not.
Listening to the song a couple of times will usually make it much easier to determine whether a vocal needs to be fixed or not.
In some cases, the vocal that's off timing can work for the song while in other situations it could distract the listener from enjoying the music.
This means that even though other musicians don't want their vocal performance quantized it could be necessary on some occasions.
So, do it but make sure it works for the song that you're currently working on.
Tune The Vocal
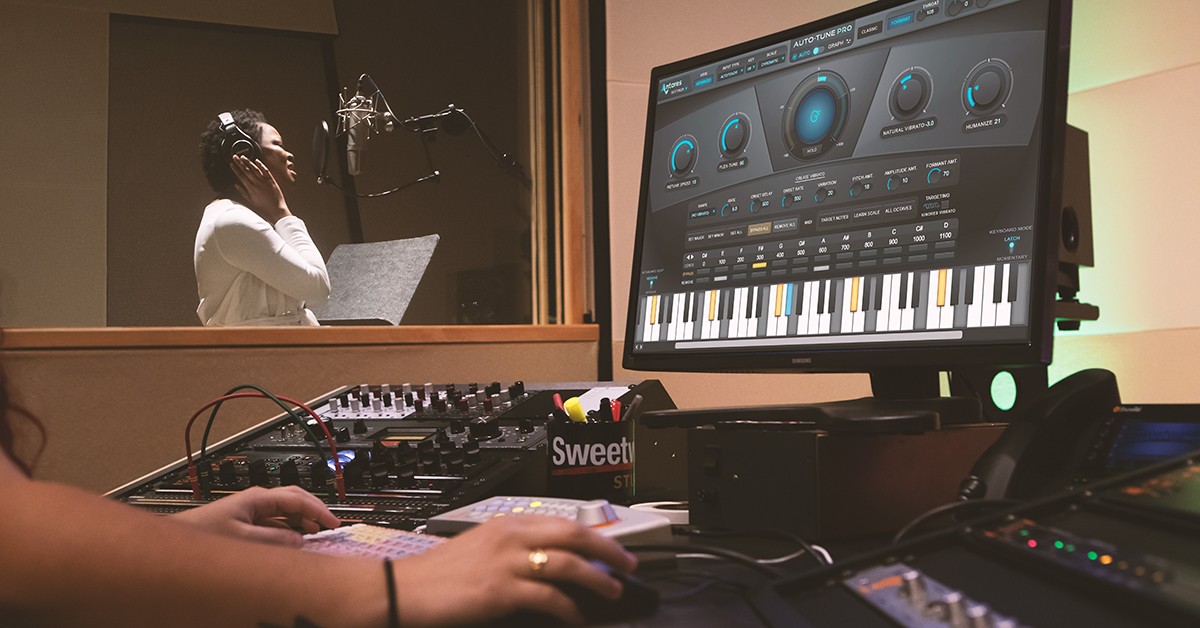
Image Credits: sweetwater.com
This is a controversial topic, to tune or not to tune vocals.
I believe the best way to know whether you should tune a vocal or not is to ask the singer or the songwriter. 99% of the time they'll give you the best answer.
You shouldn't be scared or ashamed of tuning a voice, even some of the best singers use Autotune or Melodyne to tighten up the vocal performance without messing up the timbre.
In some cases, tuning can be used as an effect. Maybe to give the song a futuristic feel especially if the singer is talking about neon lights, robots, gadgets, etc.
The genre can also influence whether you should tune a vocal or not.
For instance, a dance club song that has timing issues can be a bit hard to dance to. This is why most dance tracks are on the grid most of the time.
So, this will differ from song to song, simply do what will work best for the song and if everyone involved is happy then you’re golden.
Controlling Pops, Sibilance & Breaths
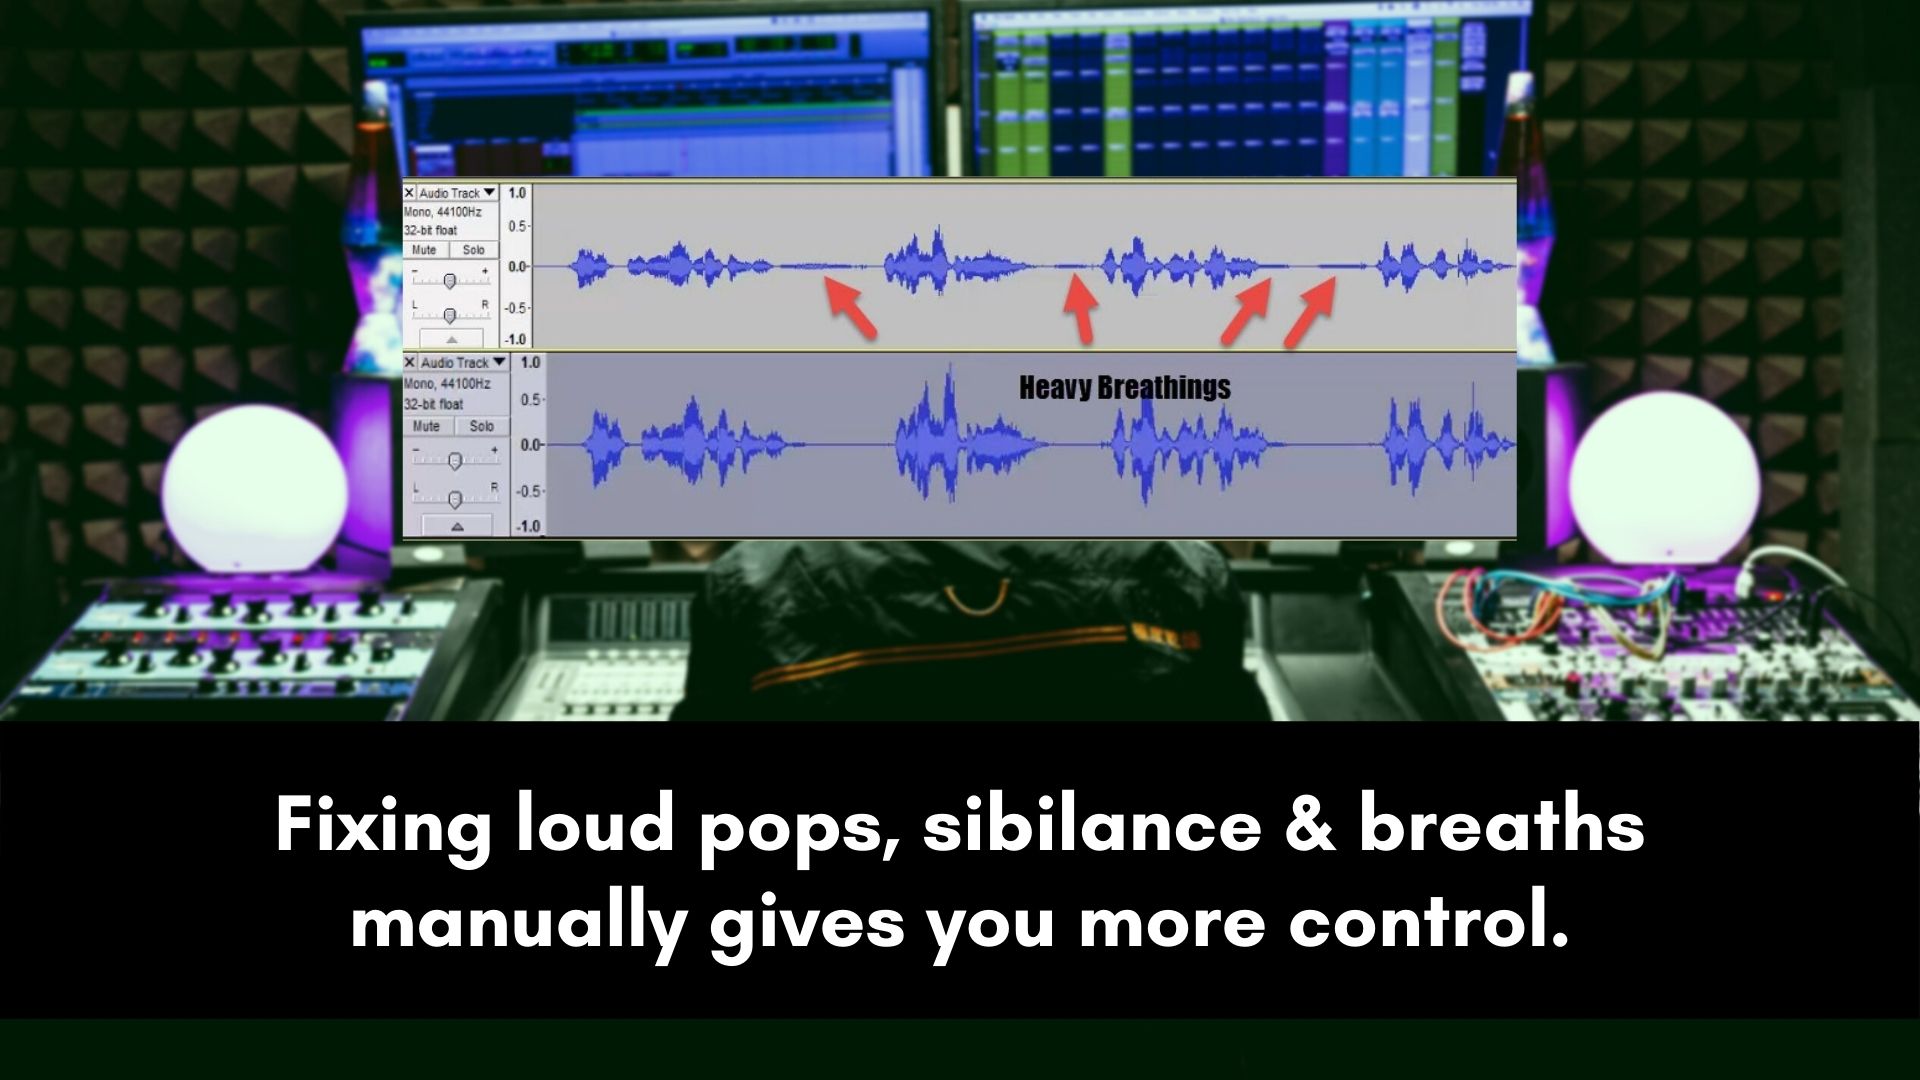
When it comes to dealing with loud pops, sibilance, and breaths I prefer to control these manually instead of relying on tools.
When it comes to these 3 problems I find that plugins can work but they’ll still need some assistance.
For instance, a de-esser plugin will work best on a vocal if you automate the threshold in some parts of the song where the de-esser can’t detect the sibilance or causing a lisp.
The same thing happens when you use de-pop and de-breath plugins. These plugins can also miss other loud consonants such as "b" and "d".
So, this is why I always choose to fix these problems manually using the pre/clip gain. It is recommended to use the clip gain instead of the fader since it comes before any processing.
Once I’ve done all the manual work I might still add a de-esser plugin later when mixing because compression tends to bring up the sibilance.
However, you’ll get transparent de-essing without digital artifacts because the plugin will be doing very minimal work.
So, the de-esser plugin will be used to polish my work and not to fix the problem.
That’s how I deal with pops, sibilance, and breaths.
Reduce Loud Peaks
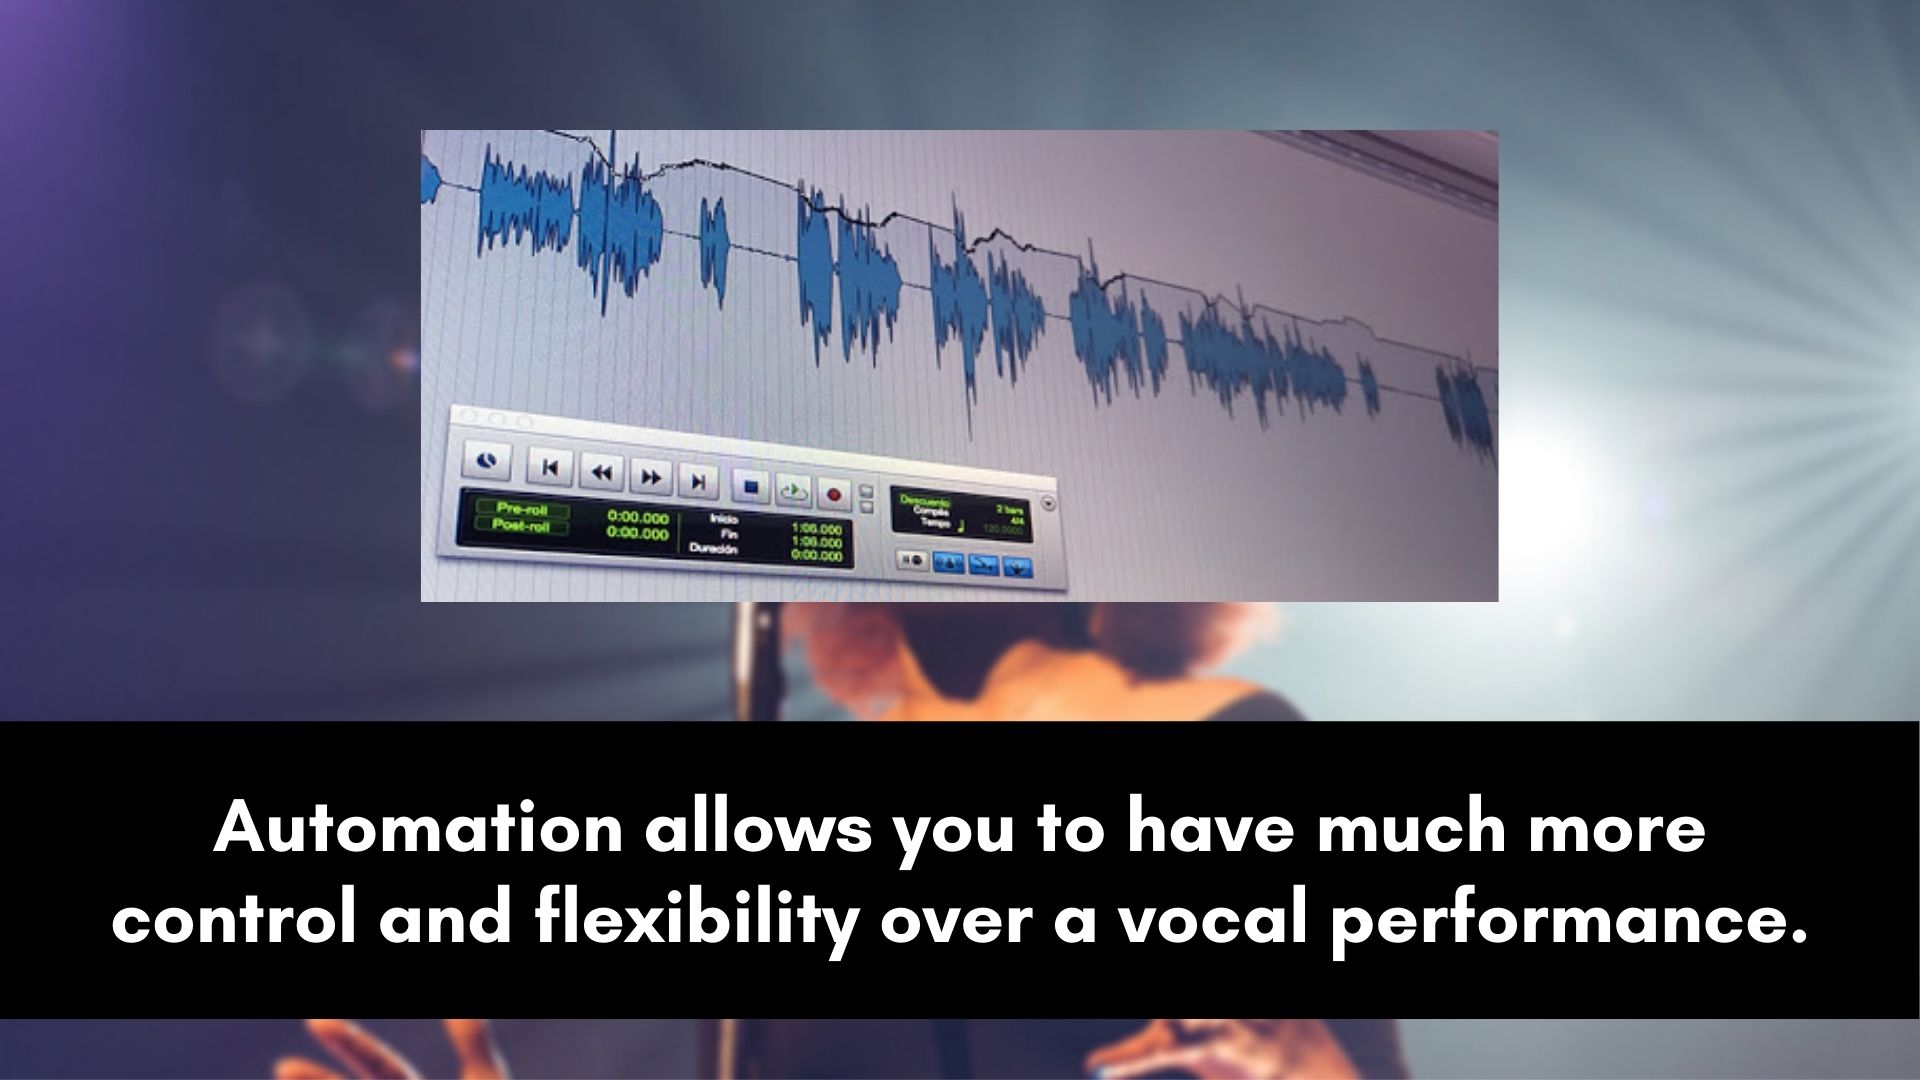
In some vocal recordings, especially if the vocalist doesn’t have a good mic technique you might find that some parts are way too loud while some are quieter.
In those situations, it is often recommended to control these loud peaks manually using the clip gain instead of relying on a compressor to take care of the peaks.
Even if you choose to take the shortcut and use a compressor, you’ll still need to automate the threshold in some parts of the song to make sure the compressor doesn’t squash the signal or miss a loud peak.
So, that’s why it’s usually a good idea to control the loudest peaks beforehand.
This way you will get a much cleaner compression and more control over the signal.
In a case where you’re working with a client that is in a hurry then use serial compression (using multiple compressors) instead of overworking one compressor.
You’ll get much better results this way as compared to choking one compressor.
Gain Staging Vocals
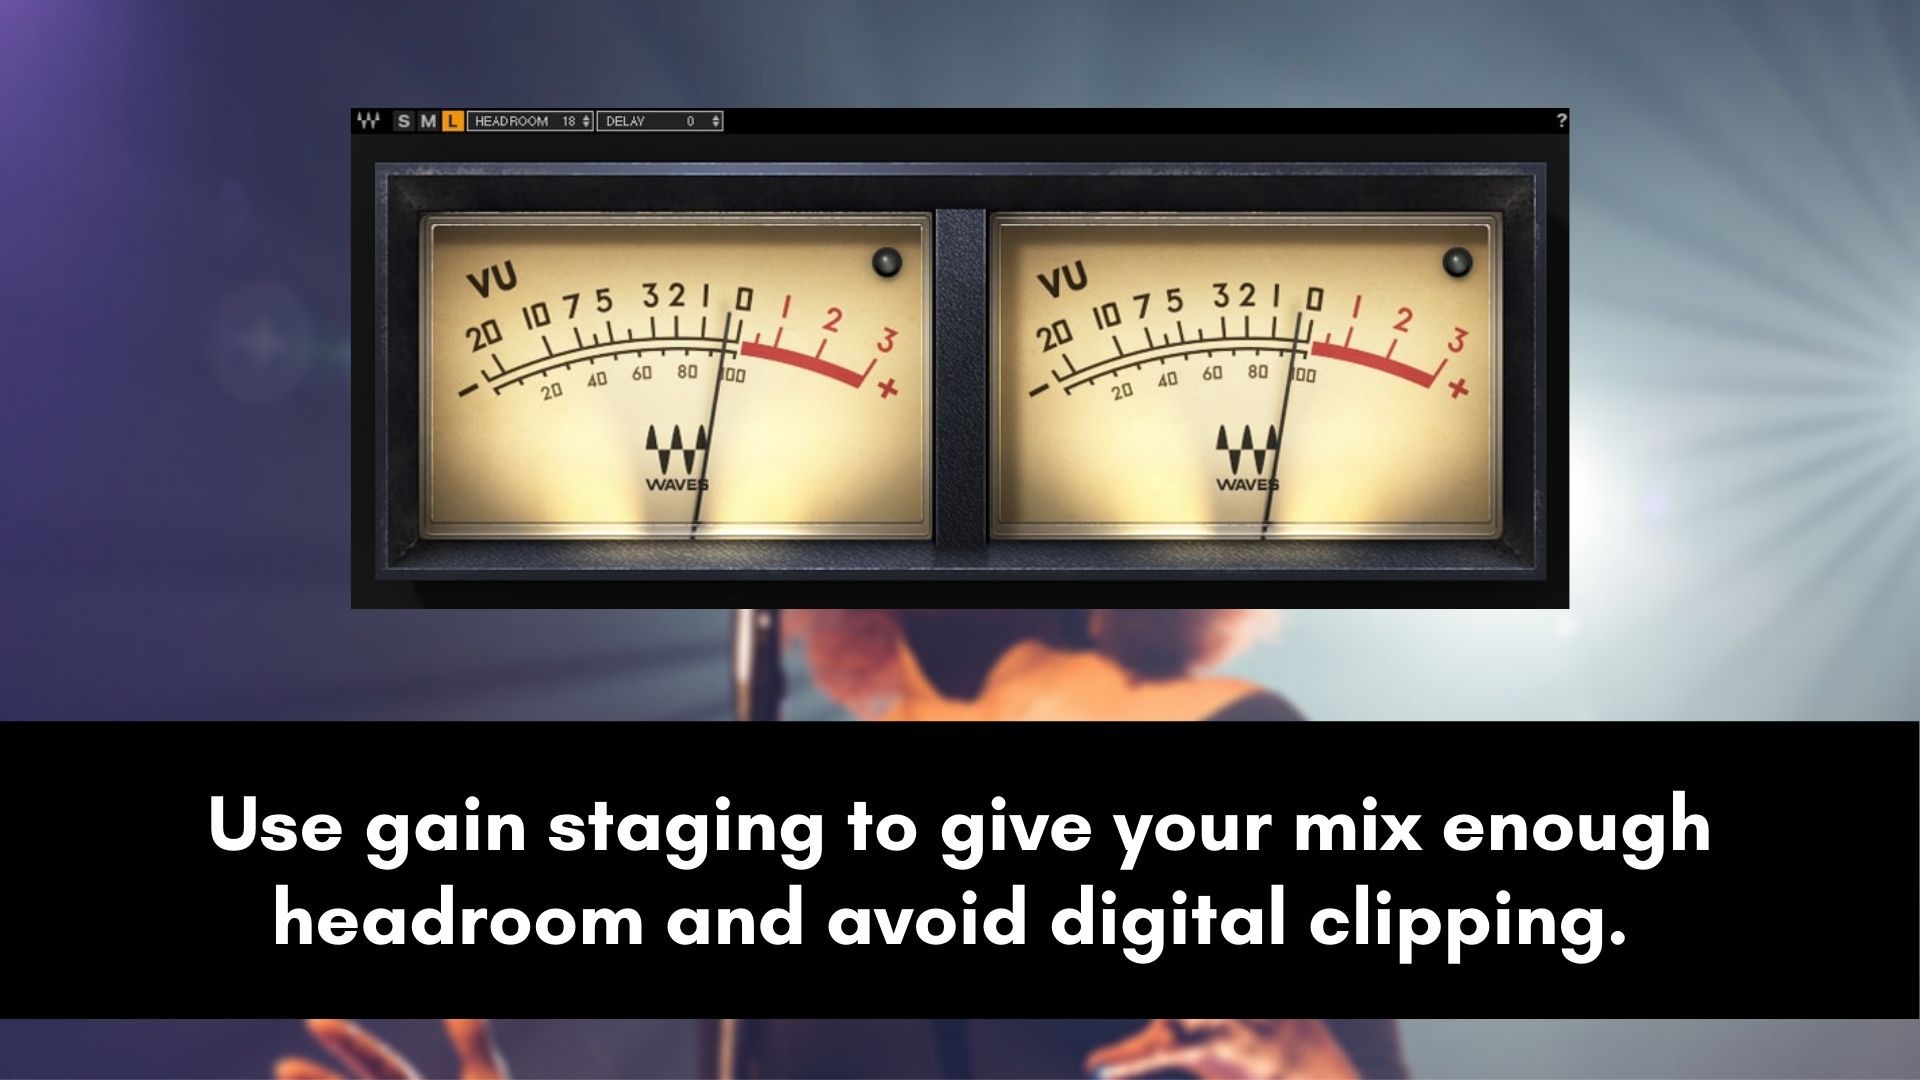
These days a lot of plugin manufacturers are replicating old gear which adds rich harmonics to an otherwise boring digital recording.
Although these harmonics do help in getting audio files to sound great, it does come with a price. The price is called aliasing.
Most people still use waves plugins, and their plugins don’t have built-in oversampling.
Waves Audio does this so that everyone can use their products even if they’re using an old computer.
This doesn’t mean Waves plugin emulations are terrible, it simply means that you have to gain stage them correctly to get the best results.
And you know what’s funny? This is mentioned in the manual, that you should gain stage your audio files at -18dBFS.
So, whoever tells you that Waves plugins sound flat, just know that they didn’t read the manual and didn’t gain stage correctly.
This doesn't only apply to waves only, even other plugin companies such as Plugin Alliance (not all through), IK Multimedia, Softube, etc. don't have built-in oversampling.
If you’re going to be using stock or clean 3rd plugins that are not hardware emulations then gain staging is not that crucial.
You just have to make sure that you’re not getting any digital clipping and you should be fine.
Export Settings
How you export your audio files is important because it impacts the quality.
When it comes to mixing vocals, the goal is to work with the best quality possible. The only problem is that most people are still working on old computers.
So, you might be forced to compromise the quality a bit so that your machine doesn’t choke when adding multiple plugins during mixing.
If you’re computer or laptop is slow then export everything at:
- Sample Rate: 44.1kHz
- Bit Depth: 16-bit
- Format: Wav/AIFF
I’ve done some great mixes using these settings so don’t feel discouraged by mixing audio files at this quality.
If you’re using a modern machine then you can increase the sample rate and bit depth to whatever that your computer can handle.
Always keep in mind that you cannot up-sample an audio file though.
For instance, if your files are recorded at 44.1kHz, exporting them at 96kHz is kinda pointless. The audio file won’t become better quality just because you up-sampled it.
So when exporting, use the same sample rate that was used during recording and production.
One other thing that most people don’t take into consideration is mono vs stereo. It’s important to know which vocal parts should be mono and which should be in stereo.
Whenever you’re not sure, simply ask yourself if you want a punchy or smooth sound.
Usually, the lead vocal is mono so that it can be punchy and in your face. The supporting vocals are the ones that are regularly in stereo.
This is just a matter of preference and what works best for the song that you’re currently working on.
No matter how slow your machine is, never export the file in mp3 format because it’s low quality and intended for playback not audio engineering.
Wrap
That’s how you prepare vocals for mixing, at least this is how I prefer to do it because it makes the mixing process a lot about making things fit well together instead of wasting time fixing recording and production issues.
If ever there’s anything that sounds confusing then leave a comment below, you know I always respond to every comment.