Welcome to Audio Spectra, in today's tutorial we’ll be talking about mastering your music with waves audio plugins.
The most important thing that I want you to pick up is that there are a lot of misconceptions about mastering.
Beginner engineers are often fooled into thinking that mastering is some magical process that will make your songs sound more “professional”.
If the mix is not already sounding professional then the mastering will not help. So, focus on getting the mixing right before considering mastering.
You can't polish a turd!
Other fallacies include so-called Pros who’ll tell you that you need special equipment to be able to compete with other commercially successful songs out there.
These are tactics that are used to sell you a service that you don’t even need in some cases.
Don’t get it twisted though, there are many mastering engineers who really know what they’re doing and they provide a great service.
With all that said, let’s get started.
Next Level Mastering with Waves Plugins
In this blog post, I’m only going to use Waves Audio plugins.
If you want me to create a different tutorial using a different plugin manufacturer then leave a comment below and I’ll do it for you.
Remember that not all plugins are built for the purpose of mastering so this guide will help you choose the best ones for the job.
When it comes to mastering, it’s a must to have proper room treatment and a good pair of speakers.
It is also a good option to have multiple studio monitors and headphones. A subwoofer is not a must-have but get one if you can.
1. Use Reference Songs to Avoid Guesswork
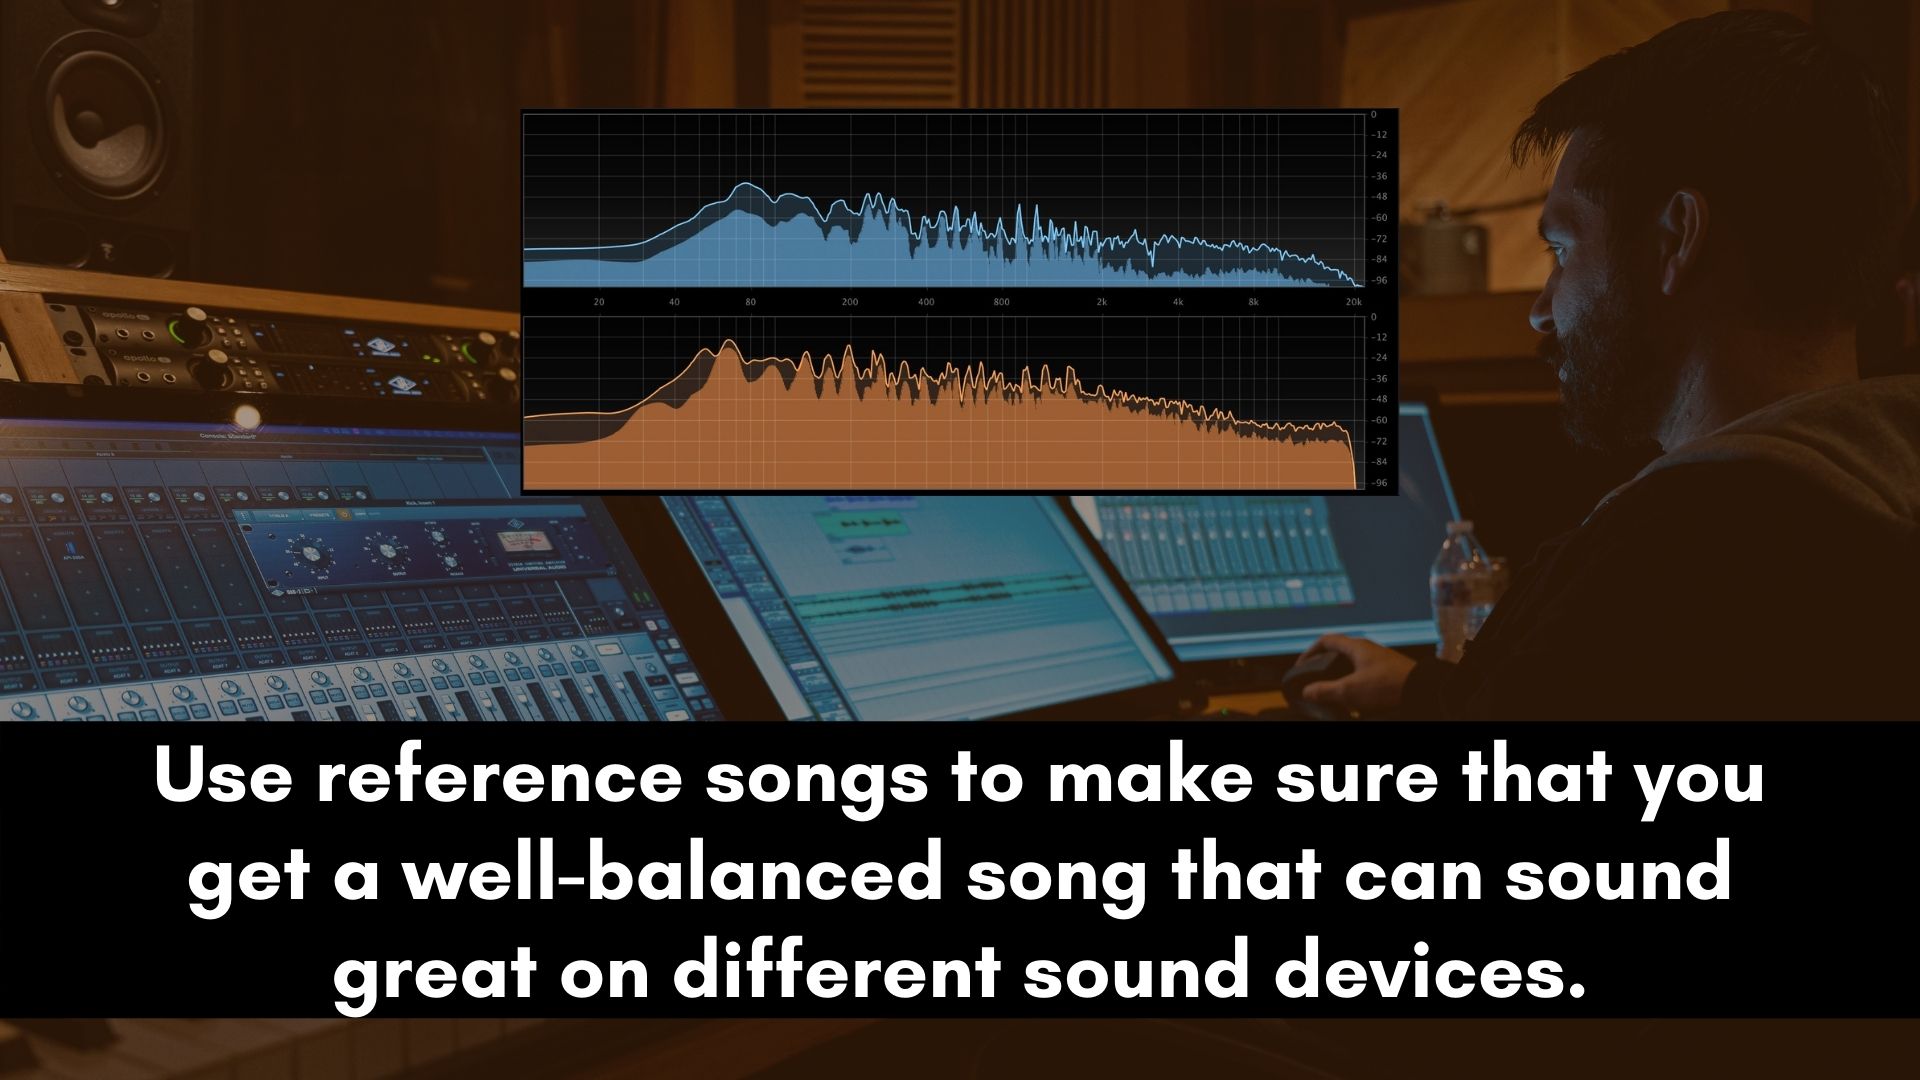
Before you master your music, I would recommend you to listen to a few songs that are in the same genre and tempo.
For instance, if you’re working on a Pop song or album, it’s wise to listen to some of your favorite Pop songs (if you have any). Or simply listen to a few successful songs and choose the ones you think sound good to your ears.
If you would like to learn more about getting the most out of using reference material then check out my previous post titled: How To Use Reference Tracks When Mixing
Using reference content is very crucial especially if you’re mastering in an untreated room or using commercial speakers instead of studio monitors.
2. Metering Your Master With Waves Plugins
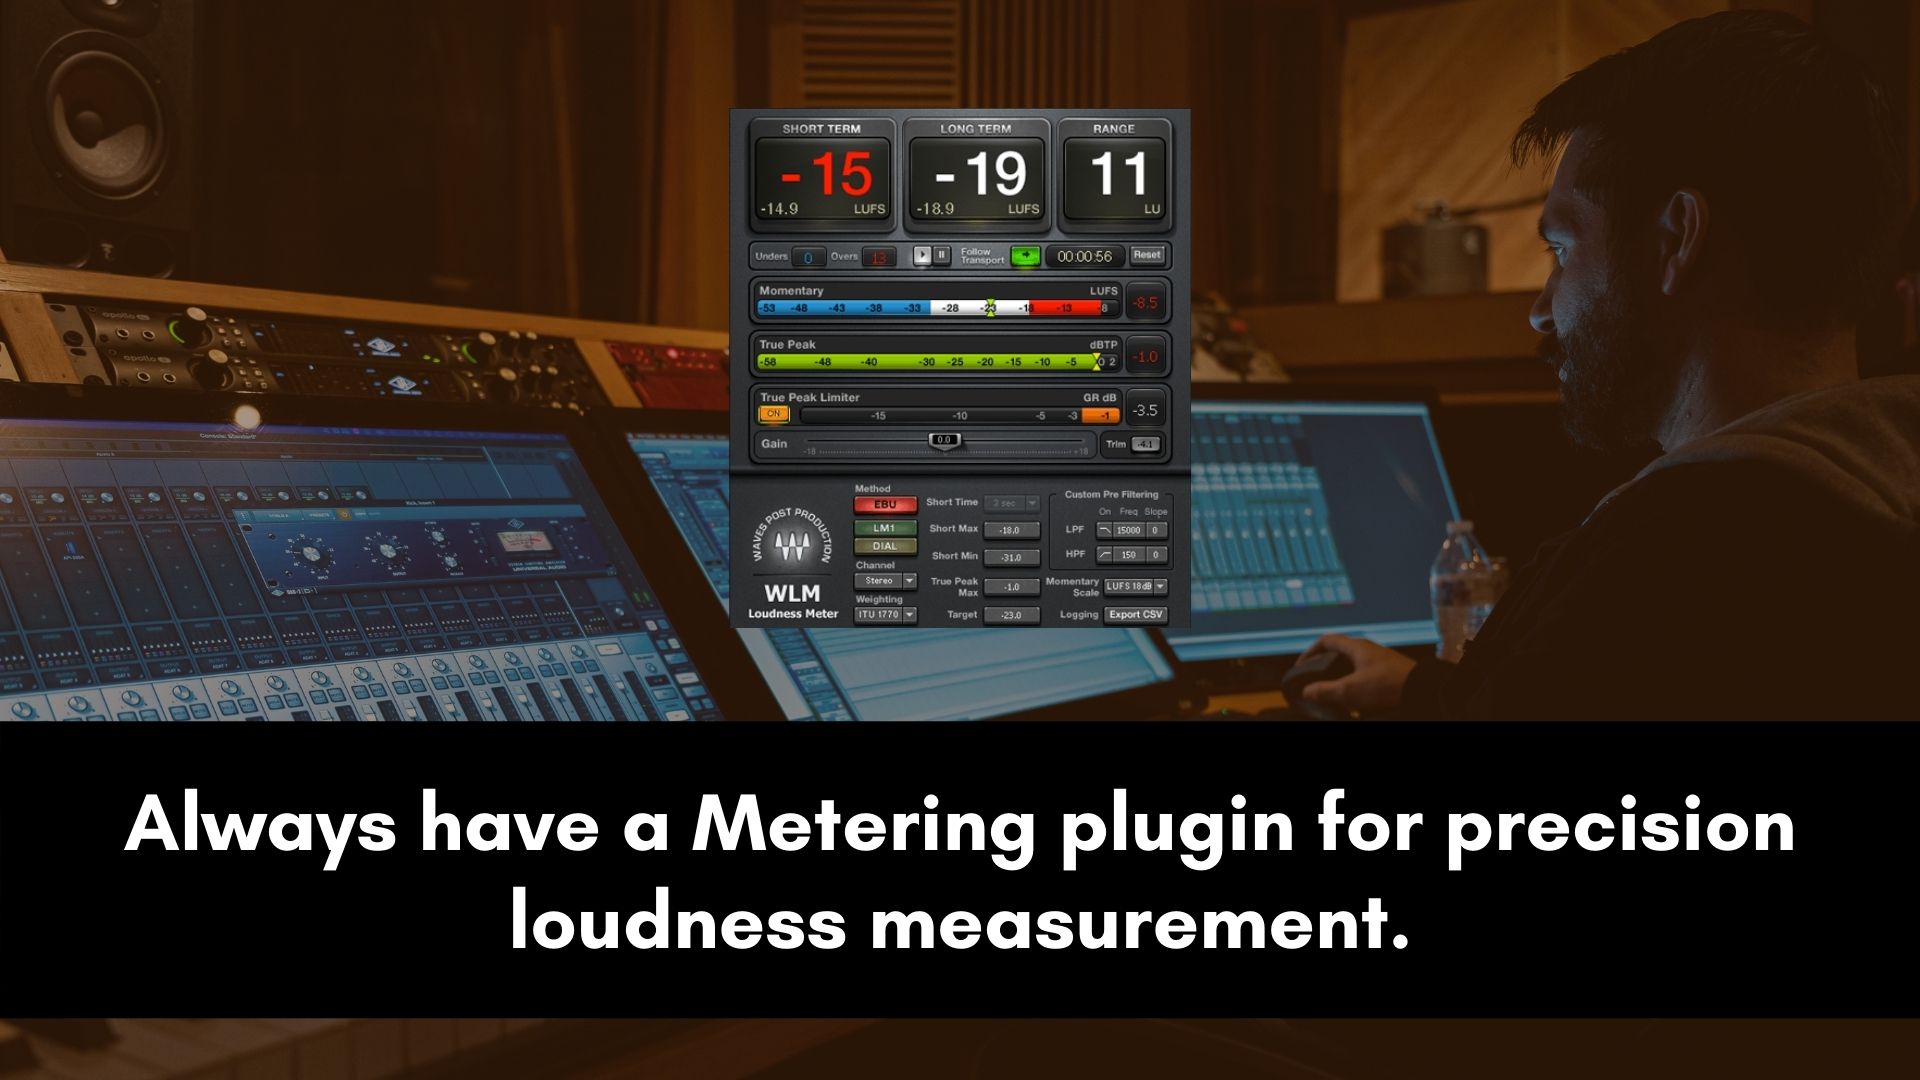
These days a lot of people tend to focus too much on numbers that don’t really mean that much and end up with songs that don’t sound good on certain platforms.
For instance, I focus on getting my master to peak at around -10 to -7LUFS and for the ceiling, I prefer to go for -1dBFs (since this is now the standard for streaming services).
But feel free to use the popular -0.3dB true peak, there’s nothing wrong with it.
The only problem occurs when you want your master to peak at -14LUFS, if you do that then after normalization (by the streaming services) your song will sound quieter as compared to other songs.
So, the goal is to always go above -14LUFs.
But don’t get too caught up on the numbers, always rely on your ears and how everything sounds.
I find that the WLM Loudness Meter provides precision loudness measurement, metering, correction, and adjustment tools.
3. Start With the Limiter When Processing
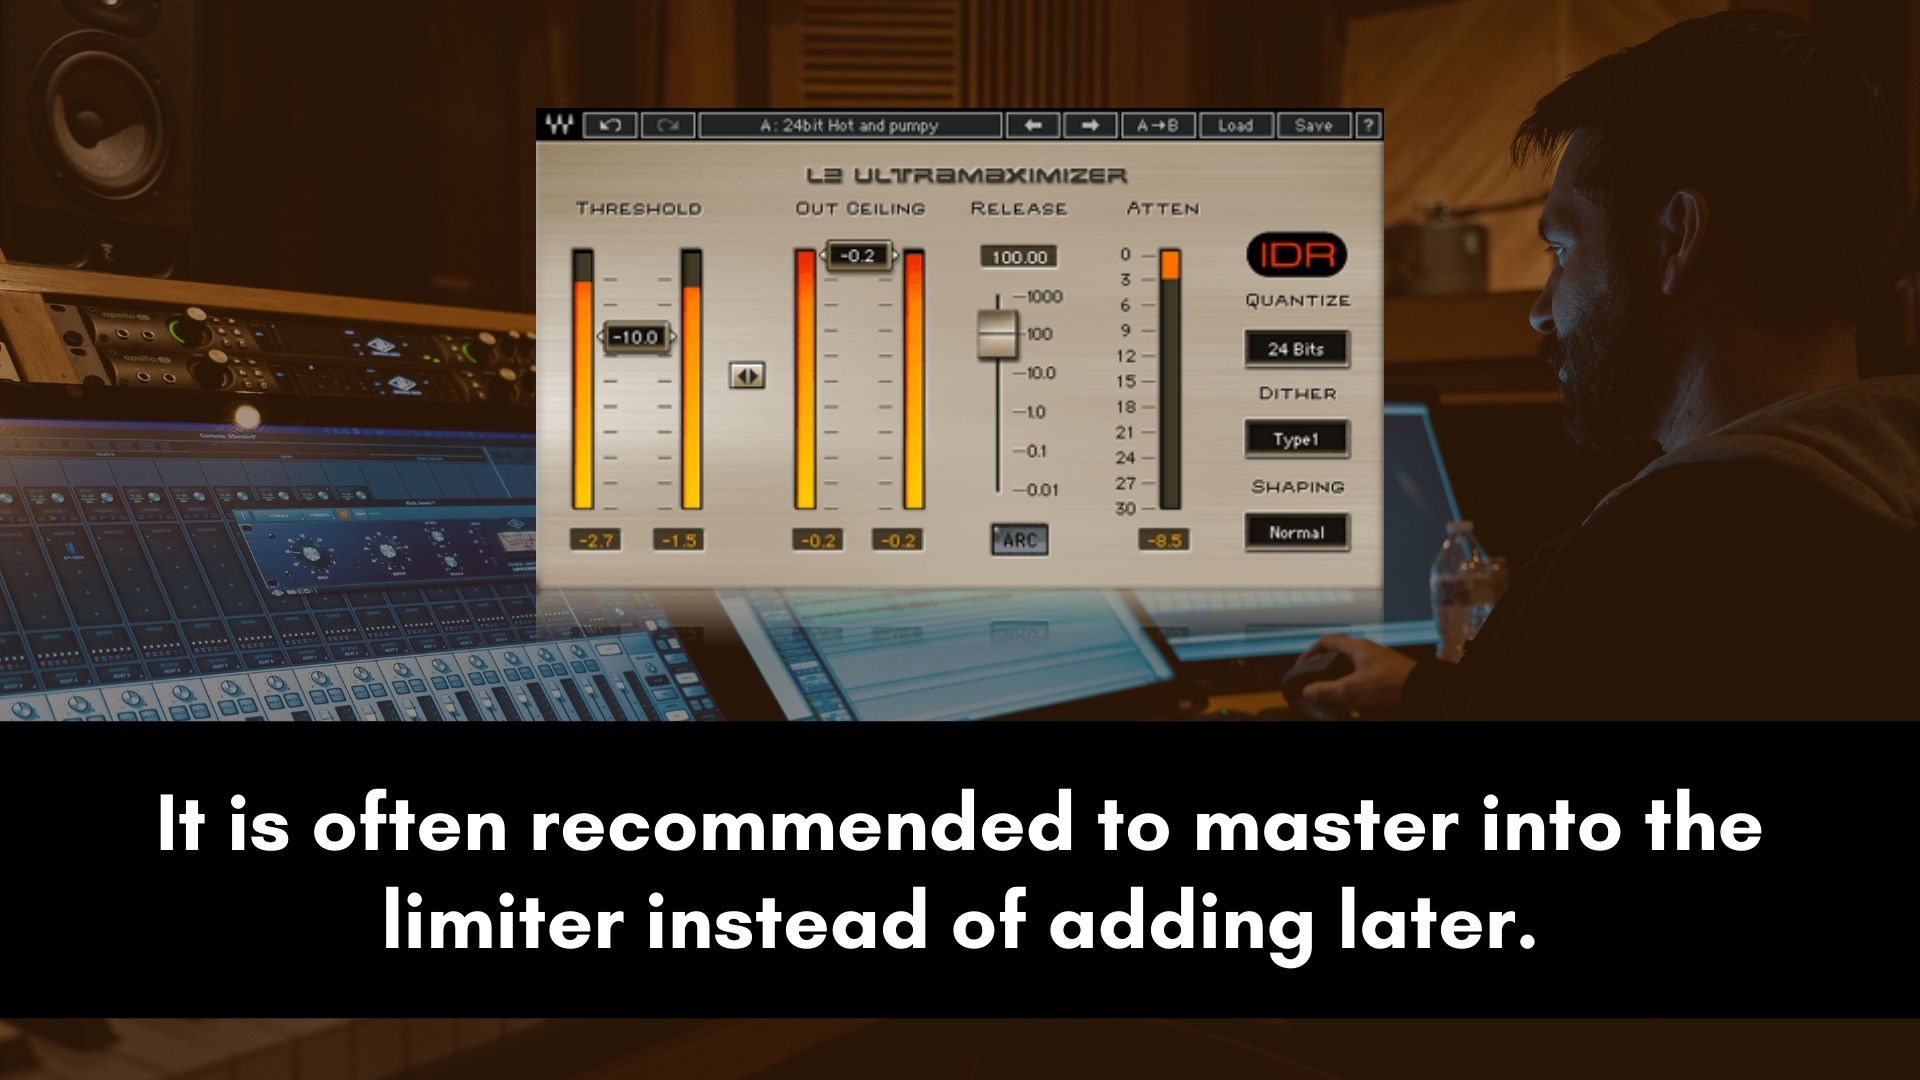
Mastering into a limiter will give you a better picture of what your final product will sound like.
However, this doesn’t mean you have to add the limiter in the first slot/insert of your mastering chain. You have to add it in the last slot because the limiter should always be the last plugin you add in your chain.
For instance, if your DAW only allows you to insert 10 plugins in your chain, add the limiter in slot number 10 and not slot number 1.
When it comes to limiting I often do it in stages instead of having one limiter plugin do all the heavy lifting. This way I get a much more transparent sound without unwanted distortion or artifacts.
It’s a good thing that Waves Audio has multiple options to choose from.
My favorites are the L2 Ultramaximizer, L3-16 Multimaximizer (multiband), and then finalize everything with IM-Pusher which is a clipper/limiter.
In that particular order, with each plugin doing a minimal amount of limiting.
4. Bus Compression on the Master
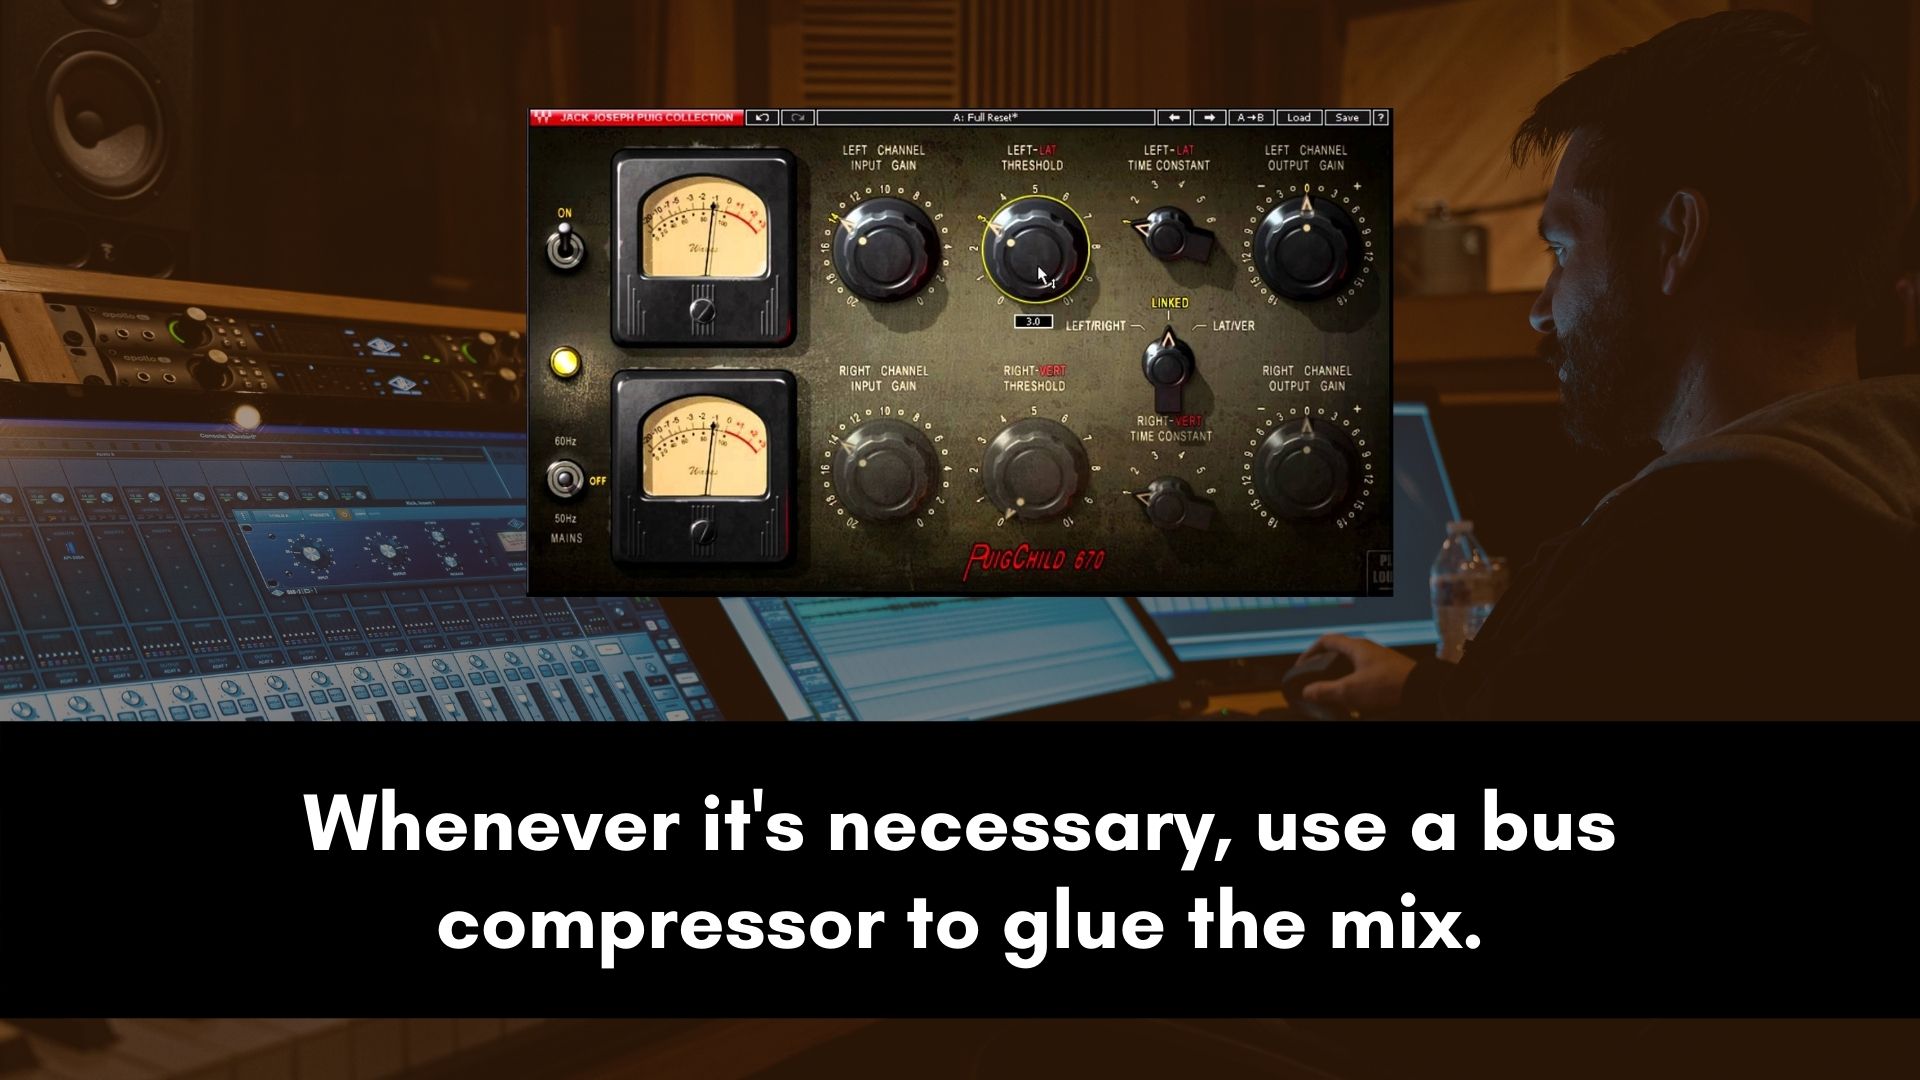
The goal of bus compression is usually to glue the song and it shouldn’t always sound obvious. If it sounds obvious and you can hear some pumping then you're doing it wrong.
I’ll do a dedicated tutorial about this topic but usually, the settings are a minimum amount of gain reduction (2-4dB), a low ratio (often 2:1), slow attack, and fast release.
These are the typical bus compression settings, but always adjust them to fit the song if necessary.
In most cases, I usually use bus compression just to add character and attitude to a clean sounding mix instead of actually compressing the song.
My 2 favorites from the Waves Audio plugins collection for this are the PuigChild Compressor and SSL G-Master Buss Compressor.
5. Mid Side EQ When Mastering With Waves Plugins
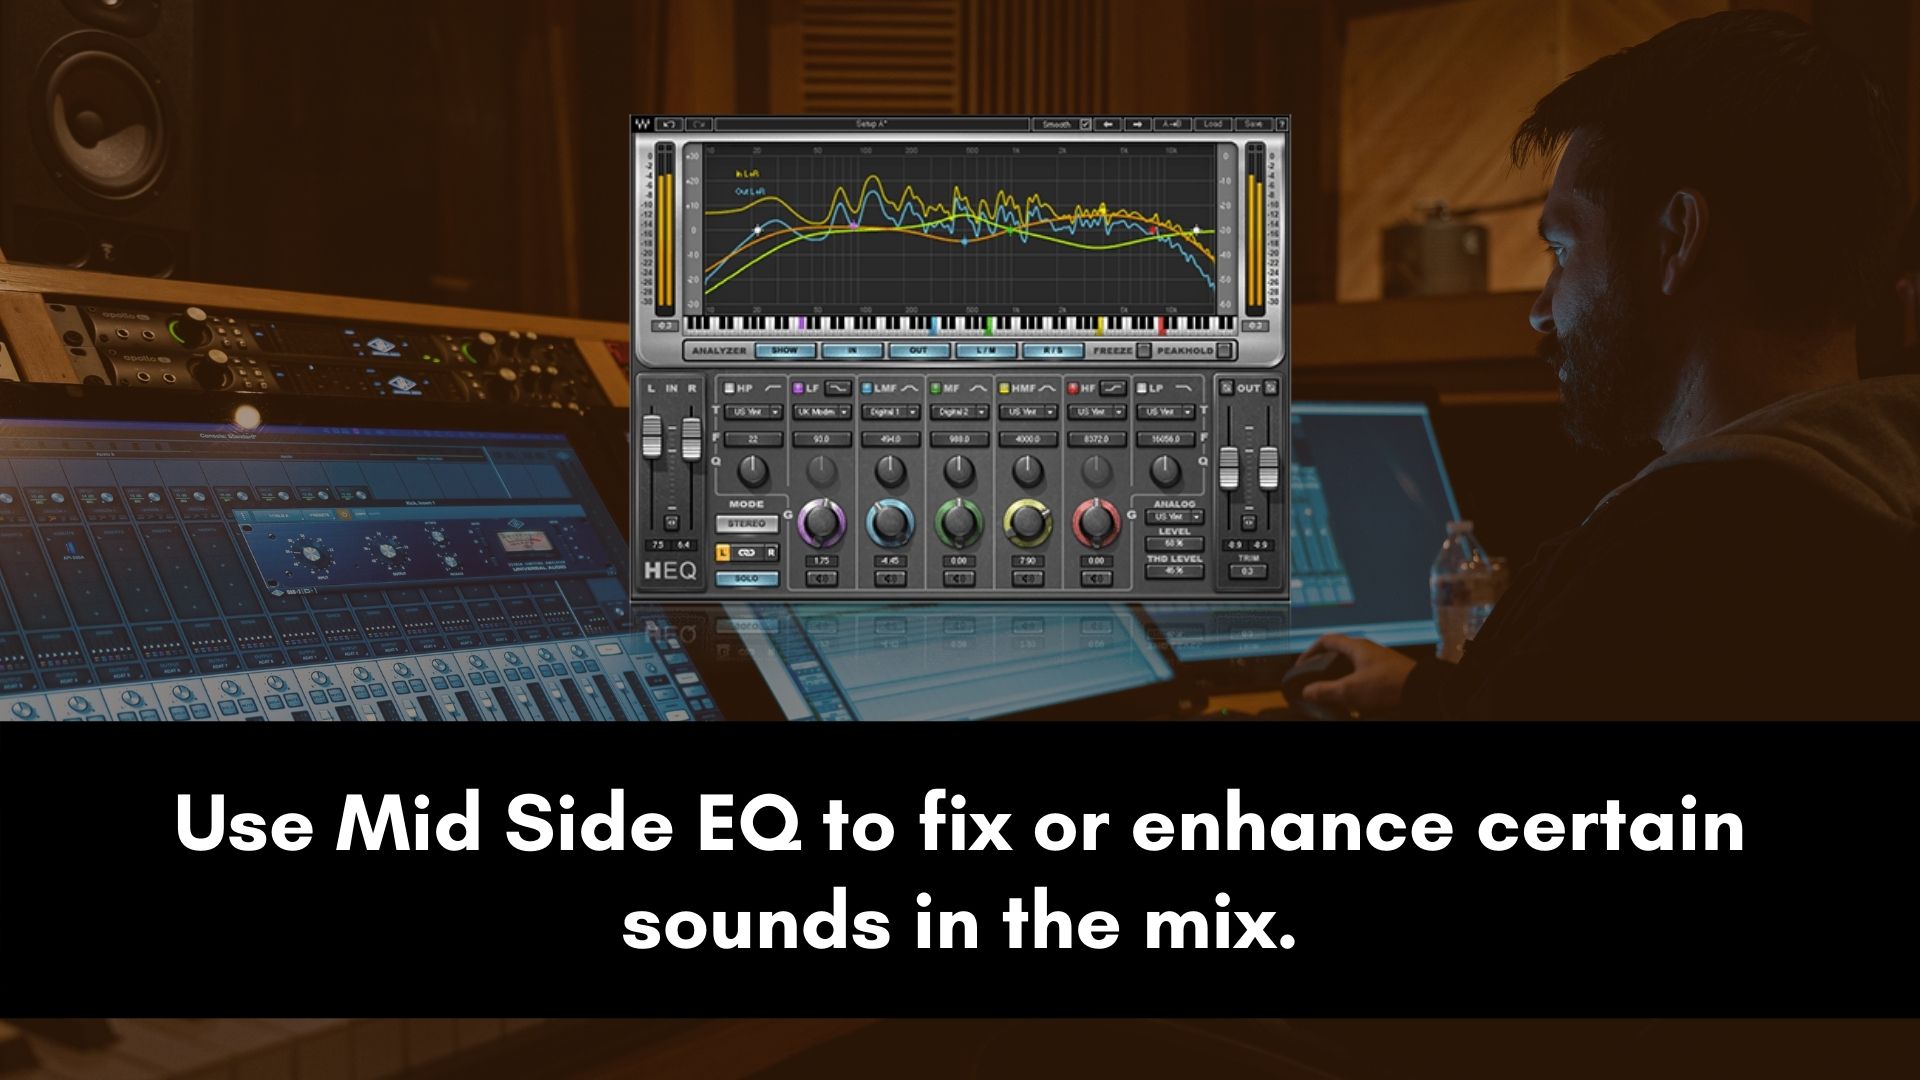
This is an extremely useful technique for mastering because it allows you to adjust frequencies in the center of a stereo track separately from the sides.
Mid/Side EQ provides you additional control over a full mix (since you don’t have access to the individual tracks) and can even be used to isolate instruments in the mix.
You can use M/S processing to fix certain issues or enhance particular sounds. For instance, if the vocal is too loud or quieter.
You can even use it to get the kick or bass to punch even more or even reduce them.
Besides that, M/S EQ also allows you to create stereo width by changing the balance between mid and side levels.
It is also the most dangerous type of processing if you don’t know what you’re doing because you can mess up the tone and balance of the mix.
So, be very careful when doing any type of mid side processing.
The H-EQ Hybrid Equalizer and F6 Floating-Band Dynamic EQ are the best options for doing Mid/Side EQ in the Waves plugin’s arsenal.
7. Surgical EQ
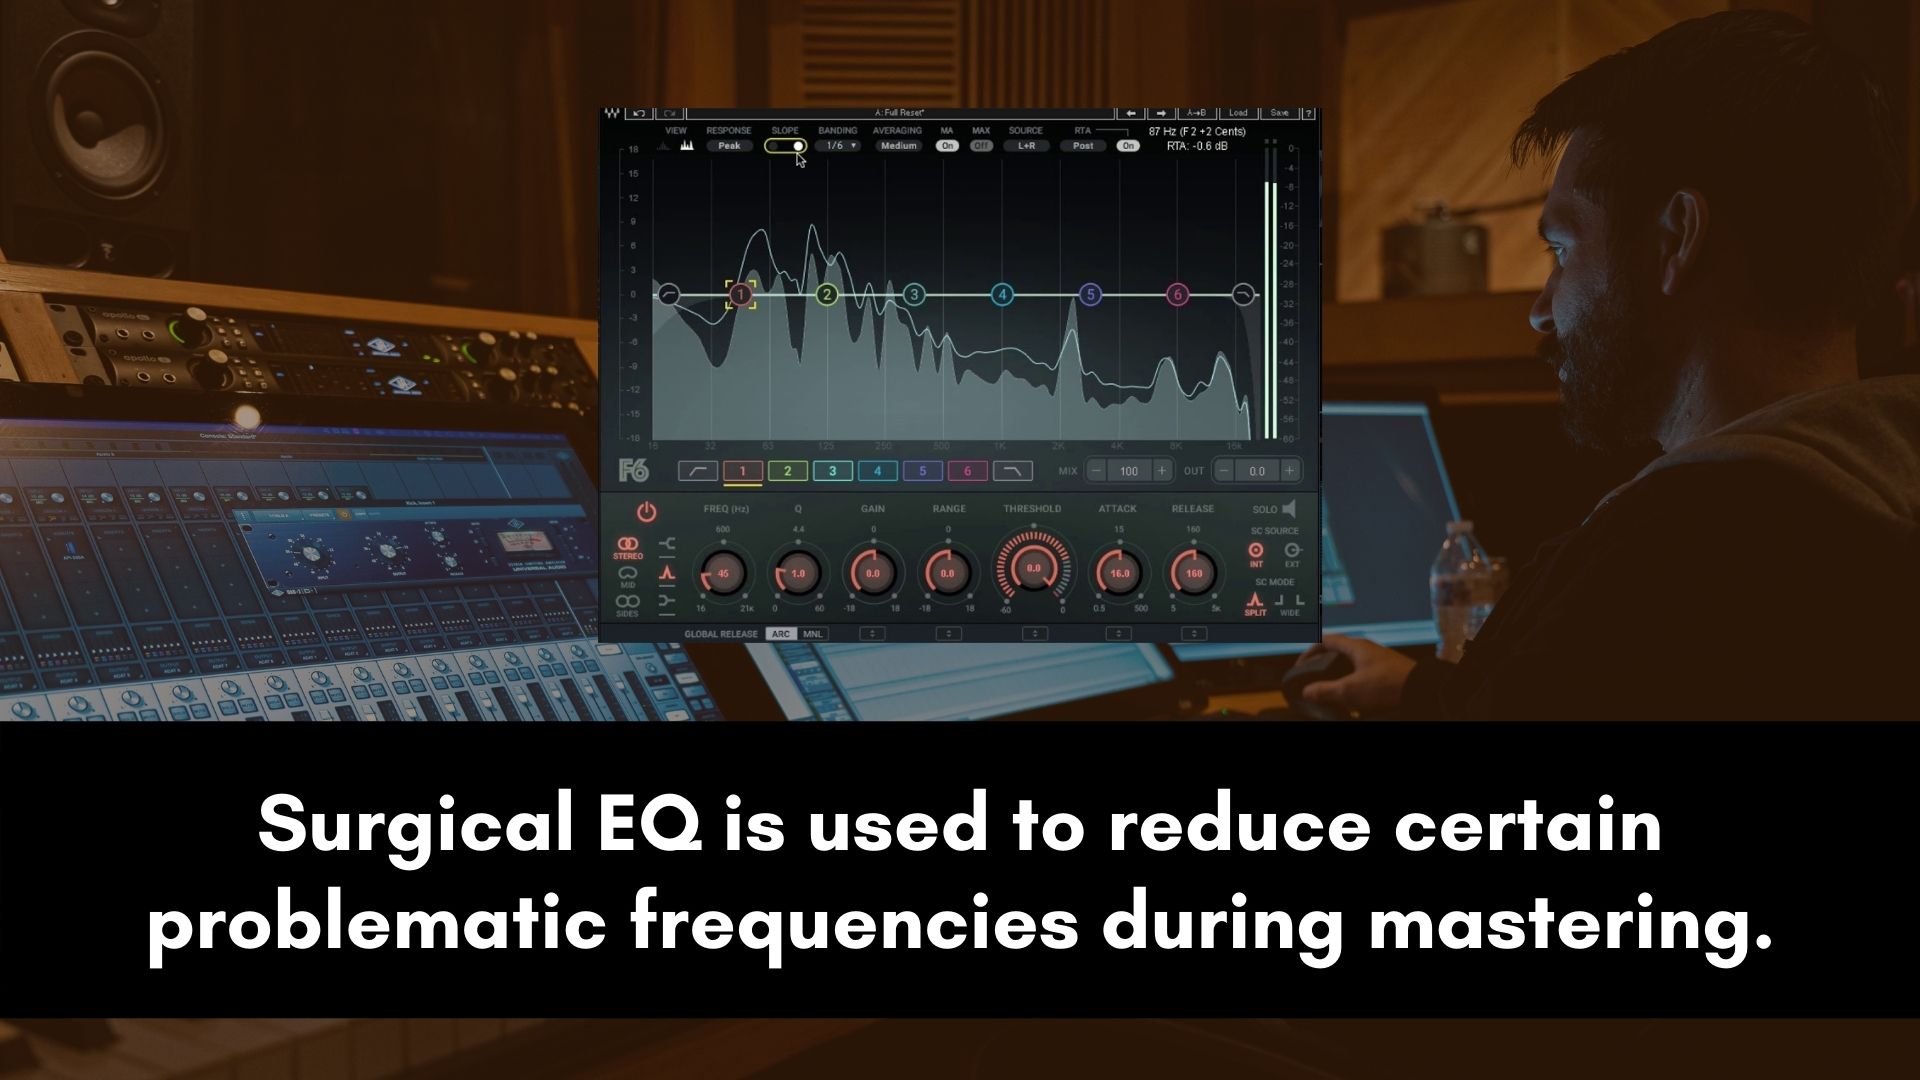
The purpose of surgical EQ is to fix any issues in the frequency spectrum. Problems such as too much low-end, muddiness, harshness, or even if the mix is too bright.
A really good rule to follow is that, if you end up making a cut that requires more than 3dB you should just go back to the mix to fix the problem.
This is just a general guideline, but in some instances, you can break this rule especially if you’re doing a narrow cut.
Also, experiment with Dynamic EQ during mastering instead of always relying on a static EQ.
A dynamic EQ will allow you to cut the problem frequencies whenever they occur and if there’s no issue the song will sound fuller. It will help you prevent making the song sound small or thin.
When it comes to surgical EQ, any type of EQ is fine, it doesn’t have to be a mastering EQ. I also recommend a transparent EQ for this, it’s not really necessary to use a saturated EQ plugin.
The Waves F6 is often perfect for the job.
7. Tonal EQ
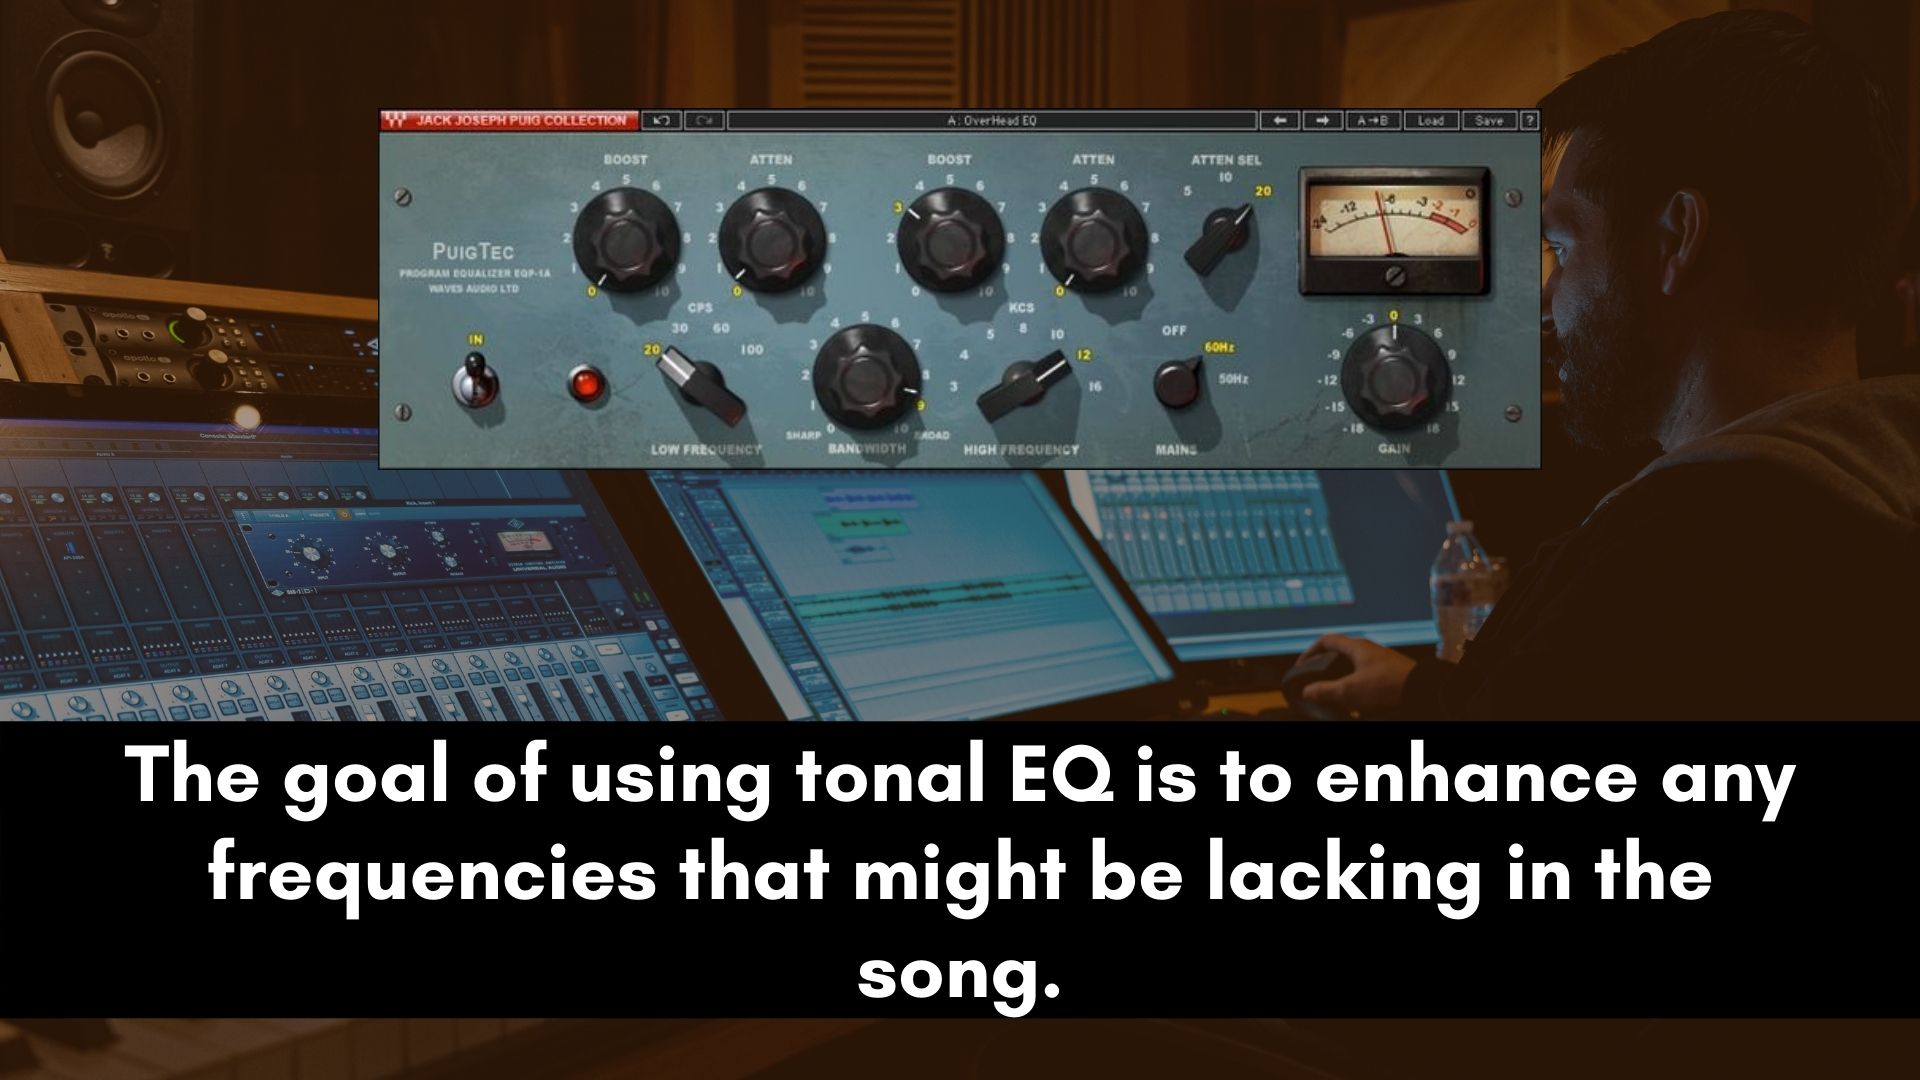
The goal of using tonal EQ is to enhance any frequencies that might be lacking in the song.
These are instances such as a lack of brightness, bass, or midrange. So basically, you’ll be boosting certain frequencies to enhance the mix.
If you find yourself confused as to which frequencies you need to boost, you can use reference songs to reduce guesswork.
Just be careful not to overdo this step.
This is where you can use colored (saturated) EQ plugins because they often add character and excitement to the song.
The PuigTec EQs and Abbey Road TG Mastering Chain are the popular ones that are used by most mastering engineers.
Resource: How to Effectively EQ Your Master | Eliminate ALL Guesswork
8. Stereo Widening in Mastering
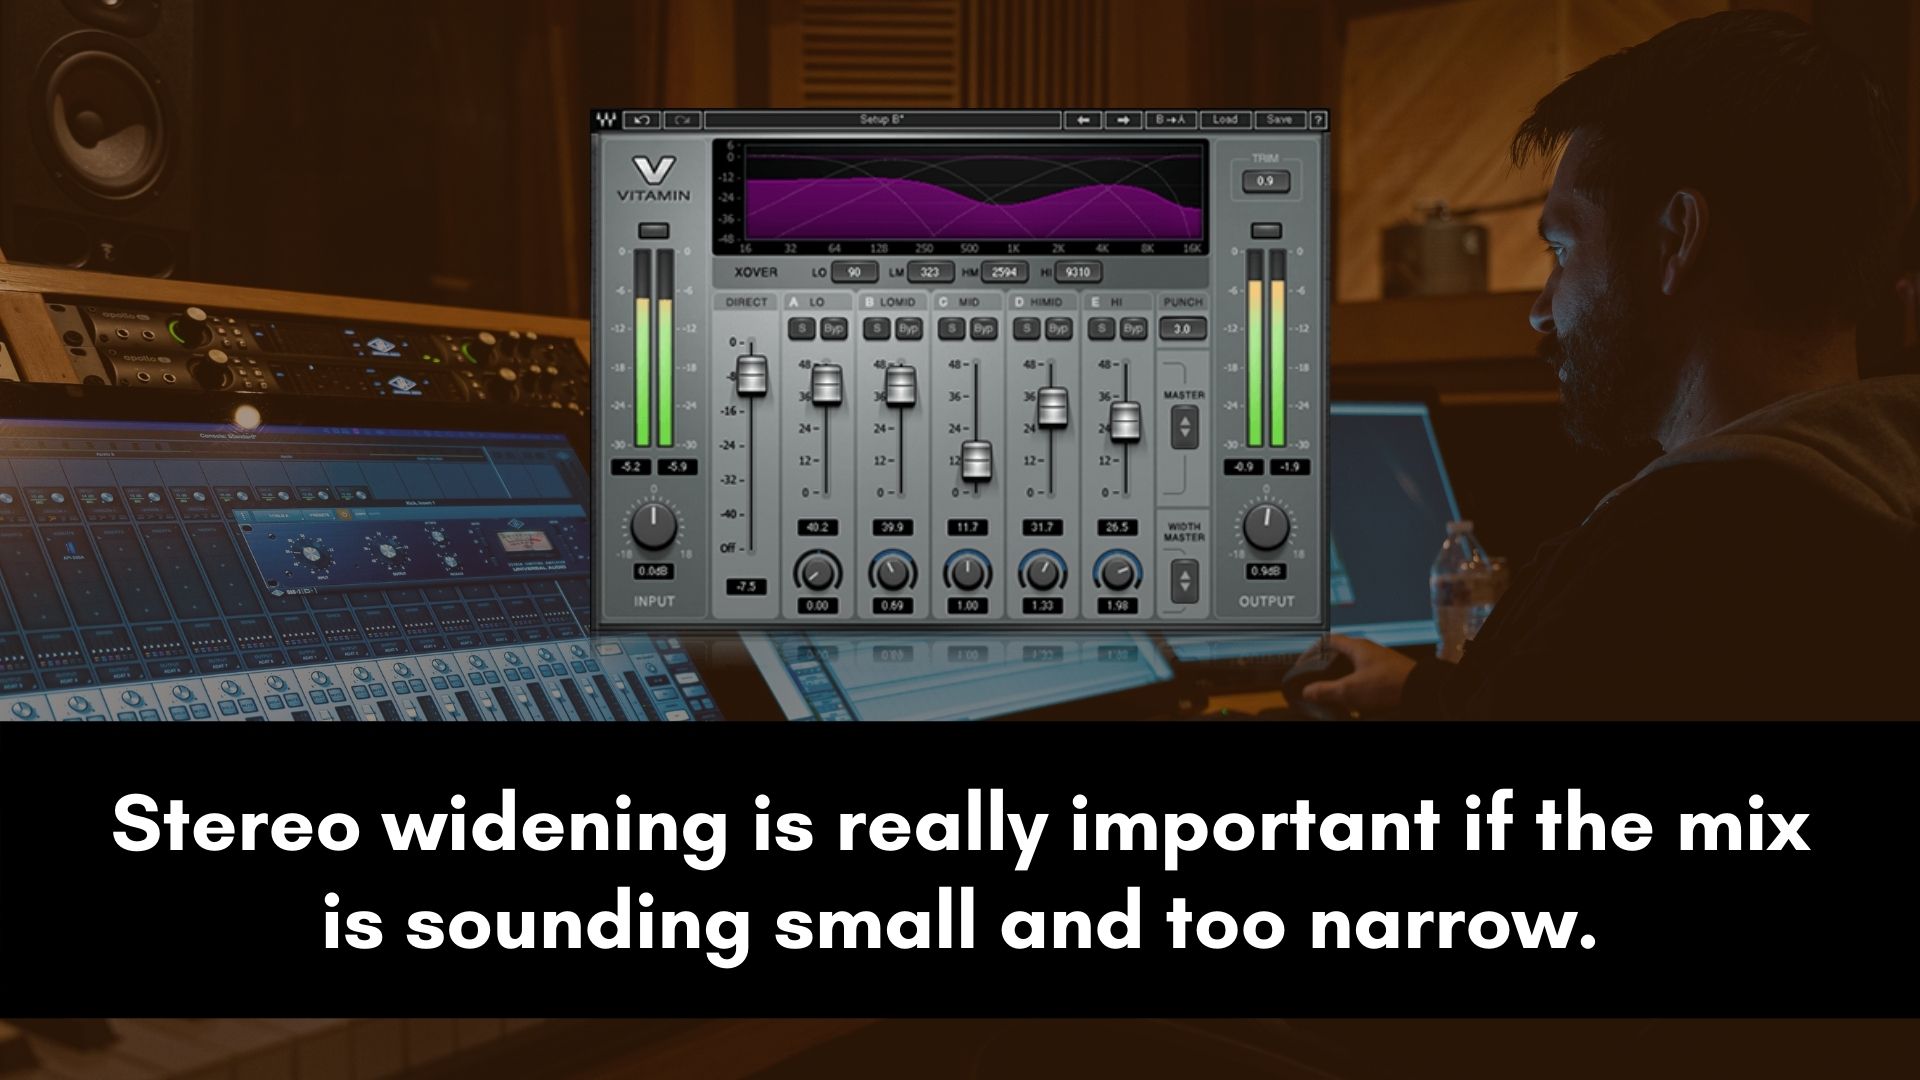
Applying stereo widening on a mix usually opens it up and makes everything sound much clearer.
Although I think this is something that should be done by the mixing engineer, you might find yourself working on a song that is too narrow.
In that case, making the mix wider will often make the song sound a whole lot better.
If the song is already wide enough then you might run the risk of introducing some phase issues, making the song fall flat.
So, be very careful when doing some stereo widening during mastering.
During the mastering stage, I prefer to use a plugin such as the Vitamin Sonic Enhancer because it is a multiband stereo imager.
Using a single band will widen everything including the lower frequencies and in most cases, that’s not a good idea because we usually keep the low-end mono.
Keeping the low-end mono is just a great way to make sure that the song translates well when played on different sound systems.
But at the end of the day, this is just common practice and a matter of taste/preference.
9. Sending the Master Through a Tape Machine
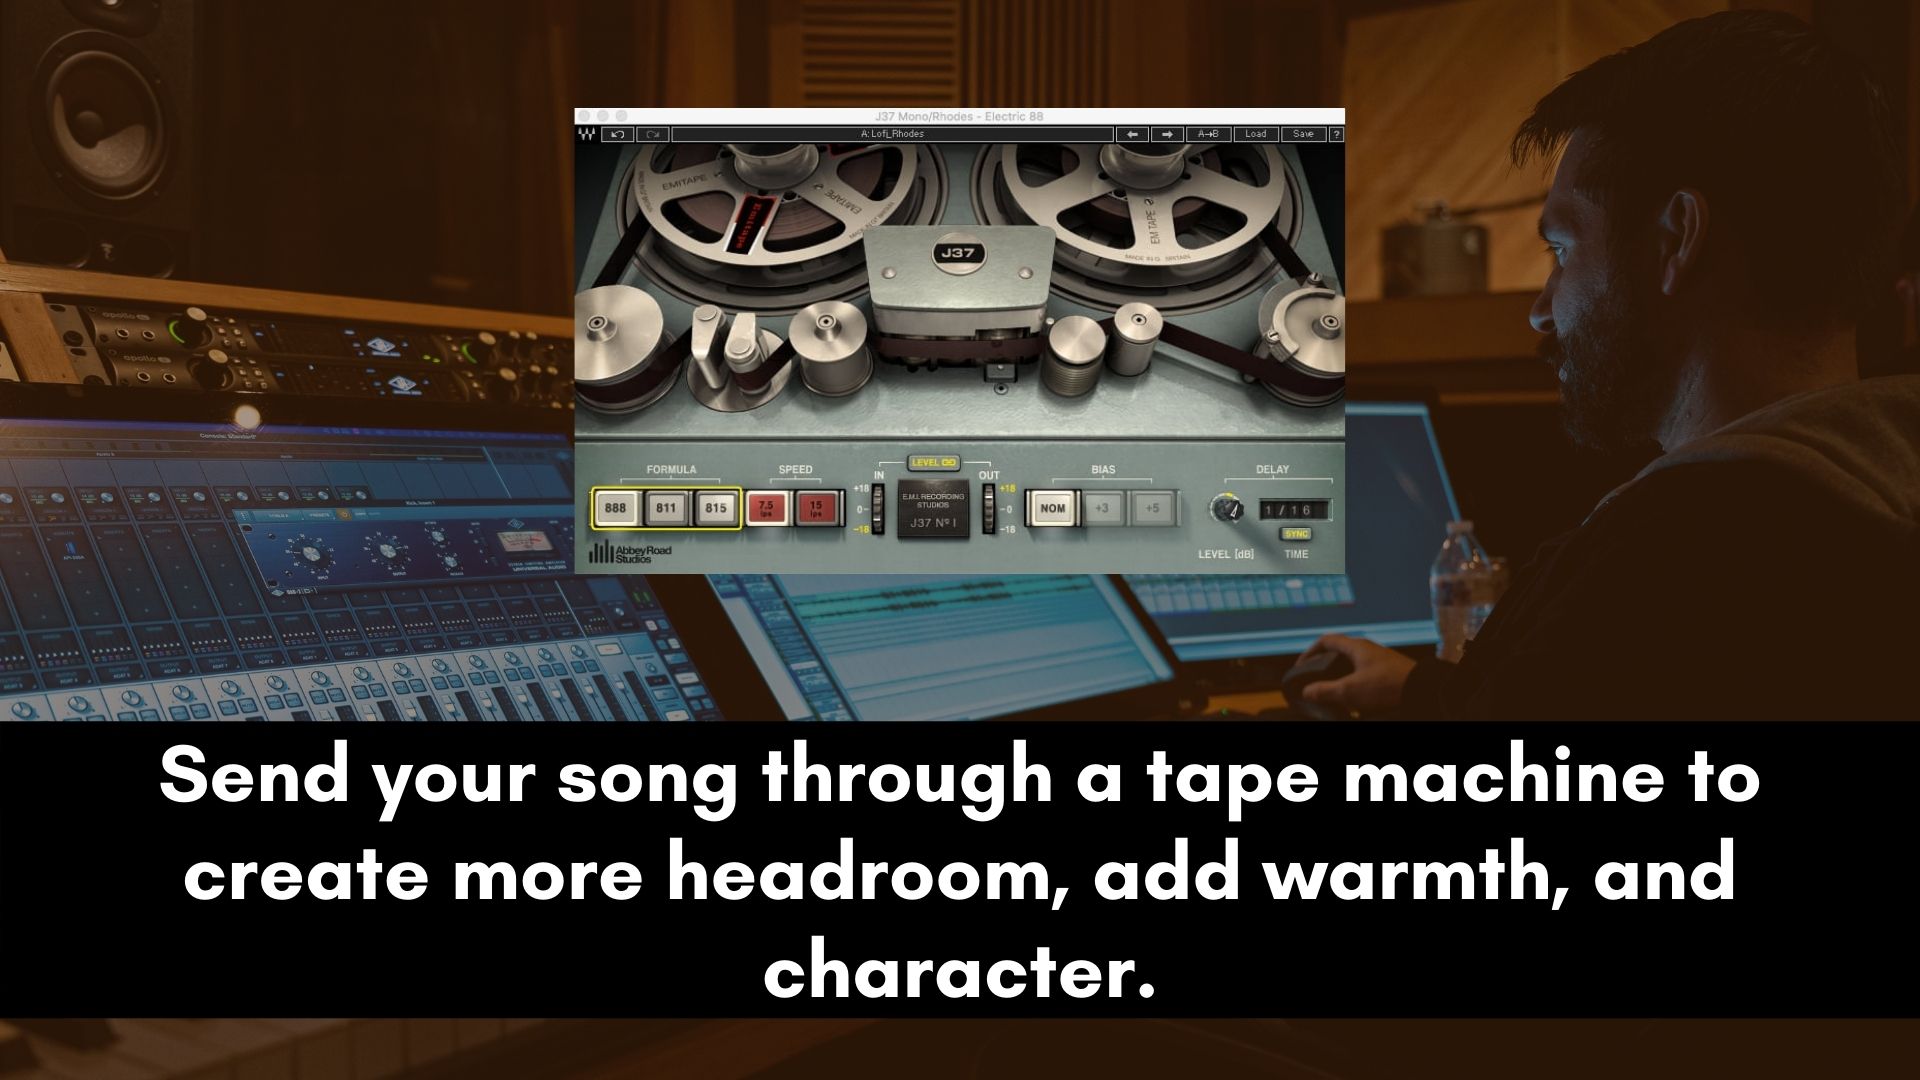
To glue the master and make it sound tighter most mastering engineers will send the song to a tape machine.
This also adds a bit of saturation and shaves off a bit of the transients resulting in more headroom.
Others just like the vibe you get from a tape machine.
These days you can get some good analog tape machine plugins that emulate the real thing.
My favorite one for mastering purposes is the Abbey Roads J37 Tape. It offers that stunning analog warmth to your master(s) and hardware “realism” in the box.
Wrap
That is how I do mastering with waves plugins and yet still produce a Pro-Quality mastered song that can compete with other commercially successful songs.
Remember to check out the video above for audio examples and a visual explanation.
Let us know in the comments below what other waves audio plugins you’re using that I didn’t mention in this post.
Also, check out all the plugins mentioned by following this link: https://audiospectra.net/80op
I just want to say thank you! I’ve had many of these tools sitting around for years and you’ve helped me understand them! You explained things well so I can apply the tools instead of copy and pasting your routine. Thanks!
I love reading comments like yours, Michael. My goal is to help you guys avoid guesswork or copying someone’s routine. You just made my day. Thank you.