You finish a mix that sounds enormous on your monitors. Cymbals wash across the field. The guitars feel like they are 10 feet apart.
The reverb hangs in space. You hit the mono button to check. Half the guitars vanish. The reverb collapses to a noise.
The kick loses 4 dB. The mix that felt wide a moment ago now sounds smaller than a demo.
Width is the easy part. Width that survives mono is the actual skill.
Modern listeners play music on phones with single speakers, Bluetooth speakers, club PAs summed for the subwoofer feed, and a long list of other systems that sum stereo to mono.
A mix that fails on those playback environments fails on most of the audience.
The fix starts with knowing where real width comes from. Three sources survive the mono sum; almost everything else is fake width waiting to cancel.
Below: the three real sources, the mid/side moves that control them, and the mono-check habit that catches problems early.
You’ll also get a cheat sheet marking which techniques translate and which collapse.
TL;DR: The Rule for Stereo That Survives Mono
The shortest version of the rule. Apply this to every width decision, and the mix translates.
- Build width from real differences. Doubled performances, panning of multiple mono sources, stereo recordings.
- Avoid fake width. Stereo wideners and phase-flip tricks on mono sources collapse in mono.
- Low end stays mono. Force everything below 100–150 Hz to mono on the master.
- Stereo effects on sends, not inserts. Reverb, delay, chorus return stereo while the dry stays mono.
- Check in mono every 10–15 minutes. Mono utility on the master; toggle and listen.
- Mid/Side for stereo control. Process side content independently when needed.
What “Mixing in Stereo” Actually Means
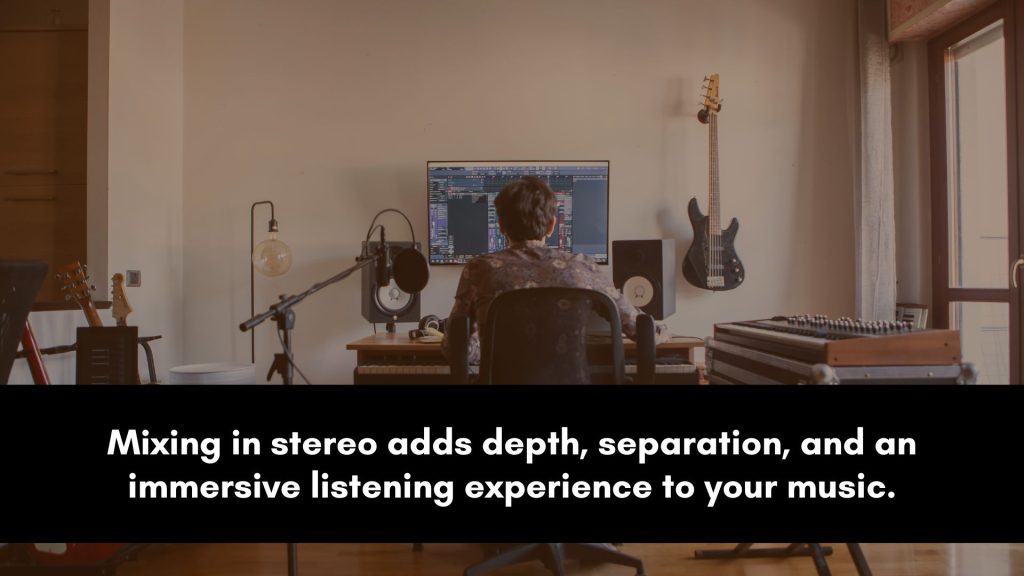
Mixing in stereo means using the left-right space of two output channels to give each element its own position and create a three-dimensional listening experience.
The kick, bass, snare, and lead vocal sit centered (mono content panned center).
Guitars, keyboards, backing vocals, percussion, and atmospheric elements spread across the field on either side.
Mixing in stereo is not the same as making every track stereo.
Most individual tracks remain mono recordings; the mix builds a stereo image from the placement of those mono sources.
The foundational distinction between mono signals and stereo signals lives in the mono vs stereo guide; the rules here all build on top of that concept.
The goal of stereo mixing is the spatial illusion: a listener with headphones or stereo speakers should be able to point at where each instrument sits in the soundstage.
The same mix played through a single phone speaker should remain coherent and balanced, even though it can no longer place the instruments spatially.
The Three Sources of Stereo Width
Real stereo width comes from three sources.
Each one survives mono playback because the underlying signal information remains intact when the channels sum.
- 1. Panning multiple mono sources. A snare at center, hats slightly off, OHs hard left and right, a guitar on each side. Each individual source is mono; the spatial image emerges from how they are placed. In mono they all sum back to single-channel sources at their respective levels with no cancellation.
- 2. Doubled performances. Two takes of the same part (guitar, vocal, percussion) hard-panned opposite each other. Because the takes are not identical (small timing and pitch variations), they sum constructively in mono without major cancellation. This is how rock and metal get the wide hard-panned guitar wall.
- 3. Stereo recordings and stereo effects on sends. Overheads, room mics, real piano, harp, and orchestral pairs. Plus reverb and delay returns on aux sends. These collapse to mono with some level loss but no major cancellation when the source is recorded or processed properly.
The per-source positions that drive option 1 are collected in the instrument panning cheat sheet; how to pan instruments in a mix turns those positions into a start-to-finish workflow.
Building Width That Survives Mono
The fastest way to build mono-safe width is to double-track parts in performance. Record the same guitar part twice.
Record the same vocal harmony twice. Pan the pair hard left and right. Two performances are never identical.
The timing varies by a few milliseconds, the pitch wavers slightly, the tone shifts with the player’s hand position.
Those tiny differences are what the ear reads as width in stereo.
When the two takes sum to mono, the differences average out into a slightly thicker version of a single take, with no major cancellation.
For a wide, mono-safe stereo guitar wall, record three takes if possible. Pan two hard left and right, and tuck the third up the middle.
The hard-panned pair gives the stereo width; the center take guarantees the part is still present and full when the mix sums.
The same trick works on background vocals and on doubled instrumental hooks. Stereo wideners and phase-manipulation plugins do the opposite.
They create artificial width from a single mono source by introducing phase or timing differences between the channels.
In stereo the source sounds wider. In mono those artificial differences cancel, and the source either drops in level or disappears entirely.
Use multiple mono sources or doubled takes for width; avoid stereo widening on mono signals.
Mid/Side Processing for Stereo Control
Mid/Side (M/S) processing decomposes a stereo signal into two channels of a different kind. The mid channel holds the content that is identical in left and right.
The side channel holds the content that differs between left and right. Process each one independently and you can shape the stereo image precisely.
Common M/S moves: high-pass the side channel at 100–200 Hz to force the low end mono.
Boost the side channel above 8 kHz to add air and width to cymbals without making the center brittle.
Compress the mid channel more than the sides to lock in the centered elements (kick, snare, bass, vocal) while leaving the stereo width breathing.
The mastering chain uses these same moves regularly; the full mastering context is in the complete mastering guide.
Most modern EQs and compressors offer M/S modes (FabFilter Pro-Q 3, Pro-MB, Pro-L 2; iZotope Ozone modules; Brainworx bx_digital).
Treat M/S as a precision tool, not a default. Apply M/S where stereo width needs surgical adjustment and leave the rest of the chain in regular stereo mode.
Stereo Reverb and Delay on Sends
Stereo reverb and delay are the cleanest way to add width to a mono source without panning the dry signal off center.
The trick is to route them as aux sends, not channel inserts.
Send a mono vocal to a stereo plate reverb. The dry vocal stays centered. The reverb return spreads stereo wide.
The listener hears the centered dry voice with a wide reverb tail wrapped around it.
In mono the dry signal stays at full level; the reverb collapses to a mono version that adds depth without major cancellation.
Stereo delay (especially ping-pong delay) works the same way. A short slap-back on a vocal can sit centered; longer rhythmic delays often spread to the sides for width.
As with reverb, the dry vocal is what carries the song; the delay return adds width without compromising the centered source.
Mono Compatibility Checks During the Mix
Mono checking is the safety net. Without it, you do not know whether the mix translates until it is too late.
The discipline is to check often, while the mix is still flexible.
Insert a mono utility on the master bus. Most DAWs have one; common picks are the stock plugin set, Voxengo MSED, or any stereo imager with a mono button.
Toggle the mono check every 10 to 15 minutes during the mix.
When mono is engaged, listen for: low-end loss (phase problem somewhere), vanishing elements (stereo-wide effects cancelling), and previously buried elements jumping forward (mono balance differing from stereo balance).
Fix the issues in stereo with the mono check off; then re-check. A mix that translates well usually settles into balance after 4–6 such cycles during a session.
When the mix moves to mastering, the compatibility check gets its own verification stage; mono compatibility for mastering covers the tools and metering for it.
Stereo Mixing Cheat Sheet
The at-a-glance reference for what builds mono-safe width and what kills it. Use this as the quick check during any session.
| Technique | Builds width? | Survives mono? | Notes |
|---|---|---|---|
| Doubled performances hard-panned | Yes (lots) | Yes | The gold standard for stereo guitars and BGVs |
| Panning multiple mono sources | Yes | Yes | Hat off-center, perc to one side, BGVs spread |
| Stereo recordings (OHs, room, piano) | Yes | Mostly | Check phase between mics during recording |
| Stereo reverb / delay on sends | Yes | Yes (some level loss) | Dry signal stays centered |
| Mid/Side EQ boost on sides | Yes (subtle) | Yes (in mid) | Air or cymbals above 8 kHz |
| Stereo widener on mono source | Yes (in stereo only) | No | Often cancels entirely in mono |
| Haas effect / very short delay | Yes (in stereo) | Partial cancellation | Risky; check carefully in mono |
| Stereoize plugins on mono dry | Yes (artificial) | Often no | Phase-flip tricks collapse in mono |
| Sub bass panned off-center | No real width | No | Below 150 Hz, force mono on master |
| Low-end content in side channel | Sometimes | No | HPF the side at 100–200 Hz with M/S EQ |
3 Common Mistakes That Sink Mono Translation
Wide in stereo and weak in mono almost always means one of these three habits.
All three are cheap to fix while the session is still open.
- 1. Using stereo wideners on mono sources. A stereo widener on a mono vocal, guitar, or snare creates phase-based fake width that often cancels entirely in mono. Build width from real source differences (doubled takes, multiple panned mono sources) instead.
- 2. Letting low-frequency content go stereo. Bass-range stereo information cancels unpredictably on mono playback. Force everything below 100–150 Hz to mono on the master with a mono utility or M/S high-pass on the side channel.
- 3. Skipping the mono check. A mix that has not been checked in mono will surprise you on the listener’s phone. Toggle mono on the master every 10–15 minutes during the session. The final pre-mastering check is non-negotiable.
Frequently Asked Questions
The questions below all orbit the same tension: how wide the mix can go before mono playback punishes it.
Each answer gives the working rule plus the reason it holds.
How do I make a mix wide without losing mono compatibility?
Build width from real source differences. Double-track guitars and vocals and pan the takes hard left and right.
Pan multiple mono sources across the field. Use stereo reverb and delay on aux sends with the dry signal still centered.
Avoid stereo wideners on mono sources; they create artificial width that often cancels in mono.
Should I mix in stereo or check in mono?
Mix in stereo and check in mono regularly.
Professional engineers do not mix in mono exclusively; they build the stereo image and use a mono utility on the master to verify translation.
Toggle mono every 10 to 15 minutes during the mix to catch phase issues, vanishing elements, and balance differences before they compound.
What is mid/side processing?
Mid/Side processing decomposes a stereo signal into two new channels: the mid channel (content identical in left and right) and the side channel (content that differs).
You can EQ, compress, or otherwise process each channel independently.
Common moves include high-passing the side channel to force the low end mono and boosting the side channel above 8 kHz for air without affecting the centered elements.
Do stereo wideners work?
In stereo, yes. They create the illusion of width by introducing phase or timing differences between the channels.
In mono, those differences cancel, and the source often loses 3–6 dB of level or disappears entirely.
Stereo wideners are useful on intentionally stereo content (synth pads, stereo recordings, reverb returns) but harmful on mono sources where the dry signal needs to translate.
How wide should the stereo image be?
Wide enough to feel three-dimensional but not so wide that the mix feels lopsided or empty in the center.
A rule of thumb: pull the overall stereo width down 15–20 percent on the master.
If mono translation improves and the stereo image does not obviously narrow, the mix was too wide.
Reference against commercial tracks in the same genre; modern pop and rock run wide, hip-hop and trap often run tighter.
Should reverb be mono or stereo on a vocal?
Stereo reverb on an aux send is the standard. The dry vocal stays mono and centered; the stereo reverb return adds width around the centered voice.
This gives you the spatial illusion of a vocal in a wide room without pulling the dry voice off center.
The exception is hip-hop and tight modern productions where mono or narrow-stereo reverb keeps the vocal forward.
The Bottom Line
Mixing in stereo means building a soundstage from multiple mono sources, real stereo recordings, and stereo effects on sends.
Width that survives mono is the actual goal. Use doubled performances, pan multiple mono sources, and keep stereo reverb on aux sends with the dry centered.
Avoid stereo wideners on mono signals. Force the low end mono. Check in mono every 10 to 15 minutes during the session.
Audio panning secrets continues past this post into front-to-back depth, complementary panning, auto panning, and room-versus-headphone strategy.
Underneath every one of those decisions sits gain staging: spatial moves only behave when the levels feeding them are clean.