You add reverb to make a track sound bigger, and instead it turns into a distant, washy mess.
So you pull it back, and now the mix sounds flat and lifeless, like everything is glued to the front of the speakers.
You know reverb is the answer.
But the wall of knobs, decay, pre-delay, diffusion, damping, means nothing, so you leave it on a preset and hope for the best.
Reverb is the sound of a space: the countless reflections that tell your ear how big a room is and where a sound sits inside it.
Understand a handful of parameters and a few types, and it stops being guesswork.
Here is what every knob does, which type to reach for, and how to add depth without drowning your mix.
TL;DR
- Reverb is reflected sound, the wash of echoes that places a track in a physical space.
- Decay and pre-delay do the heavy lifting. Decay sets the tail length, pre-delay keeps the dry attack clear.
- Match the type to the job. Room for depth, plate for vocals, hall for drama, spring for vintage guitars.
- Roll off the tail. High-pass the reverb so it does not add mud, and use a send so tracks share a space.
- Less is more. Reverb on everything kills depth. Contrast between dry and wet is what creates space.
Keep reading for what each parameter does, the main types and when to use them, and how reverb differs from delay.
What Is Reverb and How It Works
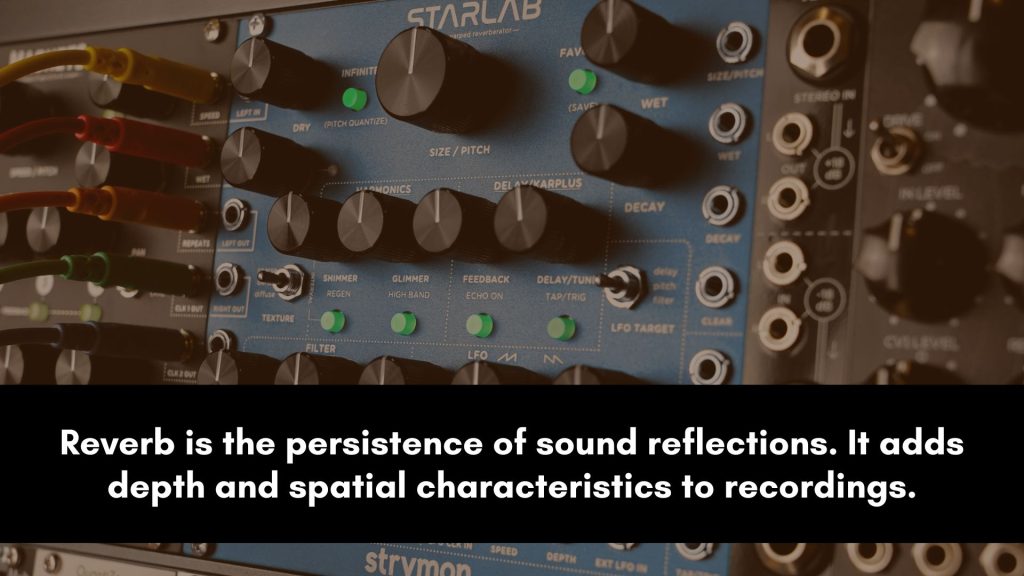
Reverb, short for reverberation, is what happens when sound reflects off the surfaces of a room.
Those reflections blend with the original sound and fade out gradually, creating a dense wash of decaying echoes.
It is the difference between clapping in a small closet and clapping in a cathedral.
Your ear uses this information constantly.
The pattern of reflections tells you how big a space is, what it is made of, and how far away a sound is.
That is why reverb is so powerful in a mix, since it places a dry, close-recorded track into a believable space and gives it depth.
A reverb effect recreates this with two ingredients: early reflections, the first few distinct bounces that define the room, and the tail, the dense cloud of later reflections that fades away.
Every parameter you adjust is shaping one of those two things.
The time it takes for that tail to fall by 60 dB is called RT60, and it is the standard measure of how reverberant a space is.
A small bedroom might ring for a few tenths of a second, while a large cathedral can ring for several seconds.
When you set the decay time on a plugin, you are choosing that value directly.
The Six Parameters That Shape the Sound
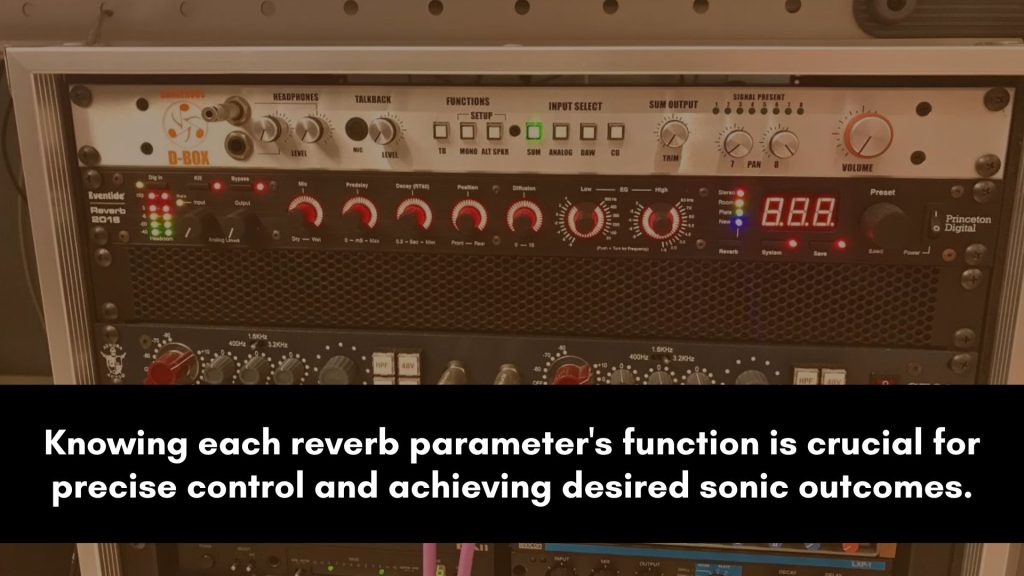
Almost every reverb, no matter how it is built, gives you the same core controls.
Learn these six and you can dial in any reverb plugin, not just the one you started on. They shape the size, timing, and tone of the space.
| Parameter | What it controls | How to use it |
|---|---|---|
| Decay time | How long the tail lasts before it fades | 0.3–1 s for tight, 2–4 s and up for lush |
| Pre-delay | The gap before the tail starts | 10–50 ms; higher keeps the dry attack clear |
| Diffusion | Density and smoothness of reflections | High for a smooth wash, low for discrete echoes |
| Size / room | The dimensions of the simulated space | Small room to large hall |
| Wet / dry mix | Balance of effect against dry signal | 10–30% blend, or 100% on a send |
| Damping | Brightness of the reverb tail | More damping for a darker, warmer tail |
Pre-delay deserves special attention.
By putting a small gap between the dry sound and the reverb, it keeps the attack of a vocal or snare crisp while still adding a big space behind it.
Without it, the reverb smears right over the source and everything sounds distant.
The Main Types and When to Use Each
Reverb types fall into two camps: emulations of real spaces like rooms and halls and mechanical or electronic units like plates and springs that have a character of their own.
Each has a sound and a job it does best.
| Type | Character | Best for | Typical decay |
|---|---|---|---|
| Room | Intimate and upfront | Natural depth, drums, rhythm | 0.3–1 s |
| Chamber | Rich and lively | Vocals and strings | 1–2 s |
| Hall | Spacious and grand | Ballads, orchestral, leads | 2–4 s and up |
| Plate | Smooth, dense, bright | Vocals, snare, leads | 1–3 s |
| Spring | Vintage and boingy | Guitars, surf, dub | 1–2 s |
| Ambience | Subtle and natural | Glue and realism | under 0.5 s |
| Convolution | Real captured spaces | Realism, film, scoring | varies |
The plate is worth calling out, since it is the studio workhorse for vocals and snares.
Its smooth, bright, dense tail flatters almost anything, and its story and settings are covered in plate reverb explained.
For choosing the right one on a voice specifically, the best reverb for vocals narrows it down further.
How to Use It on Vocals, Drums, and Guitars
Every source wants a different space.
The type, decay, and amount all shift depending on what you are trying to place, so the same plate that flatters a vocal can drown a rhythm guitar.
Here is where to start on the three most common sources.
- Vocals love a plate or hall with enough pre-delay to keep the words clear. A lead often uses a plate for space plus a short slap delay for width, covered in reverb on vocals.
- Drums want a short room for natural depth and glue, with a punchy plate or gated reverb on the snare for size. The snare specifics are in snare reverb tips.
- Guitars reach for spring on vintage clean tones, a room on rhythm parts, and a long hall on ambient leads, all detailed in reverb on guitar.
In every case, the busier the arrangement, the shorter and drier the reverb needs to be.
A big space that sounds gorgeous on a solo track often turns to mush once the full mix is playing.
Creating Realistic Space
Reverb is not just an effect you add, it is how you build a believable three-dimensional space around your mix.
A few habits separate a convincing space from a washy one, and most of them are about restraint and shaping.
- EQ the reverb. High-pass the tail so it does not muddy the low end, and roll off the extreme highs so it sits behind the dry sound.
- Use pre-delay for placement. More pre-delay pushes the source forward and the space behind it; less glues them together.
- Match decay to tempo. Set the tail so it clears before the next beat or chord, keeping the mix from smearing.
- Share one space. Send several tracks to the same reverb so they sound like they are in the same room together.
- Balance early reflections and tail. More early reflections read as a smaller, closer room, while a longer tail with fewer early reflections reads as a large, distant hall.
Depth comes from contrast.
Keeping some elements dry and up front while others sit back in reverb is what gives a mix a front-to-back dimension, an approach detailed in how to create depth in a mix.
Reverb vs Echo and Delay
Reverb and delay are both time-based effects, and they are easy to confuse, but they do different jobs.
The difference comes down to whether you hear distinct repeats or a smooth wash.
Delay, or echo, produces distinct, separated repeats of a sound, like a shout bouncing back off a canyon wall.
You can count them.
Reverb is what happens when those reflections become so many and so close together that they blur into a single, dense decay you cannot pick apart.
In a mix, delay adds rhythm and width, while reverb adds space and depth. Many vocal sounds use both, a slap delay for width and a plate for space.
3 Common Mistakes
Most reverb problems come from a few habits. Fix these, and your spaces sound intentional instead of muddy.
- 1. Too much wet. Drowning a track pushes it far back and washes out the mix. Start subtle and add only until you feel the space.
- 2. No low cut on the tail. Reverb that keeps its low end piles up mud fast. High-pass every reverb return.
- 3. Reverb on everything. If every track is wet, nothing sounds close and depth disappears. Keep some elements dry for contrast.
Frequently Asked Questions
The questions below come up whenever reverb gets confusing. Short, direct answers follow.
What does reverb do?
Reverb recreates the reflections of a physical space and places a sound inside it.
It adds depth, size, and a sense of distance, turning a dry, close-recorded track into something that feels like it was played in a real room.
Used gently, it adds polish and glue, and used heavily, it becomes an obvious, atmospheric effect.
It is the main tool for creating front-to-back space in a mix.
What are the main types of reverb?
The most common types are room, chamber, hall, plate, and spring, plus convolution reverbs that use recordings of real spaces.
Rooms and halls emulate natural acoustic spaces, plates and springs are mechanical units with a distinct character, and convolution captures real rooms.
Most digital reverbs can emulate all of these, so the type is really a starting sound rather than a hard limit.
What is pre-delay and why does it matter?
Pre-delay is the short gap between the dry sound and the start of the reverb tail, usually 10 to 50 ms.
It matters because it keeps the attack of a vocal or drum clear and defined while still adding a big space behind it.
Without pre-delay, the reverb smears directly over the source and pushes it back.
More pre-delay generally keeps a track upfront while the space sits behind it.
How much reverb should you use?
Less than feels right when a track is soloed, since reverb that sounds subtle alone often disappears in a full mix.
Start with a low wet level, around 10 to 20 percent on a send, and add only until you feel the space rather than hear an obvious effect.
Keep some tracks dry for contrast, and always high-pass the reverb so it does not build mud.
What is the difference between reverb and delay?
Delay produces distinct, countable repeats of a sound, like an echo bouncing back.
Reverb is what happens when reflections become so dense and close together that they blur into one smooth, decaying wash you cannot separate.
Delay adds rhythm and width, while reverb adds space and depth.
They work well together, and many vocal sounds combine a delay for width with a reverb for space.
Should reverb go on a send or an insert?
A send is the standard approach.
Put the reverb on an aux track set to 100 percent wet, then feed each track to it with a send.
That lets several tracks share one space so they glue together, and it saves CPU compared to a separate reverb on every channel.
An insert with a low wet mix works for a one-off effect but sends scale far better across a full mix.
The Bottom Line
Reverb is the sound of a space, and once you understand the handful of parameters and types behind it, the wall of knobs turns into a set of clear decisions.
Set the decay for the room you want, use pre-delay to keep the source clear, pick the type that fits the part, and roll off the tail so it stays clean.
Most of all, remember that depth comes from contrast.
Keep some things dry and push others back, and your mix gains a real sense of space.
Start subtle, trust your ears in the full mix, and reverb becomes the tool that makes a track sound finished instead of flat.
Excelent explanation here. Reverb and Delay concepts are the most important effccts for audio enthusiast.