When the snare drum is one of the main sounds in a mix then you must nail the compressor settings.
This could make or break a really good song.
It’s also important to mention that you’ll need to have a good-sounding snare before using the techniques shared below.
If you’re mixing a live recording then make sure that you fix phase issues, if there are any.
If you don’t correct phase problems then no matter what you do to the snare it will always sound flat.
Once you’re sure that you have a great snare sound then you can start applying compression to help it sit well in the mix.
The Best Snare Compression Settings
The goal of this post is to help you find the best snare compression settings for any mix or genre without relying on guesswork.
This is a concise guide so you can use these techniques to nail snare drum compression all the time.
To get the best results, please make sure that you apply any subtractive snare EQ to remove muddiness, rumble, boxiness, and any unwanted frequencies whenever necessary.
You can add any tonal or additive EQ after compression.
Nailing Ratio

When trying to find the best compressor settings for a snare drum, the first parameter you need to set is the ratio.
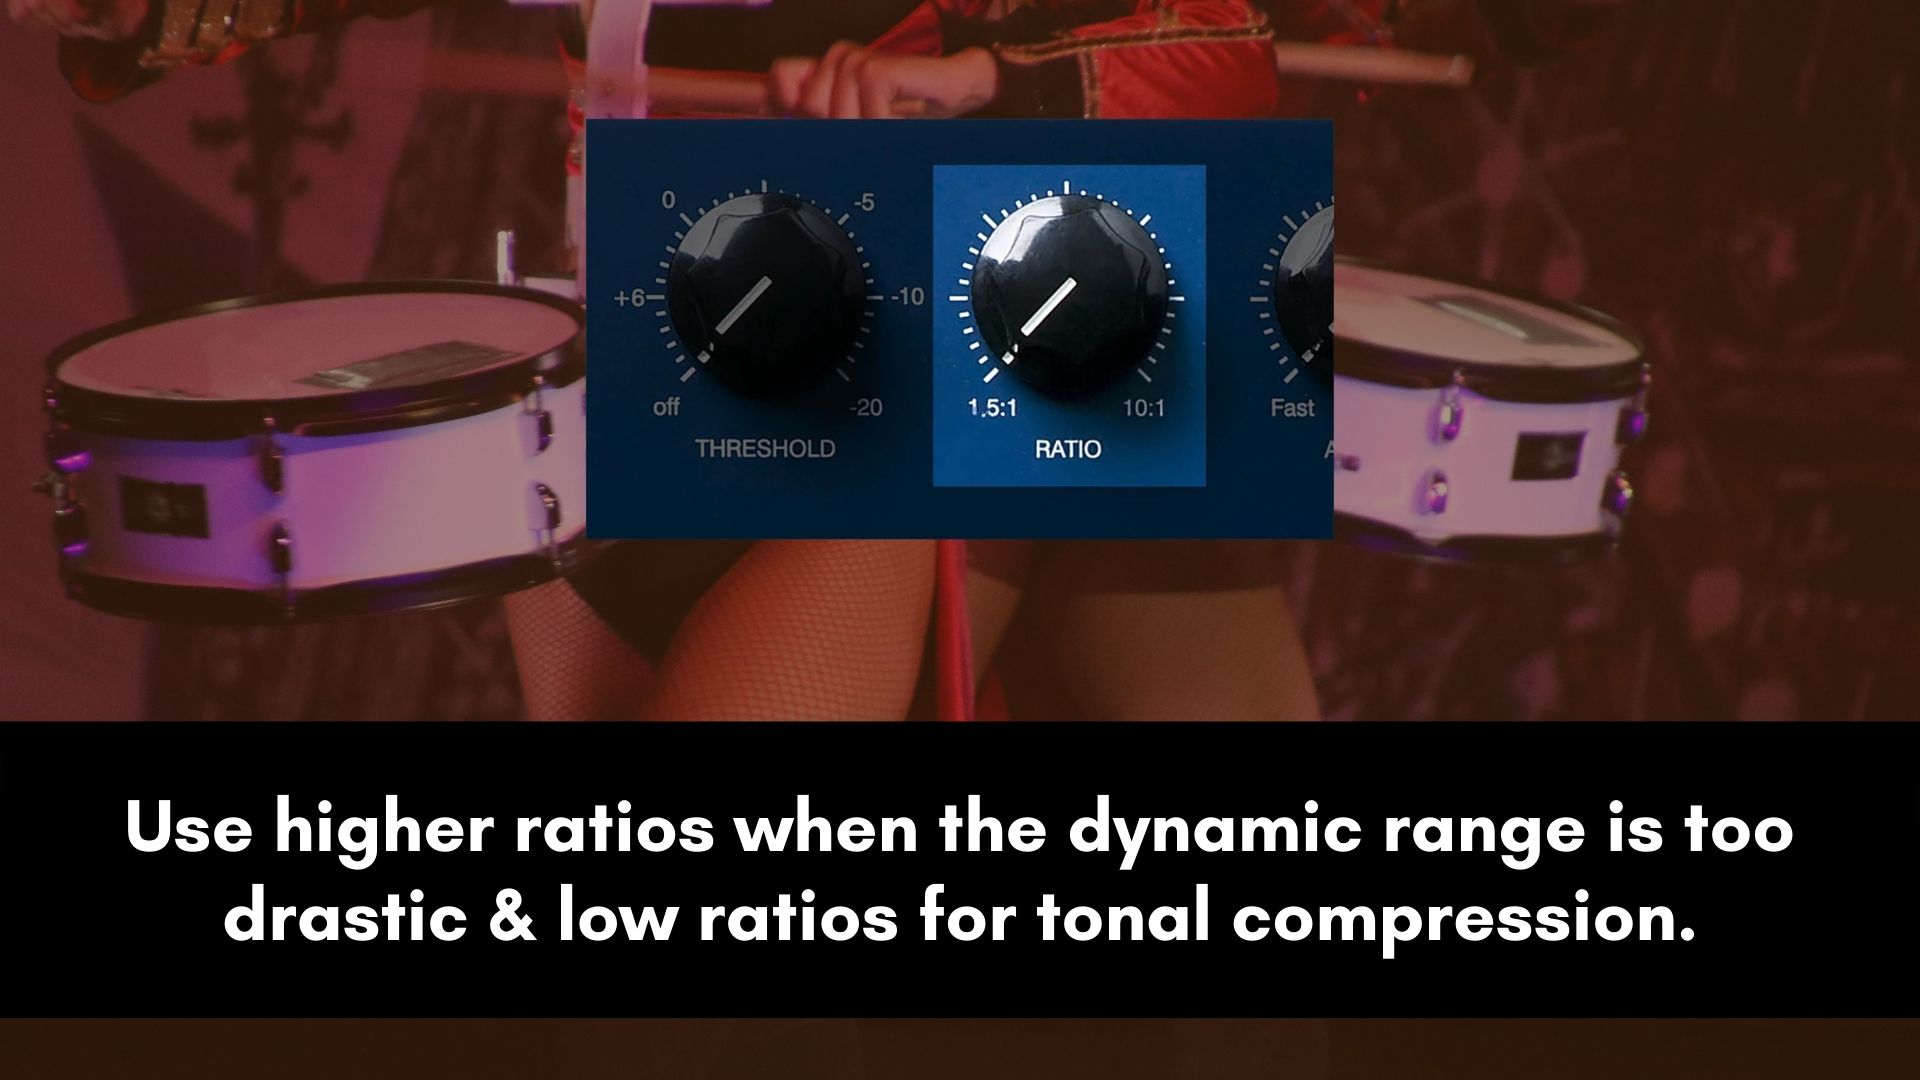
Ratio control is used to determine how aggressively the compressor clamps down on a sound.
A higher ratio causes an aggressive response from the compressor.
To find the best ratio setting you’ll need to determine why you’re adding a compressor on the snare.
Do you want to apply tonal compression or is the snare drastically dynamic?
Once you have proper intent then guesswork gets thrown out the window.
But if you just want to apply compression because you saw it being applied on a Youtube tutorial you’re going to have a problem.
So, you’ll need a small amount of ratio (below 4:1) if the snare needs a little bit of volume control. Higher ratios come in handy when the dynamic range is too drastic.
If there’s a huge difference between the loud and quieter parts or the snare sound quieter in the loudest parts of the song then use high ratios (4:1 to 8:1).
Always have a valid reason as to why you’re applying a compressor on the snare.
Attack & Release

Just like any parameter, the attack and release are determined by your intent. So, this depends on what you want to achieve.
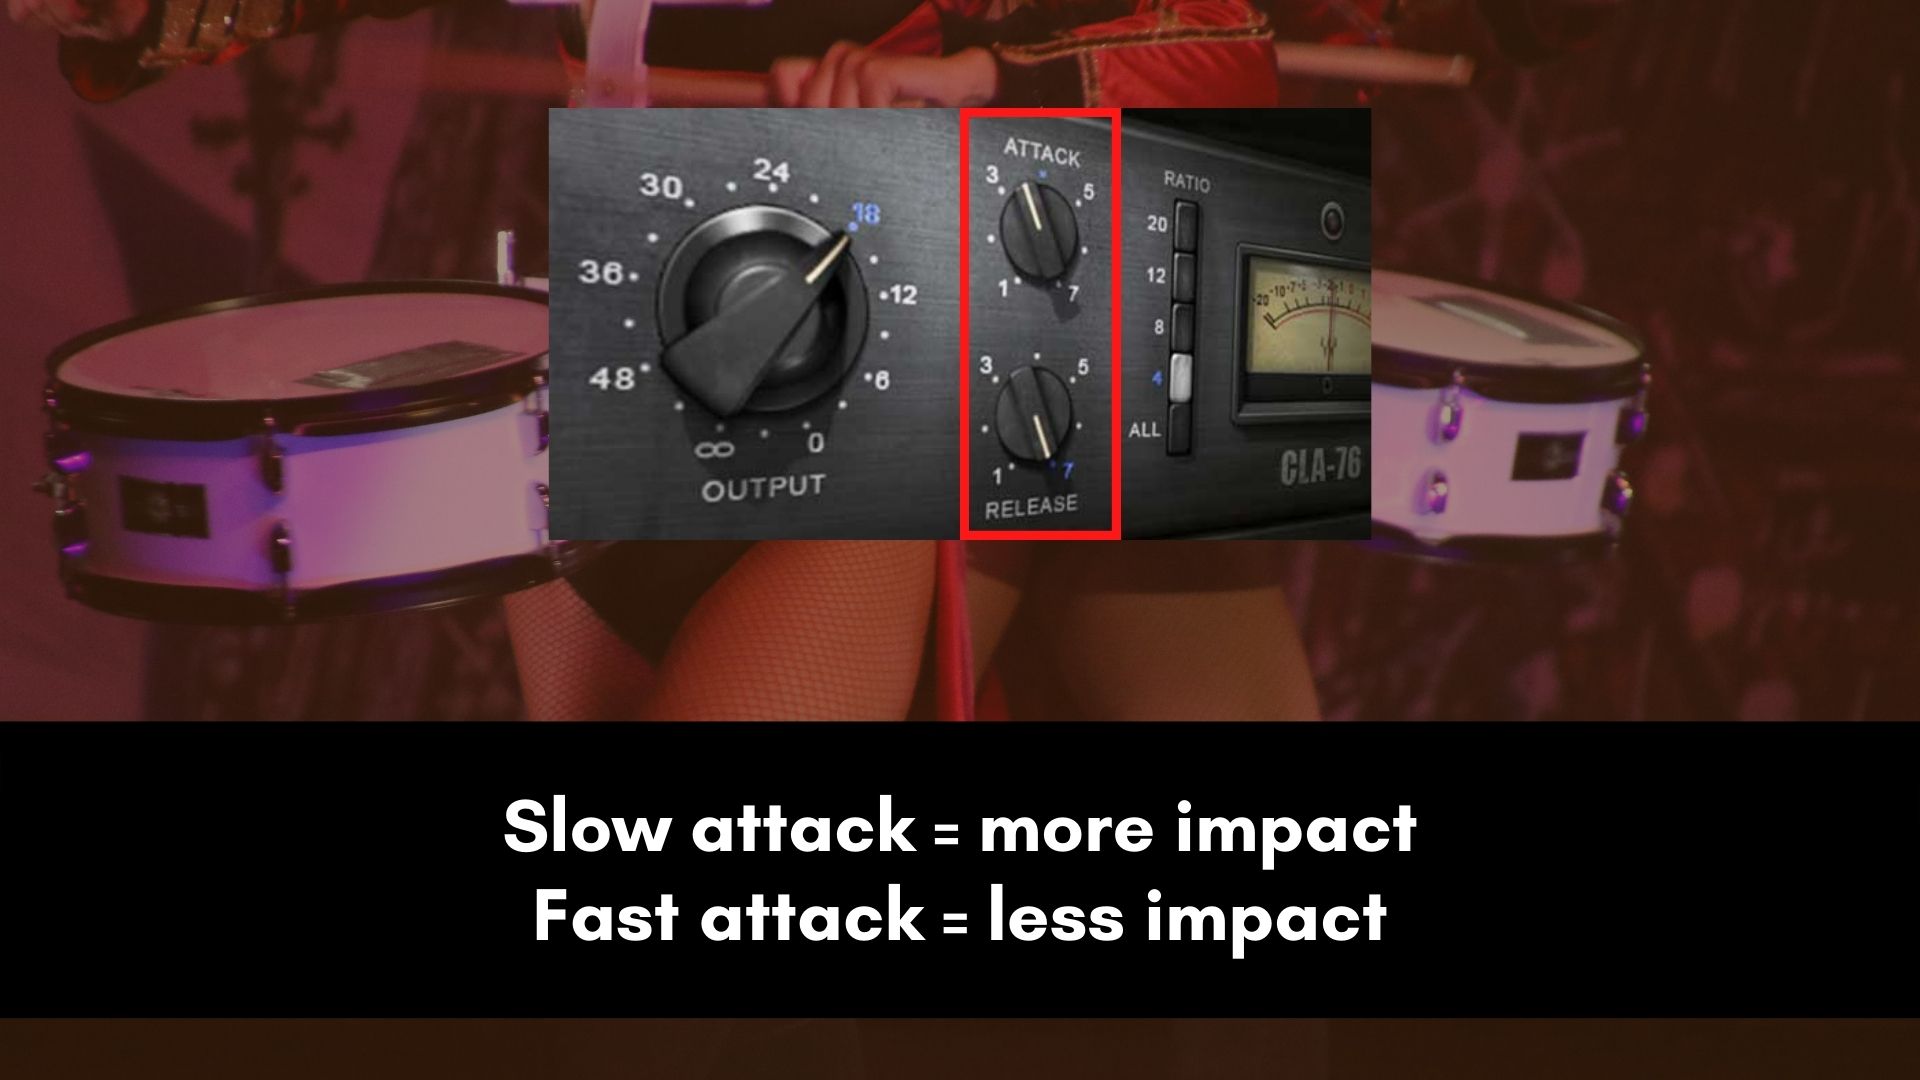
When you want to control transients you’ll most likely use a fast attack and release so that the compressor doesn’t affect the decay but only affects the loud transients.
Too much compression will push the snare at the back of the mix, reduce punch, and make it sound smooth.
If the snare needs tonal compression or you’re working on jazz or classical genre where the musicians want an organic feel then use a medium to slow attack and release settings.
For dynamic control, you’ll need a fast to medium attack. The release needs to be set to medium.
If you don’t know how much is fast, medium or slow don’t worry I’ll give you the numbers below in the cheat sheet section.
Using Makeup Gain

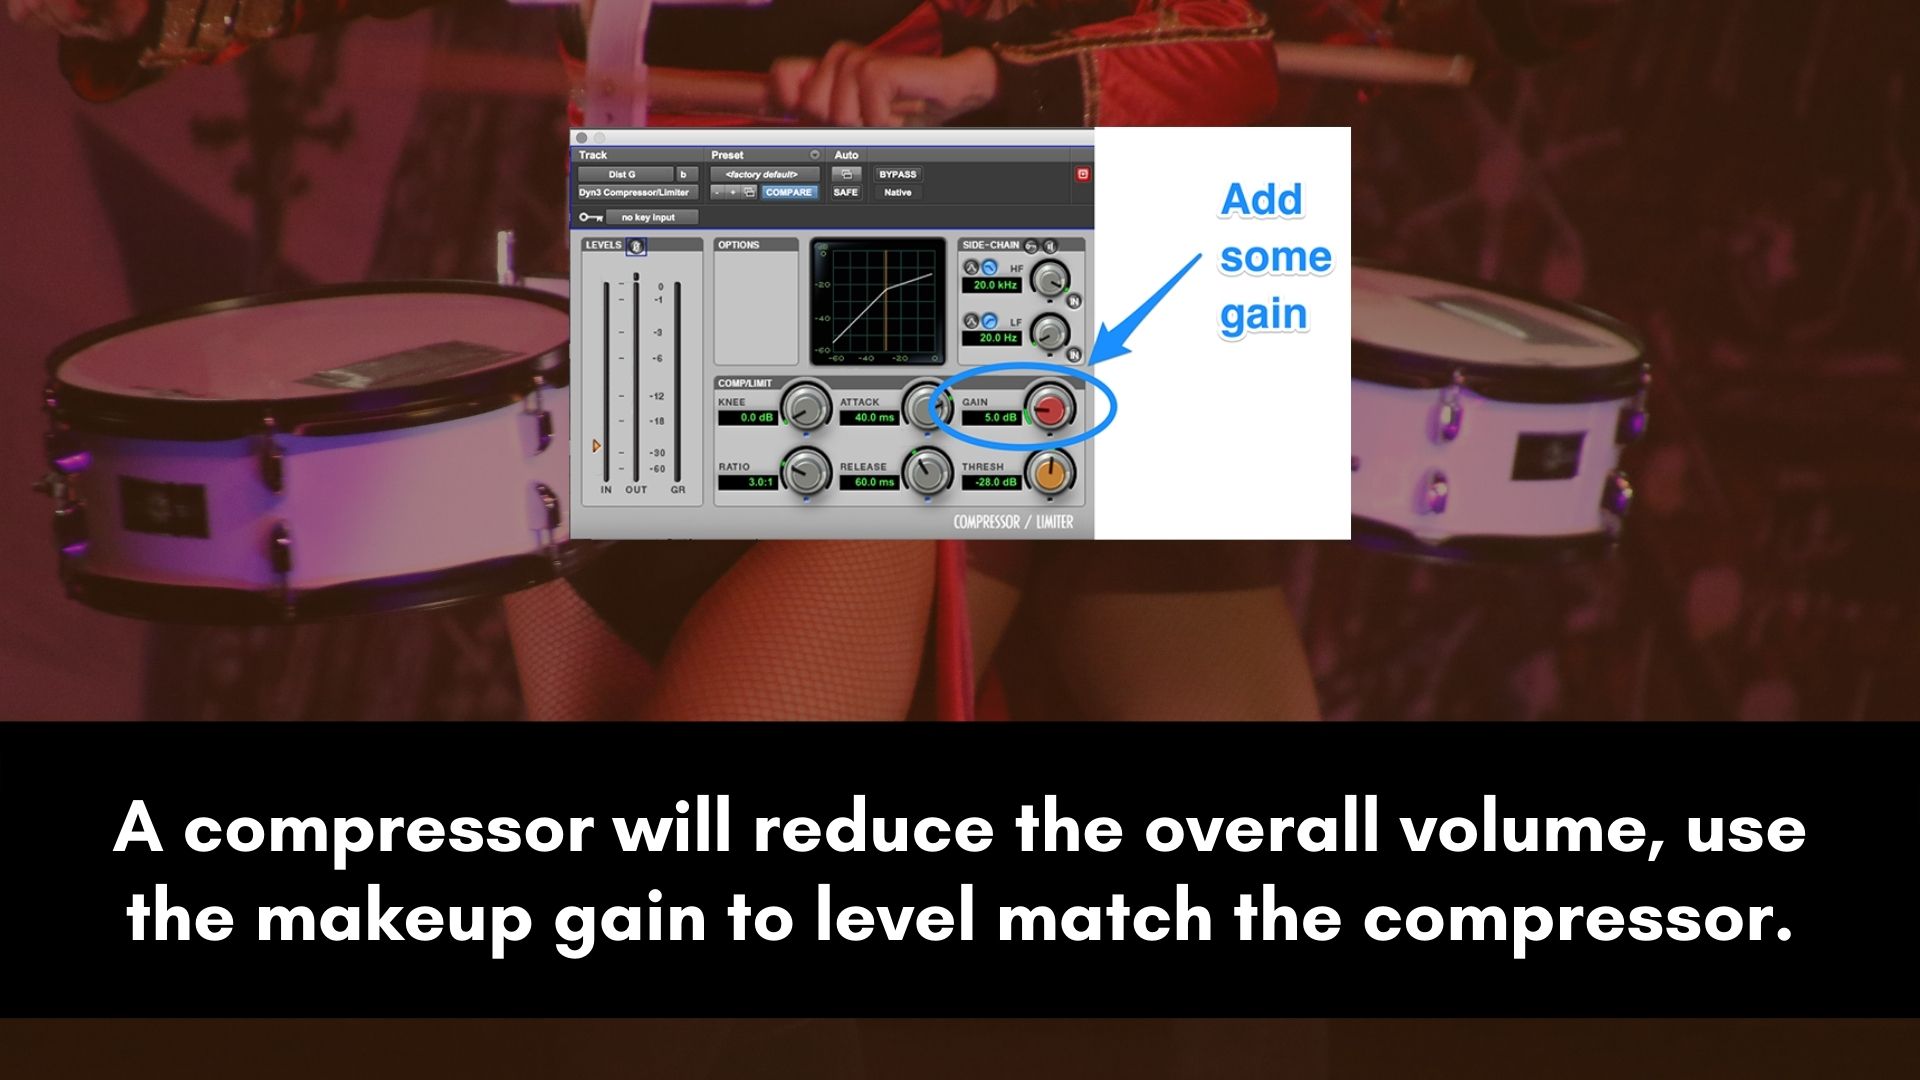
Once you’re happy with the results then you might want to use the makeup gain to level match the compressor.
A compressor will reduce the overall volume. To compensate you need to use makeup gain so that you can compare the before and after at the same level.
This will also help you maintain the gain staging of the snare going in and out of the compressor.
But most importantly, you need to be able to hear if what you did is beneficial, not only the sound but the entire mix.
Some compressors come with an auto-gain feature built-in. You can use that to make your job a lot easier.
I prefer to do it manually though because this approach sounds more accurate.
Compressing Snare Sample
In most cases, you don’t even need to apply any compression to your snare samples.
This is because by the time you purchase or download them they’ve already been compressed multiple times.
It’s much better to spend more time choosing or designing the exact sound that you want instead of relying on mixing if you want to get the best results.
In an instance where you’re using VST instruments such as Superior Drummer and you’re playing the samples using a drum machine or any midi controller then use tonal compression settings.
With tonal compression, you’re able to control the frequency imbalances without changing the timbre and still keep the snare sounding organic.
If the dynamic range is too drastic then you might want to use a combination of volume automation and minor compression to get a great sound.
So, try by all means to avoid compressing a snare sample.
How to Compress Top and Bottom Snare
When it comes to compressing the top and bottom snare you have to make one sound smooth and the other punchy.
The bottom snare is usually the one that has to sound smooth and longer while the top snare becomes punchy to help both sounds to cut through the mix.
Here’s a video that will help you learn how to compress snare top and bottom the right way.
Snare Compression Cheat Sheet
Here’s a snare compression cheat sheet that will give you a solid starting point, no matter the sound or genre.
Dynamic
This type of compression will be useful if you’re mixing a snare drum that has a drastic dynamic range (a huge difference between the loud and quieter parts).
- Ratio: 4:1 or more
- Attack Time: fast to medium (0.1-10 ms)
- Release Time: medium (100 - 200 ms)
- Gain Reduction: push the threshold until you’re affecting everything besides the quieter snare hits.
- Knee: Hard
Tonal
You can use tonal compression when the snare drum is not too dynamic but is struggling to cut through the loudest parts of the song due to frequency imbalances. You can also use this approach if you’re working with musicians who want to make things sound natural and keep a human feel.
- Ratio: 1.5:1 to 3:1
- Attack Time: medium to slow (10 ms or more)
- Release Time: medium to slow (100 ms or more)
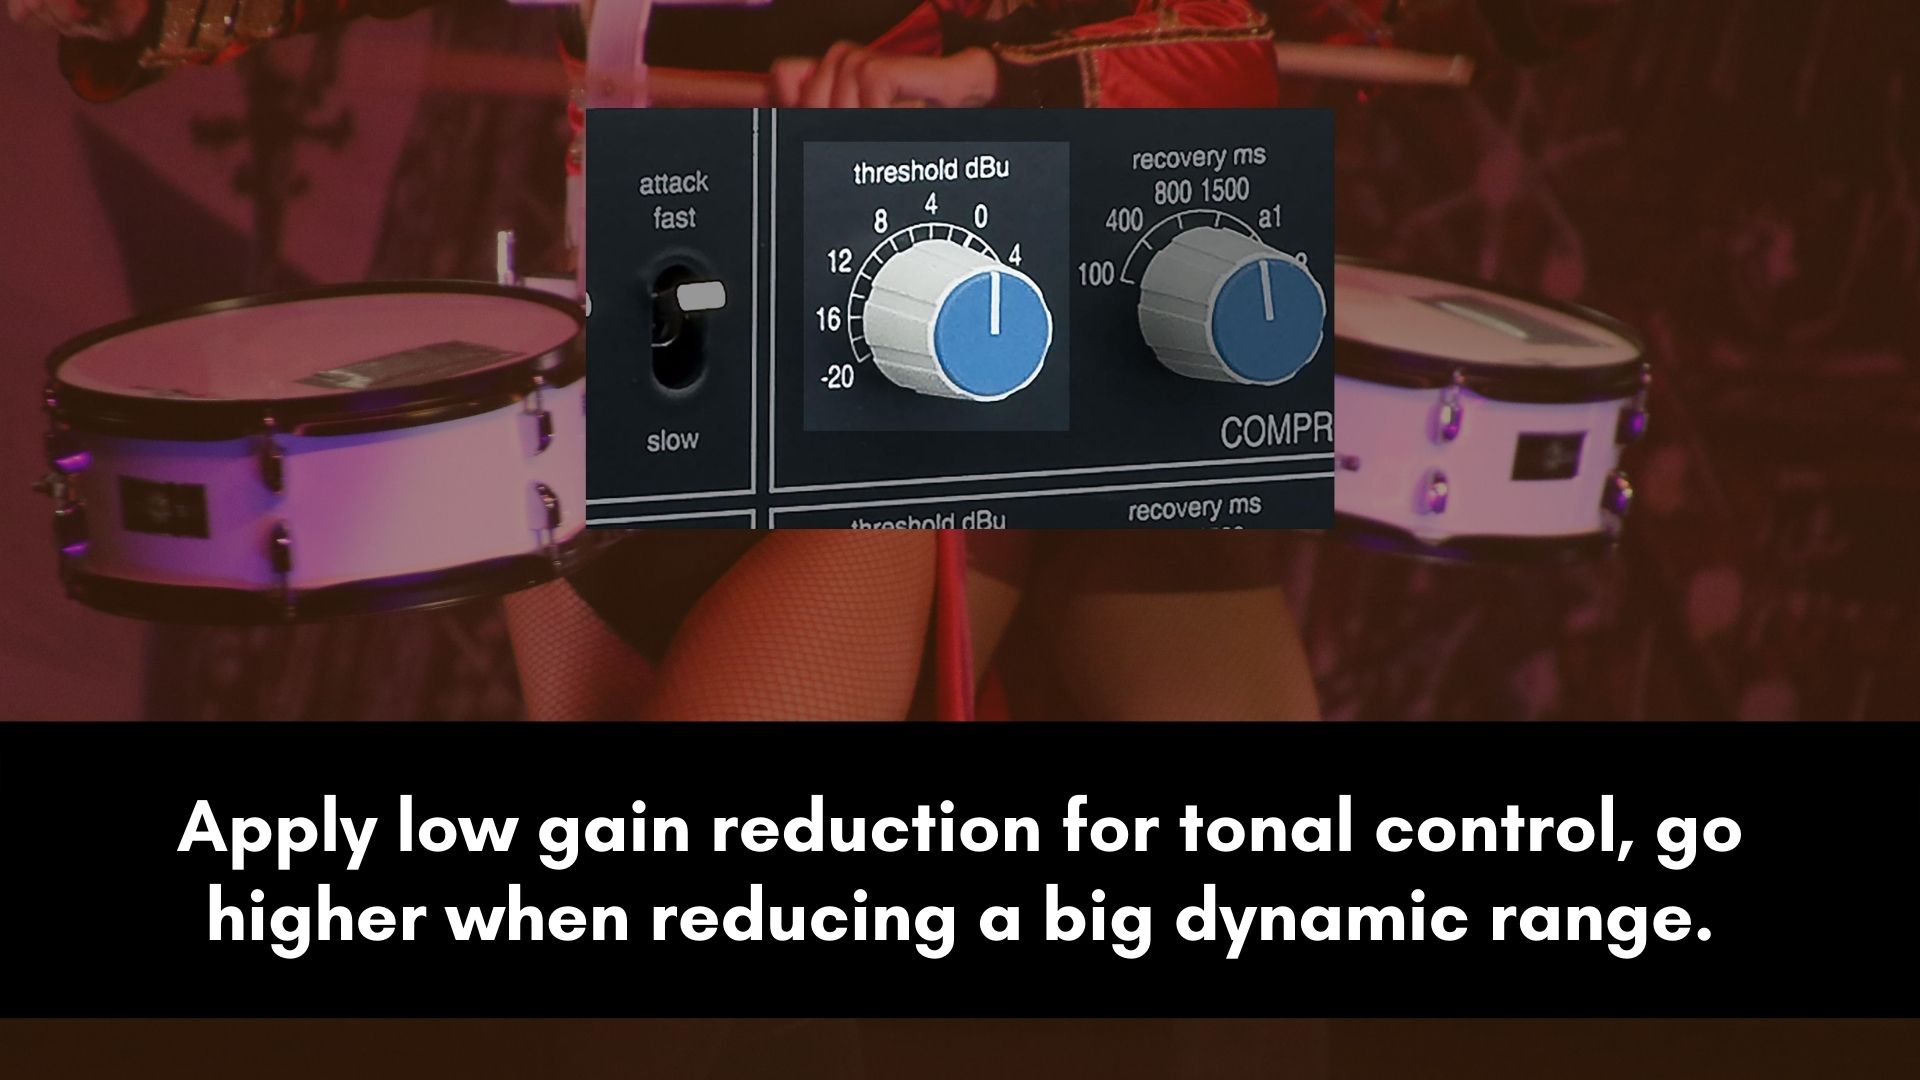
- Gain Reduction: around -2dB to -3dB
- Knee: Soft
Controlling Loud Transients
In some cases, you might find yourself working on a snare drum performance that has peaks that become way too loud in certain parts of the song. You can use a fast compressor like the 1176 to reduce these loud transients.
You can also use this type of compression if you want to make a snare sound smoother in the mix or if you don’t want it to sound punchy.
- Ratio: 5:1 to 8:1
- Attack Time: fast (0.1-10 ms)
- Release Time: fast (50-100 ms)
- Gain Reduction: push the threshold to only affect the transients, once you start affecting every hit, then reduce the threshold. You should only affect the loudest transients.
- Knee: Soft
Punchy Snare Compression Settings
When the snare in a mix just sounds flat, you can use this technique to help it cut through the mix by bringing up the attack.
- Ratio: 3:1
- Attack Time: slow (30 ms or more)
- Release Time: slow (200 - 500 ms+)
- Gain Reduction: around -2dB to -5dB
- Knee: Soft
FAQ:
Should I compress the snare drum?
The simple answer is always, “it depends”.
It will depend on what you want to achieve when you compress the snare. Ask yourself if you need the snare to sound punchy or smooth.
Maybe you need to apply dynamic or tonal control.
In some situations, the snare could be sounding way up front in the mix and you just want to push it behind the vocals.
There are plenty of reasons you would compress a snare drum.
However, if you’re using a sample that’s not changing in volume you most likely do not need to apply compression.
But when the snare is recorded live and keeps changing in volume then you’ll need to compress it to keep the level consistent throughout the entire song.
How do you make a punchy snare sound?
Making a snare drum sound punchy is a combination of multiple processing tools.
These include an EQ, compression, saturation, and transient designer (in some cases).
You can use a combination of all the mentioned tools to get a punchy snare while in some cases only one of them can give you the results you want.
Sometimes you just need to make some of the instruments and supporting vocals sound smoother so that the snare can become punchy.
If everything in your mix is punchy then the snare drum will struggle to sound punchy.
This is why contrast is very important when mixing.
Some of your sounds will need to have fewer transients while others have more transients.
So, make all the background sounds smoother. These are sounds such as supporting vocals, keys, pads, strings, etc.
This will make your main sounds (lead vocal, kick, snare, etc.) become punchy. It’s all about creating contrast.
You can find the best settings for a punchy snare sound in the cheat sheet section above.
How Much Should You Compress a Snare?

How much compression you apply to a snare drum is determined by your intent.
You need to figure out why you want to use a compressor on the snare.
Once you have good intent then you can use the threshold and ratio parameters to set the perfect amount of compression.
Don’t be afraid to start with a high threshold setting (around -7dB to -10dB of gain reduction) then work on the other parameters (attack, release, knee, etc.).
This will make the effect sound obvious so that you can hear clearly how the compressor is affecting the snare.
Once you’re happy with how the compressor is reacting to the sound then you can revisit the threshold (and ratio) and set it to taste.
Basically, use a low threshold if you’re controlling a minor dynamic range problem (apply around -3dB of gain reduction).
When there’s a big difference between the loud and quieter parts of the snare recording then you can go for higher threshold settings (-5dB or more in some instances).
If you just want to reduce transients to make the snare sound punchy then you simply need to make sure that the compressor doesn’t affect the quieter parts.
You can look at the gain reduction meter to visualize this (but these are not always accurate so use your ears as well).
To nail the right gain reduction just make sure that the compression doesn’t overlap with the next snare hit.
The compressor usually needs to go back to zero before the next hit.
What is the best release time for snare compression?
The best release time for snare compression depends on the context and desired sound.
Consider the tempo and feel of the song.
For faster, energetic songs, a shorter release time maintains snare attack and clarity.
In slower, laid-back songs, a longer release time adds sustain and blends with the music.
Evaluate the snare drum's natural decay and sustain.
If it has a long sustain, a shorter release time controls the tail. If it has a short sustain, a longer release time adds body.
Determine the desired effect: a shorter release time tightens the sound, emphasizing the attack. A longer release time creates an open, ambient sound with a sense of space.
Experiment and trust your ears to find the ideal release time that complements and fits the mix.
Wrap
The most important thing to pick up from this tutorial is that you always need a good intent to get the best results.
Don’t apply compression just because someone recommended that you should do it.
Once you have the right intent then this post will be valuable to you because now you know which settings will work best for punch, smoothness, tonal, etc.
So, save or bookmark this page so that you can find it easily and use it as a cheat code when mixing a snare drum.
If anything mentioned above is confusing then leave a comment below and I’ll definitely get back to you.
Feel free to share what you’ve learned in the comments, I love hearing from you because it keeps me going.