You solo the rack tom. It rings forever. You solo the floor tom. It is all low boom, no attack.
You pull them into the mix, and they vanish until a fill comes, then they jump out way too loud.
You ride the fader, and it never quite works.
Toms are one of the trickiest elements of a drum mix because they have to do two opposing jobs.
Sit quietly under the song until a fill arrives. Then explode with thunder and power. The same chain that controls the ringing has to preserve the impact when the drummer hits hard.
This guide walks the full tom mixing chain end-to-end. Prep, balance, EQ, compression, panning, reverb.
By the end you will have a workflow that keeps toms tucked under the song and turns them loose on every fill.
TL;DR: The Workflow at a Glance
The short version.
The order is what makes toms hit hard without dragging the rest of the mix down.
- 1. Prep. Edit, gate or strip silence, check phase against the overheads.
- 2. Balance. Set tom level so fills lift the song without dominating verses.
- 3. EQ. HPF at 60–80 Hz, notch the ring around 300–600 Hz, boost body at 100 Hz and attack at 5 kHz.
- 4. Compression. Medium attack, longer release than other drums (120–200 ms), 3:1, 2–4 dB GR.
- 5. Pan. Match the overhead image. Rack tom one side, floor tom the other.
- 6. Reverb. Short room or short plate on a send for sustain.
Prep: Edit, Gate, and Phase the Toms
Tom close mics catch more bleed than any other element of the kit. They are open mics that capture the entire surrounding drums in every bar where no tom is hitting.
Unmuted, that bleed adds 6 dB of noise to the channel and ruins everything downstream.
Run strip silence on every tom track.
Set the threshold just above the bleed floor, the hold time should be long enough to capture the full hit (60–100 ms typically), and leave 5 ms fade-ins and 50 ms fade-outs on every region.
The toms now exist only when they are actually playing.
Check the phase between the tom close mics and the overheads.
Nudge each close mic backward in 1 ms steps until its transient lines up with the overhead version of the same hit.
Without alignment, the comb filtering takes the punch out of every fill.
The drum editing guide covers the prep stage in detail, including the regions and fades that prevent gate clicks.
Balance Levels Against the Snare
Toms are a contrast element.
They sit quiet most of the song, then jump out on fills. The level you set has to work in both modes.
Set the tom level so the loudest fill hits at roughly the same loudness as the snare in that section, never louder.
In verses where the toms are mostly silent, this rule does not apply (there is nothing to hear).
In fills and bridges where the toms drive the section, they should match the snare’s weight without dominating the kit.
If you do not lock in a stable baseline volume and dynamic range for your snare drum, any volume or EQ adjustments you make later will constantly shift.
This will ruin the balance between the snare and the toms.
If a fill jumps out aggressively, the issue is usually compression, not level.
Toms often need 2–4 dB of dynamic control to bring the average hit up to fill loudness without the peaks overshooting.
The compression section below handles this.
EQ for Punch, Body, and Clarity
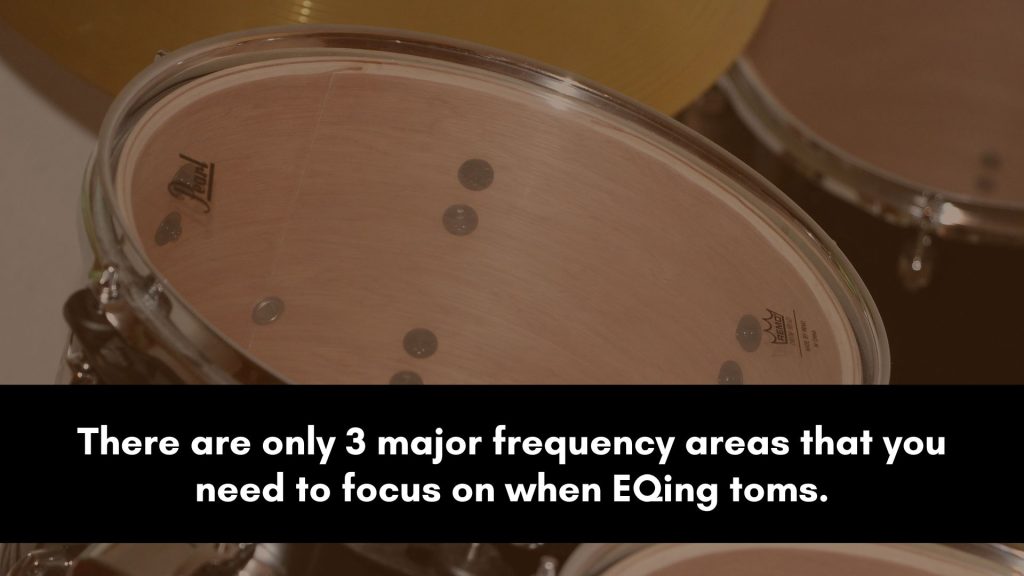
Tom EQ has three jobs: cut the ring, add the body, and restore the attack. The ring is what makes toms sound amateurish.
The body is what makes them thunder. The attack is what makes them cut through.
Start with a high-pass filter at 60 Hz on rack toms and 50 Hz on floor toms. The HPF cleans rumble without touching the body.
Sweep a narrow notch through 300–600 Hz to find the ring (the sustained note that toms hold long after the initial hit), then cut 4–6 dB there with a high Q.
The ring is unique to each drum; sweep until you find it.
Boost 2–3 dB at 80–120 Hz for body on rack toms or 60–80 Hz on floor toms. Boost 2–4 dB at 4–6 kHz for stick attack.
The 4 kHz boost is what makes the tom cut through a busy mix; without it, the fills sound dull.
The tom EQ guide covers the frequency map by tom size and the specific bands for kit ring, snare bleed, and harshness on the close mics.
Compress for Sustain and Control
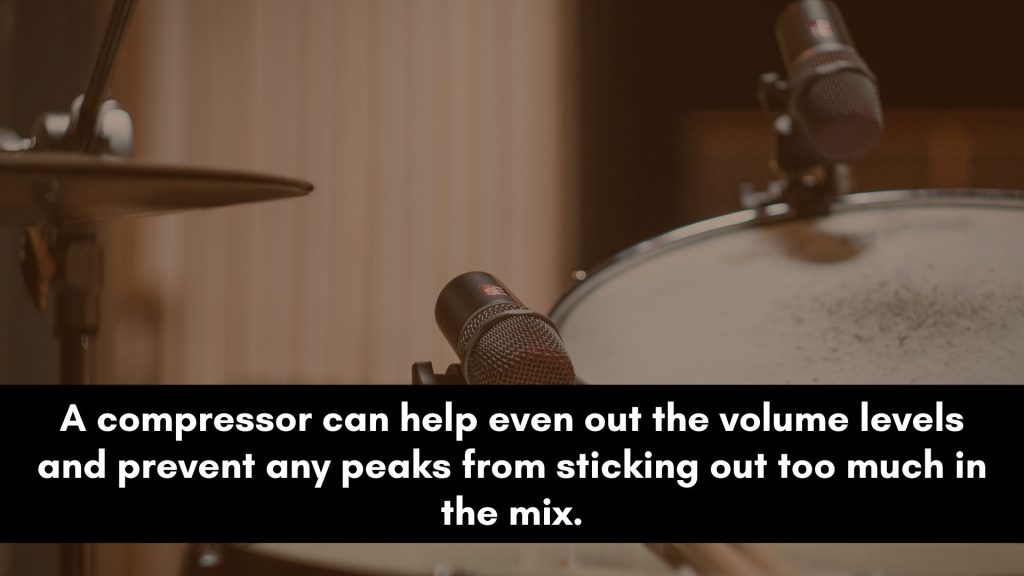
Tom compression is different from kick or snare compression.
The release is longer because the toms have natural sustain that you want to preserve and even extend.
The attack stays medium so the stick hit comes through. The gain reduction stays modest.
Start with a medium attack of 20–30 ms, a longer release of 120–200 ms, a 3:1 ratio, and 2–4 dB of gain reduction on the loudest hits.
The longer release brings up the body and sustain between hits, which is what makes the fill feel powerful instead of choppy.
An SSL-style VCA compressor works well on toms. The smooth, transparent action preserves the natural envelope while adding control.
An 1176 can work for aggressive rock fills but tends to flatten the dynamics that make toms feel alive.
The tom compression guide covers the by-genre settings, and parallel drum compression walks the layered-bus approach that gives fills extra weight without flattening the dry track.
Pan to Match the Overheads
Tom close mics are mono sources.
The stereo image of the toms comes from how you pan them across the kit, and that panning must match where each tom sits in the overheads.
For a four-piece kit with one rack and one floor tom, pan the rack tom 30–40 percent to one side and the floor tom 30–40 percent to the other.
For a five-piece with two rack toms, spread them at 20 and 40 percent on one side, with the floor tom at 30–40 percent on the other.
Match the close-mic pan to each tom’s position in the overhead image.
Drummer’s perspective puts the floor tom on the right. Audience perspective puts it on the left.
Either works. The panning guide covers the full kit placement and the perspective choice that affects every other drum.
Reverb for Power and Depth
Reverb on toms adds the sustain and power that the dry, close mic cannot deliver on its own.
The right reverb makes a tom fill feel thunderous; the wrong one washes the kit out.
Use a short room (0.8–1.5 seconds) or a short plate. Send the toms to a stereo aux at 15–25 percent send level.
Set pre-delay to 30–50 ms so the dry transient stays clear before the reverb arrives.
High-pass the return at 200 Hz so the reverb does not muddy the low end. Low-pass at 8 kHz to keep the brightness in check.
For modern rock and metal, share the snare reverb with the toms so the kit sounds like one cohesive space.
The snare reverb tips post walks the chamber and plate settings that share well across both elements.
For more vintage productions, give the toms their own slightly longer room reverb so the fills feel bigger than the steady backbeat.
Tom Settings Cheat Sheet
Starting points by tom type.
Adjust the bands by ear; every drum has its own ring frequency and body.
| Tom | HPF | Ring notch | Body boost | Attack boost | Compression | Pan | Reverb send |
|---|---|---|---|---|---|---|---|
| High rack tom | 80 Hz | 400–600 Hz (-4 to -6 dB) | 120 Hz (+2) | 5 kHz (+3) | 3:1, 2–4 dB GR, 150 ms release | 30–40% L or R | 15–20% |
| Mid rack tom | 70 Hz | 300–500 Hz (-4 to -6 dB) | 100 Hz (+2) | 4–5 kHz (+3) | 3:1, 2–4 dB GR, 150 ms release | 20–30% L or R | 15–20% |
| Floor tom | 50 Hz | 200–400 Hz (-4 to -6 dB) | 60–80 Hz (+3) | 3–4 kHz (+2) | 3:1, 3–5 dB GR, 200 ms release | 30–40% opposite side | 20–25% |
| Aggressive rock fills | +10 Hz on all | same notch, -6 dB | +1 dB extra | +1 dB extra | 4:1, 4–6 dB GR | standard | 20–30% |
| Jazz / acoustic | -10 Hz on all | -2 to -3 dB only | +1 dB only | +1 dB only | 2:1, 1–2 dB GR | standard | 10–15% |
3 Common Mistakes to Avoid
These three mistakes account for most tom mixes that almost work.
Each one has a clean fix from the workflow above.
- 1. Skipping the ring notch. Toms ring at a specific frequency long after the hit ends. Without a 4–6 dB cut at that frequency, the toms muddy every bar they play in. Sweep with a narrow Q boost to find the ring, then invert the boost to a cut.
- 2. Compressing with too short a release. A 50 ms release shortens the natural tom sustain, making fills feel choppy. Use 120–200 ms so the body sustains between hits.
- 3. Not gating or strip-silencing the bleed. Tom mics catch the entire kit between hits. Leaving that bleed unmuted adds 6 dB of noise to the channel and turns every later plugin into a corrective fight against the noise instead of a creative choice on the drums themselves.
Frequently Asked Questions
Short answers to the questions that come up most often about mixing toms.
What EQ settings work best for toms?
High-pass at 60–80 Hz on rack toms and 50 Hz on floor toms. Sweep a narrow notch through 300–600 Hz to find the ring and cut 4–6 dB.
Boost 2–3 dB at 80–120 Hz for body, and 2–4 dB at 4–6 kHz for stick attack.
The ring frequency is unique to each drum; sweep first and set the cut after you find it.
How much compression should I use on toms?
Target 2–4 dB of gain reduction on the loudest hits using a 3:1 ratio. Use a medium attack of 20–30 ms so the stick hit passes through.
Use a longer release than other drums (120–200 ms) to preserve the natural sustain.
Anything beyond 6 dB of gain reduction starts to flatten the tom dynamics that make fills feel alive.
How do you fix boomy or ringy toms?
Find the specific ring frequency with a narrow Q sweep (boost first to find it, then invert to a cut).
Rack tom rings live between 400 and 600 Hz, and floor tom rings between 200 and 400 Hz. Cut 4–6 dB at the ring frequency with a high Q.
If the ring is still audible after the static cut, add a dynamic EQ on the same band that only activates on louder hits.
Should toms be mono or stereo?
The close mics are mono.
The stereo image of the toms comes from panning the mono close mics across the kit to match the overhead picture.
Rack tom one side, floor tom the other, at 30–40 percent off center. Spread two rack toms at 20 and 40 percent if you have a five-piece kit.
Match perspective (drummer’s or audience’s) consistently across the kit. The kit-wide call is in should drums be mono or stereo.
Do toms need reverb?
Yes, in almost every modern production.
A short room (0.8–1.5 seconds) or short plate on a send adds the sustain and power the dry close mic cannot deliver.
Send level 15–25 percent. Pre-delay 30–50 ms. HPF the return at 200 Hz and LPF at 8 kHz.
Sharing the snare reverb with the toms keeps the kit cohesive in modern rock and metal.
Why do my toms disappear in the mix until a fill?
That is normal.
Toms are meant to sit quiet under the song and explode on fills. The issue is when the fills overshoot.
If your fills jump 6+ dB above the surrounding kit, increase the gain reduction on the tom compressor by 2 dB so the average hit comes up and the peaks come down.
Target average hit loudness near the snare; peaks no more than 2 dB louder.
The Bottom Line
Toms hit hard when the chain handles the contrast right. Quiet under the song, explosive on fills.
Prep cleans the bleed. EQ kills the ring and adds the body. Compression evens the dynamics without killing the sustain.
Panning places them across the kit. Reverb adds the power that close mics alone cannot deliver.
Toms are one element of the full kit.
The step-by-step drum mixing workflow places tom decisions inside the order in which the rest of the kit gets built.
And the complete drums mixing guide covers every other element with the same depth.