You have 20 tracks lined up. The recording is clean, the levels are set, and every plugin chain is loaded. You stare at the pan knobs and freeze.
Do the rhythm guitars go hard left and right or 60 percent off center? Where does the second keyboard go? What about the shaker?
You start nudging knobs at random, and 30 minutes later the mix sounds lopsided, and you cannot tell why.
Panning is not a creative free-for-all. There is a 6-step workflow that handles 95 percent of pan decisions cleanly, in mix order, with no guesswork.
Anchor the center first, then build the kit, then place everything else around them, then check in mono.
Get the order right, and the panning stage takes 15 minutes, not three hours.
This guide walks the panning workflow step by step.
By the end you will have a process you can run on any session and a cheat sheet that catches the common mistakes before they sink the mix.
TL;DR: The 6-Step Panning Workflow
The short version. Run the steps in order. Each step depends on the one before it.
- 1. Start everything centered. Pan all tracks to 0 to hear the raw balance.
- 2. Anchor the center. Kick, bass, snare, and lead vocal stay at 0.
- 3. Pan the drum kit. Match close mics to overhead position.
- 4. Place guitars and doubled sources. Hard-pan doubled performances; offset single sources.
- 5. Position keys, strings, pads, and BGVs. Fill the gaps between centered anchors and hard-panned doubles.
- 6. Check in mono and adjust. Toggle mono on the master; fix what disappears or jumps.
Step 1: Start Everything Centered
Before any pan decisions, set every track to center (0).
This sounds counterintuitive when the goal is a wide stereo mix, but starting everything centered gives you a baseline for the raw balance.
Listen for 30 seconds with all tracks centered. Note which elements feel buried, which jump out, which are missing entirely.
This pass surfaces level problems that would otherwise hide behind panning.
If the kick disappears at the center, it was either never loud enough or it is masked by another element that needs panning out of its way.
That loud-or-masked distinction only reads clearly when your levels are already sane, which is the job gain staging does before any pan knob moves.
Centering everything also reveals the song’s actual elements.
A 20-track session might have eight things that genuinely need stereo placement and 12 that just need level adjustments.
The center-everything pass tells you which is which before you waste time panning tracks that should have been at the center anyway.
Step 2: Anchor the Center (Kick, Bass, Snare, Lead Vocal)
Four elements stay centered in almost every modern mix: the kick drum, the bass, the snare drum, and the lead vocal.
These are the rhythmic and melodic anchors that the listener tracks as the song’s foundation.
Kick and bass stay at 0 because low frequencies are non-directional (the ear cannot place sub content), and panning them off-axis halves the speaker mass behind the low end.
The snare stays at 0 because it is the backbeat anchor; the listener tracks it like a vocal. The lead vocal stays at 0 because it is the song’s voice; any offset reads as a mix error.
Lock these four at 0 and do not move them.
Width on these elements comes from stereo effects on aux sends (reverb and delay), not from panning the dry signal.
Build the rest of the mix around this fixed center.
Step 3: Pan the Drum Kit
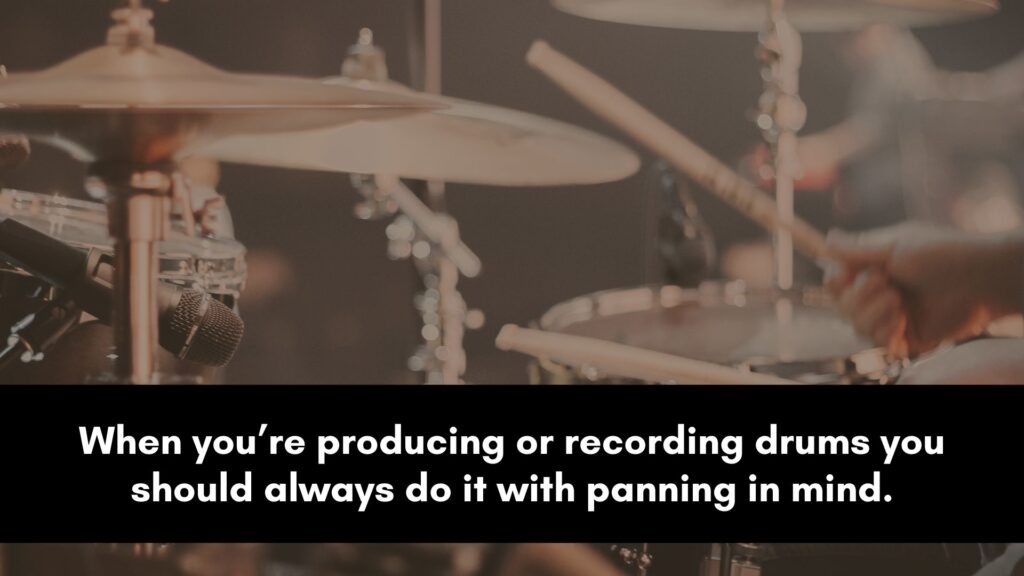
With the kick and snare locked at center, the rest of the kit gets panned to match the spatial picture in the overheads.
The principle: each close mic sits where its drum appears in the overhead image.
Overheads hard-panned LCR (100/100) for a wide modern image or narrower at 80/80 for a tighter focused kit.
Hi-hat close mic at 15–30 percent off center on the same side it appears in the overheads.
Rack toms spread at 20–30 percent off center on one side. Floor tom 30–40 percent off center on the opposite side.
Match perspective consistently: drummer’s perspective puts the floor tom on the right; audience perspective puts it on the left. Pick one and commit.
The full element-by-element drum panning context lives inside the complete drums mixing guide.
The per-drum mono-versus-stereo decision (and the exceptions for programmed trap hats and other variants) is in should drums be mono or stereo.
Step 4: Place Guitars and Doubled Sources
Guitar panning is the second-most-important pan decision after the kit.
The decision depends on whether the part is doubled (two performances of the same part) or single.
Two doubled rhythm guitar takes hard pan at 80–100 percent left and right. This is the rock and metal wall sound.
The two performances are not identical, so they create real stereo width that survives mono playback.
A single rhythm guitar sits center or 30 percent off; do not hard-pan a single take, because there is nothing on the opposite side to balance it.
Lead and solo guitars usually sit centered or slightly off (10–20 percent). The soloist takes a forward position in the mix.
Acoustic rhythm guitars work at 30–50 percent off center, often paired with another mono source on the opposite side (a Rhodes, a shaker, a synth pad).
Other doubled sources follow the same rule: doubled BGV harmonies hard-pan as a pair, doubled percussion hard pan, doubled hooks hard-pan.
The doubling is what enables the wide hard pan; without doubling, hard-panning a single source pulls the balance off-axis.
Step 5: Position Keys, Strings, Pads, and Background Vocals
With the center anchored, the kit panned, and the guitars placed, the remaining sources fill the gaps in the stereo field.
Keys, strings, pads, and background vocals all sit in the spaces between the centered anchors and the hard-panned doubles.
Backing keyboards typically sit 20–40 percent off center, opposite another mono source for balance.
Synth pads spread stereo wide as atmospheric layers behind everything else.
String sections (real or sampled) often spread stereo wide; orchestral string arrangements follow traditional concert seating.
Background vocals spread around the lead, with harmonies in the same parts panned together (a third-up harmony at 40 percent left, a fifth-up at 40 percent right).
Doubled background vocals get the same hard-pan treatment as doubled rhythm guitars.
The full vocal-specific panning workflow is in how to pan vocals; the broader vocal chain context is in the complete vocal mixing guide.
Step 6: Check in Mono and Adjust
The final step is the mono check. Toggle a mono utility on the master and listen for what changes.
This catches phase issues, stereo wideners that collapse, and balance shifts that hide under stereo width.
Listen specifically for low-end loss (a phase problem in the kick or bass region), vanishing elements (stereo wideners or fake-width plugins cancelling), and elements that jump forward in mono (their stereo position was masking them).
Fix the issues in stereo with the mono check off; then re-engage mono and verify.
The conceptual foundation for why this check matters is in mono vs stereo. The full stereo-mixing-without-killing-mono workflow lives in mixing in stereo.
Both are required reading if your mixes still surprise you on phones and Bluetooth speakers.
Panning Workflow Cheat Sheet
The quick-reference table for the workflow. Use it as a checklist during the panning stage of any session.
When you need the exact placement for a specific instrument rather than the step it belongs to, the instrument panning cheat sheet lists the numbers source by source.
| Step | What to do | What to listen for | Common mistake |
|---|---|---|---|
| 1. Center everything | Pan all tracks to 0 | Buried elements, level imbalance | Skipping this step; jumping to panning before balance |
| 2. Anchor the center | Lock kick, bass, snare, lead vocal at 0 | Foundation feels solid | Panning the lead vocal or bass off center |
| 3. Pan the drums | Match close mics to overhead image | Kit reads as one instrument | Mismatched close mic and overhead pans |
| 4. Place guitars and doubles | Hard-pan doubled, offset singles | Width without lopsidedness | Hard-panning a single source with no pair |
| 5. Position keys, strings, BGVs | Fill the gaps between center and hard pans | Field feels balanced left-to-right | Stacking too many sources on one side |
| 6. Check in mono | Toggle mono utility on master | No major level drops or vanishing | Skipping the mono check entirely |
3 Common Mistakes to Avoid
Three mistakes account for most beginner pan decisions that almost work.
Each one has a clean fix from the workflow above.
- 1. Hard-panning a single source. Hard-panning works when two performances balance each other on opposite sides. A single take hard-panned to one side leaves the mix lopsided. If you only have one performance of a part, sit it center or 30 percent off, not at 80–100 percent.
- 2. Stacking too many sources on one side. Three guitars on the left and only a shaker on the right is not balance. Count what sits on each side and aim for rough symmetry. The center anchors (kick, bass, snare, vocal) hold the middle; the sides need balanced weight.
- 3. Skipping the mono check. A mix that has never been checked in mono will surprise you on the listener’s phone. Toggle mono every 10–15 minutes during the session. The final pre-mastering check is non-negotiable.
Frequently Asked Questions
Short answers to the questions that come up most often about the panning workflow.
Should kick and bass always be centered?
Yes, always. Low frequencies below 100 Hz are non-directional, so panning the kick or bass off-axis wastes the impact on width nobody can hear.
Centering also keeps the full speaker mass behind the low end on every playback system, including mono speakers like phones and Bluetooth speakers.
There is no genre or arrangement where panning kick or bass off-center is the right call.
How far should guitars be panned?
Two doubled rhythm guitar takes hard pan at 80–100 percent left and right. A single rhythm guitar sits center or 30 percent off.
Lead and solo guitars usually sit center or 10–20 percent off. Acoustic rhythm guitars work at 30–50 percent off center, often paired with another mono source opposite for balance.
Doubling is what enables the hard pan; without it, hard-panning lopsides the mix.
Where should a guitar solo be panned?
Center, or 10–20 percent off if there is something else already at center (like a vocal still singing through the solo).
A featured solo takes a forward position in the mix, which means a centered or near-centered pan.
Hard-panning a solo to one side pulls the listener’s focus off-axis and reads as a mix error.
How do you make a mix feel wider without sounding unbalanced?
Use real performance differences. Double-track guitars, vocals, and percussion and pan the pairs hard left and right.
Use stereo reverb and delay on aux sends to add wet width without moving the dry signal.
Avoid stereo wideners on mono sources; they create artificial width that collapses in mono.
Count what sits on each side and keep rough symmetry.
What should I pan first, drums or guitars?
Drums. The kit is the largest single element by track count, and the overhead image defines where every close mic needs to sit.
Once the kit panning is locked, guitars and other instruments place around it.
Reversing the order means re-panning the drums every time you adjust a guitar position.
How often should I check in mono during a session?
Every 10 to 15 minutes during the session, plus a final check before sending the mix to mastering.
The mono check catches phase issues, vanishing stereo effects, and balance differences while the mix is still flexible.
A mix that has only been checked in mono at the very end will need significant rework if problems appear at that stage.
The Bottom Line
Panning is a 6-step workflow, not a creative free-for-all.
Center everything first, anchor kick and snare and bass and vocal, pan the kit to match the overheads, place guitars and doubles, fill the gaps with keys and BGVs, and check in mono.
The order is what keeps the decisions small and the mix balanced.
Run this order on a few sessions and the panning stage stops being the part you dread.
Once it feels automatic, the moves that build on top of it (front-to-back depth, complementary panning, auto panning) are where a flat stereo image turns into a three-dimensional one.
Also, read audio panning secrets, it picks up exactly where this workflow leaves off.