Your kick drum has a great click and a sharp attack, but it disappears the moment the bass and the rest of the mix come in.
So you compress it harder to make it bigger, and the punchy transient that made it sound good in the first place gets crushed flat.
You are stuck choosing between attack and weight, and you want both. The technique that gives you both is parallel compression on a kick drum.
You blend a heavily compressed copy of the kick underneath the untouched original.
The dry kick keeps its sharp transient, the squashed copy adds body and sustain, and you mix the two to taste.
This post shows you the settings, the setup, and the one phase trap that quietly ruins it.
TL;DR
- Parallel compression on a kick blends a heavily compressed copy of the kick under the dry original.
- It keeps the punch and adds the weight. The dry kick holds the transient, the crushed copy adds sustain and body.
- Crush the parallel copy hard: high ratio (10:1 or more), fast attack (1 ms or less), 8–12 dB of gain reduction.
- Watch the phase. If the dry and compressed kicks fall out of phase, you lose low end. This is the most common mistake.
Next up: the settings cheat sheet, the four-step routing, and the phase check that decides whether this adds weight or steals it.
What Parallel Compression Does for a Kick
Normal compression on a kick forces a trade-off.
To add sustain and weight, you compress hard, and hard compression clamps the sharp transient that gives a kick its click and attack.
You gain body but lose punch.
Parallel compression removes the trade-off.
You leave the original kick completely untouched and run a second, copied signal through a heavily crushed compressor.
Then you blend that crushed copy in underneath the dry kick. The same trick works on any source; parallel compression is the general version.
The dry kick still has its full transient, so the punch is never touched. The crushed copy has had its dynamics squashed flat, so it is all sustain and body.
Blend them and you get a kick with a sharp attack and a long, weighty tail. That combination is what makes a kick sound big without sounding soft.
Why a Kick Benefits From It Specifically
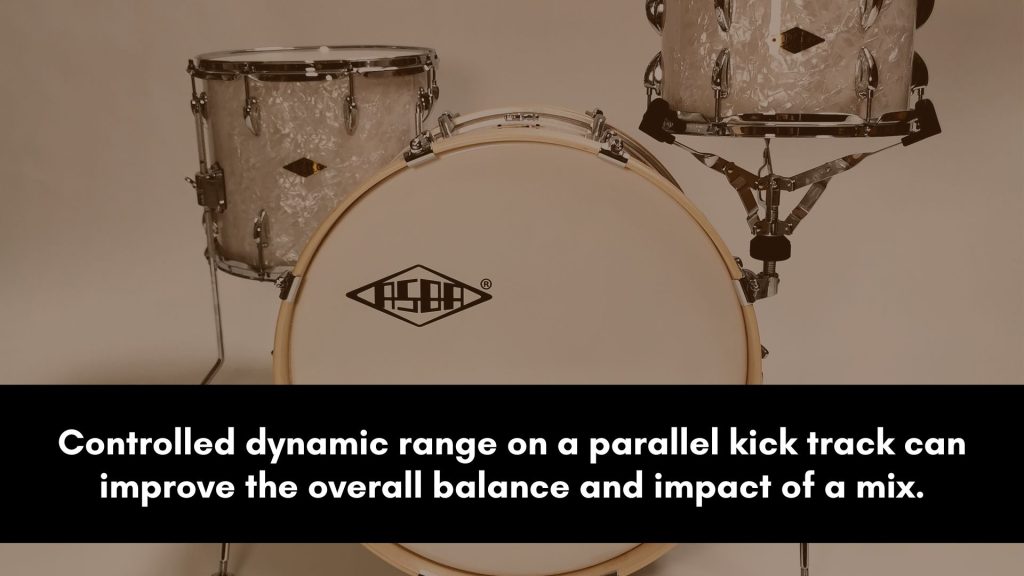
A kick drum is one of the best possible sources for this technique, more so than most instruments.
That comes down to the shape of a kick signal.
It is an extreme transient followed by a short, fast decay, a naturally high crest factor source, which is exactly the dynamic that parallel compression handles best.
Because the transient and the body are so separate in time, you can treat them almost independently.
The dry path protects the transient. The crushed path rebuilds the body.
On a more sustained source the two blur together, but on a kick they stay cleanly divided, so the result sounds deliberate rather than muddy.
It also solves a real mix problem.
A kick that sounds huge soloed often vanishes in a busy mix because it has no sustain to hold its place.
Parallel compression adds exactly that sustain, so the kick keeps its presence once the bass and the rest of the track arrive.
Want to see how much sustain your kick is missing before you start? Drop your kick into the Compression Analyzer.
Parallel Kick Settings Cheat Sheet
The settings on the compressed copy should be aggressive.
You are not going for subtle control here, you are crushing the copy flat so it becomes pure body. The blend fader is what keeps it tasteful.
The table gives starting points by genre.
| Genre / goal | Ratio | Attack | Release | Gain reduction |
|---|---|---|---|---|
| Hip-hop knock | 10:1–20:1 | 1 ms | 80–150 ms | 10–15 dB |
| EDM jackhammer | 20:1 | 1 ms or less | Timed to tempo | 12–18 dB |
| Pop, clean and punchy | 8:1–10:1 | 1–3 ms | 100 ms | 6–10 dB |
| Rock, weight and body | 10:1 | 3–5 ms | 120 ms | 8–12 dB |
The fast attack is deliberate. On the parallel path, you want the transient caught because the dry path is already protecting the punch.
The release controls how much body you add: a longer release on the copy means more sustain blended in.
If the dry kick itself needs conventional taming first, kick drum compression settings covers that pass.
How to Set It Up Step by Step
The routing is simple once you have done it once. Follow this order, and the technique works in any DAW.
Step 1: Create a parallel path
Send the kick to a new aux or return track, or duplicate the kick channel.
Set the send to 0 dB and make it a pre-fader send, so later changes to the dry kick fader do not change how hard the parallel path is driven.
Step 2: Crush the compressor on that path
Put a compressor on the parallel track and set it aggressively: a high ratio, the fastest attack, and a threshold pulled down for 8–12 dB or more of gain reduction.
This copy is meant to sound squashed. It will not be used on its own. If ratio and threshold are still new words, how to use an audio compressor is the ground floor.
Step 3: Blend it in under the dry kick
Pull the parallel track’s fader all the way down, then play the mix and slowly raise it.
Bring it up until the kick feels weighty and present, then back off slightly. The dry kick should always lead.
The parallel copy only supports it.
Step 4: Check the phase
Compare the kick with the parallel path in and out. If adding it makes the low end thinner instead of bigger, you have a phase problem.
Flip the polarity on the parallel track and compare again. Keep whichever setting gives you more low end.
Try it on anything: a kick, a snare, a full drum bus. Launch the Compression Analyzer →
The Phase Trap to Watch For
The hidden danger of parallel compression on a kick is phase cancellation, and it costs you exactly the thing you were trying to add.
It deserves its own section because most producers never check for it.
Here is what happens. A compressor introduces a tiny delay, and some plugins shift phase as they work.
When the slightly delayed, phase-shifted parallel kick is blended with the dry kick, their low-frequency waveforms can partially cancel.
The result is a kick that sounds thinner with the parallel path engaged, the opposite of the goal.
The fix is quick. Toggle the parallel track in and out and listen to the low end. If it gets weaker, flip the polarity button on the parallel channel and listen again.
Whichever position gives the fuller, bigger low end is correct.
On stubborn cases, nudging the parallel track a few samples in either direction can tighten the alignment further.
3 Common Mistakes to Avoid
When this technique disappoints, one of three errors is usually responsible. Each takes seconds to dodge once you know it exists.
1. Ignoring the phase. The most common and most damaging mistake. Always check polarity once the parallel path is blended in.
A kick that gets thinner is a phase problem, not a settings problem.
2. Blending it in too loud. The dry kick should always lead. If the parallel copy dominates, the kick loses its transient and starts to sound soft and flabby.
Bring the blend up until it helps, then back it off.
3. Compressing the parallel copy too gently. The whole point is the contrast between a sharp, dry kick and a fully crushed copy.
A lightly compressed copy adds nothing the dry kick did not already have. Crush it.
Ready to stop guessing? The Compression Analyzer will read your kick’s dynamics, show how much sustain it has, and recommend the attack, release, and ratio that fit your actual kick.
Frequently Asked Questions
Six questions, and the phase trap stars in half of them. The short answers below are enough to act on.
What does parallel compression do for a kick drum?
Parallel compression blends a heavily compressed copy of the kick under the untouched dry kick.
The dry kick keeps its sharp transient and punch, while the crushed copy adds sustain and body.
The result is a kick that has both a hard attack and a long, weighty tail, which a single compressor cannot deliver without crushing the transient.
What settings should I use for parallel kick compression?
On the parallel copy, use aggressive settings. That means a high ratio of 10:1 or more, the fastest attack your compressor allows, and a threshold pulled down for 8 to 15 dB of gain reduction.
The dry kick stays completely untouched. The blend fader, not the compressor, is what keeps the overall effect tasteful.
Why does my kick sound thinner with parallel compression?
A thinner kick is almost always a phase problem. The compressor adds a tiny delay, and the parallel copy can fall out of phase with the dry kick, cancelling low frequencies.
Flip the polarity button on the parallel track and compare. Whichever position gives the bigger, fuller low end is the correct one.
How much of the parallel kick should I blend in?
Bring the parallel track’s fader up from silence until the kick feels weighty and present, then back it off slightly.
The dry kick should always lead, with the compressed copy supporting underneath.
If the parallel path starts to dominate, the kick loses its transient punch and sounds soft, so keep the blend in support range.
Is parallel compression on a kick the same as on the drum bus?
The principle is the same, but the target differs.
Parallel compression on a kick treats only the kick, giving you precise control over its weight and sustain.
Parallel compression on the drum bus, covered in parallel drum compression, treats the whole kit at once for overall punch and glue.
Use kick-only parallel compression when the kick specifically needs help, not the whole kit.
Should I EQ the parallel kick channel?
You can, and it is a useful trick. Because the parallel copy is only there for body, EQ it to emphasize what you want it to add.
Boosting the low end or rolling off the highs on the parallel channel lets it contribute pure weight, while the dry kick provides the click and attack.
Keep any EQ moves on the parallel path simple.
The Bottom Line
Parallel compression on a kick drum gives you what a single compressor cannot: a sharp transient and a weighty body at the same time.
Crush a copy of the kick, blend it in under the untouched original, and let the dry kick lead. Do that, check the phase, and you have a kick that hits hard and holds its place in the mix.
And if you’d rather know your kick’s dynamics before you set anything, the Compression Analyzer gives you the reading and fitting settings in about 3 seconds.
Parallel is one trick out of the compressor’s whole bag. The complete audio compression guide maps the rest of it.
Practice. Crush the copy, check the phase, and let your ears be the final judge, and you’ll nail compression faster.