There is a lot of confusion surrounding compression ratios and how they work. In essence, compression is used to reduce the dynamic range in a recording.
This means that the overall sound will be louder and more consistent.
By controlling the maximum levels and maintaining a higher average loudness, you can create a much more polished sound.
What is Ratio in a Compressor?

Image Credits: masteringthemix.com
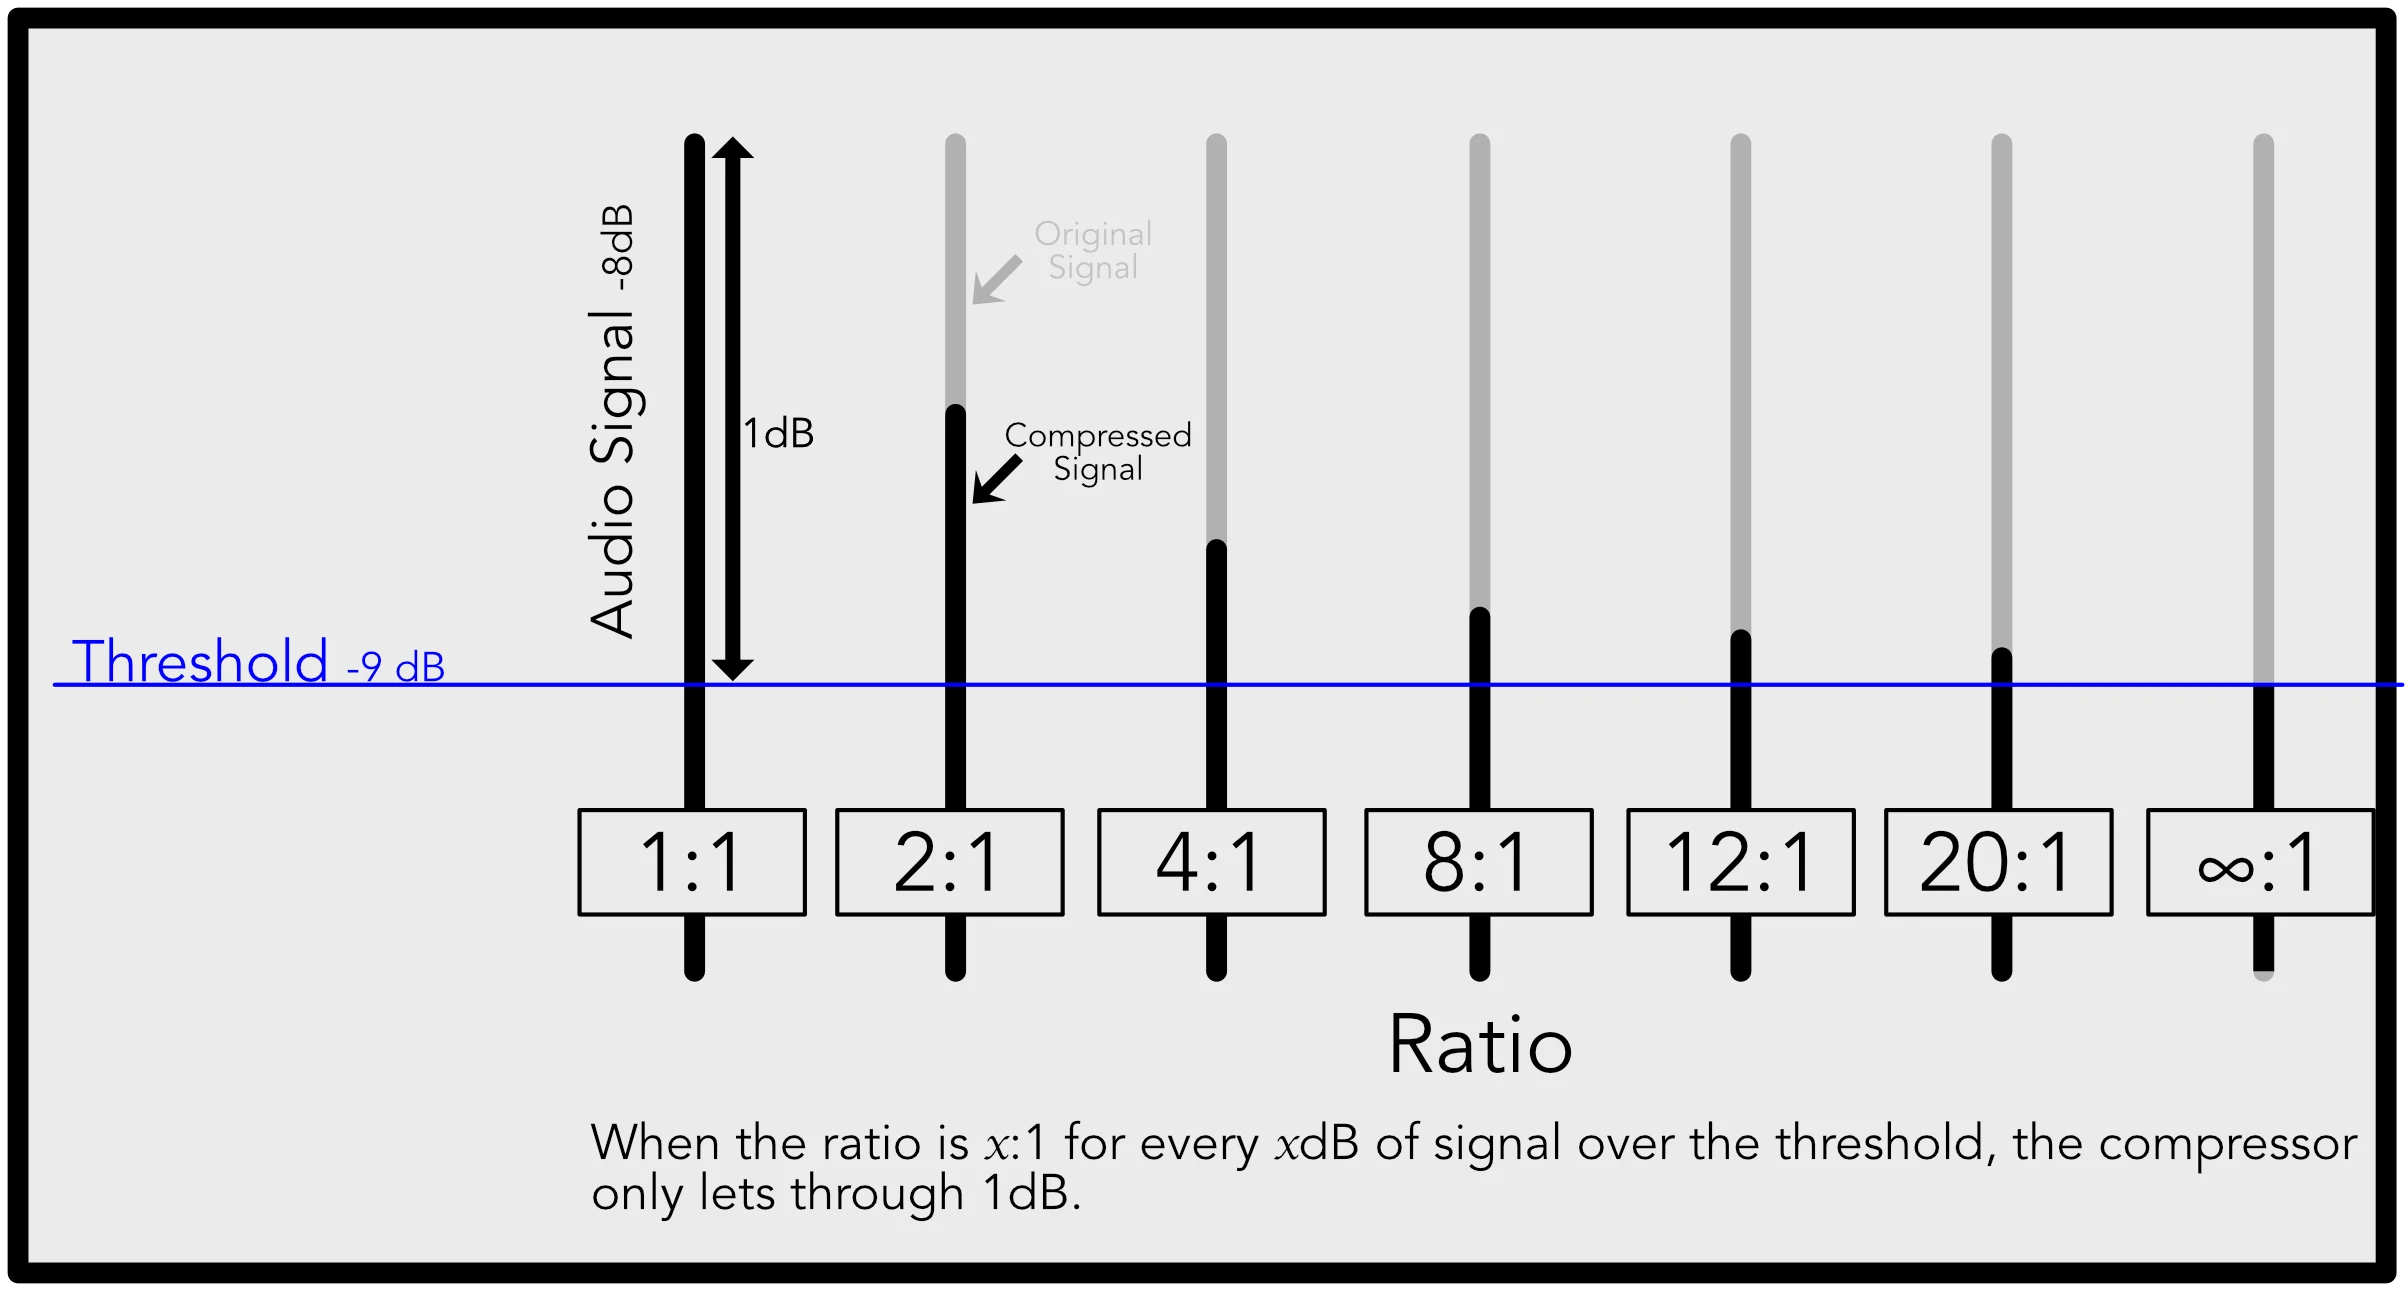
The compression ratio is the number that specifies how much attenuation is applied to a signal. A lower number means less attenuation, while a higher number means more attenuation.
You'll find a wide variety of ratios depending on the type and manufacturer of your compressor. For example, a 1:1 ratio (one-to-one) is the lowest and represents "unity gain", or no attenuation.
When measuring sound, compression ratios are expressed in decibels. This means that if a signal is 2dB above the threshold, it will be attenuated down to 1dB. Similarly, if a signal is 8dB above the threshold, it will be attenuated down to 4dB.
Now, let’s look at how certain ratio settings affect a signal.
- 1:1 - Regardless of the threshold level, the input and output levels remain the same. So, there'll be no compression applied.
- 1.5:1 - This is a gentle, transparent compression ratio that will preserve the natural sound's peaks and valleys.
- 2:1 - By using this ratio, the dynamics are smoothly controlled without noticeable changes to the tone or punch of the track.
- 3:1 - This ratio setting applies moderate compression with a bit more aggressive control. It preserves natural dynamics while applying a good amount of control.
- 4:1 - Compresses information at a medium ratio, which has better control. There will be a slight difference in punch, loudness, and tone.
- 10:1 - This ratio works aggressively, reducing dynamic range and reducing punch, clarity, and presence of a signal.
- 20:1 to Infinity:1 - It is limiting because the compressor effectively prevents the signal from crossing the threshold when you start applying this amount of ratio.
What Is A Good Compression Ratio For Vocals?

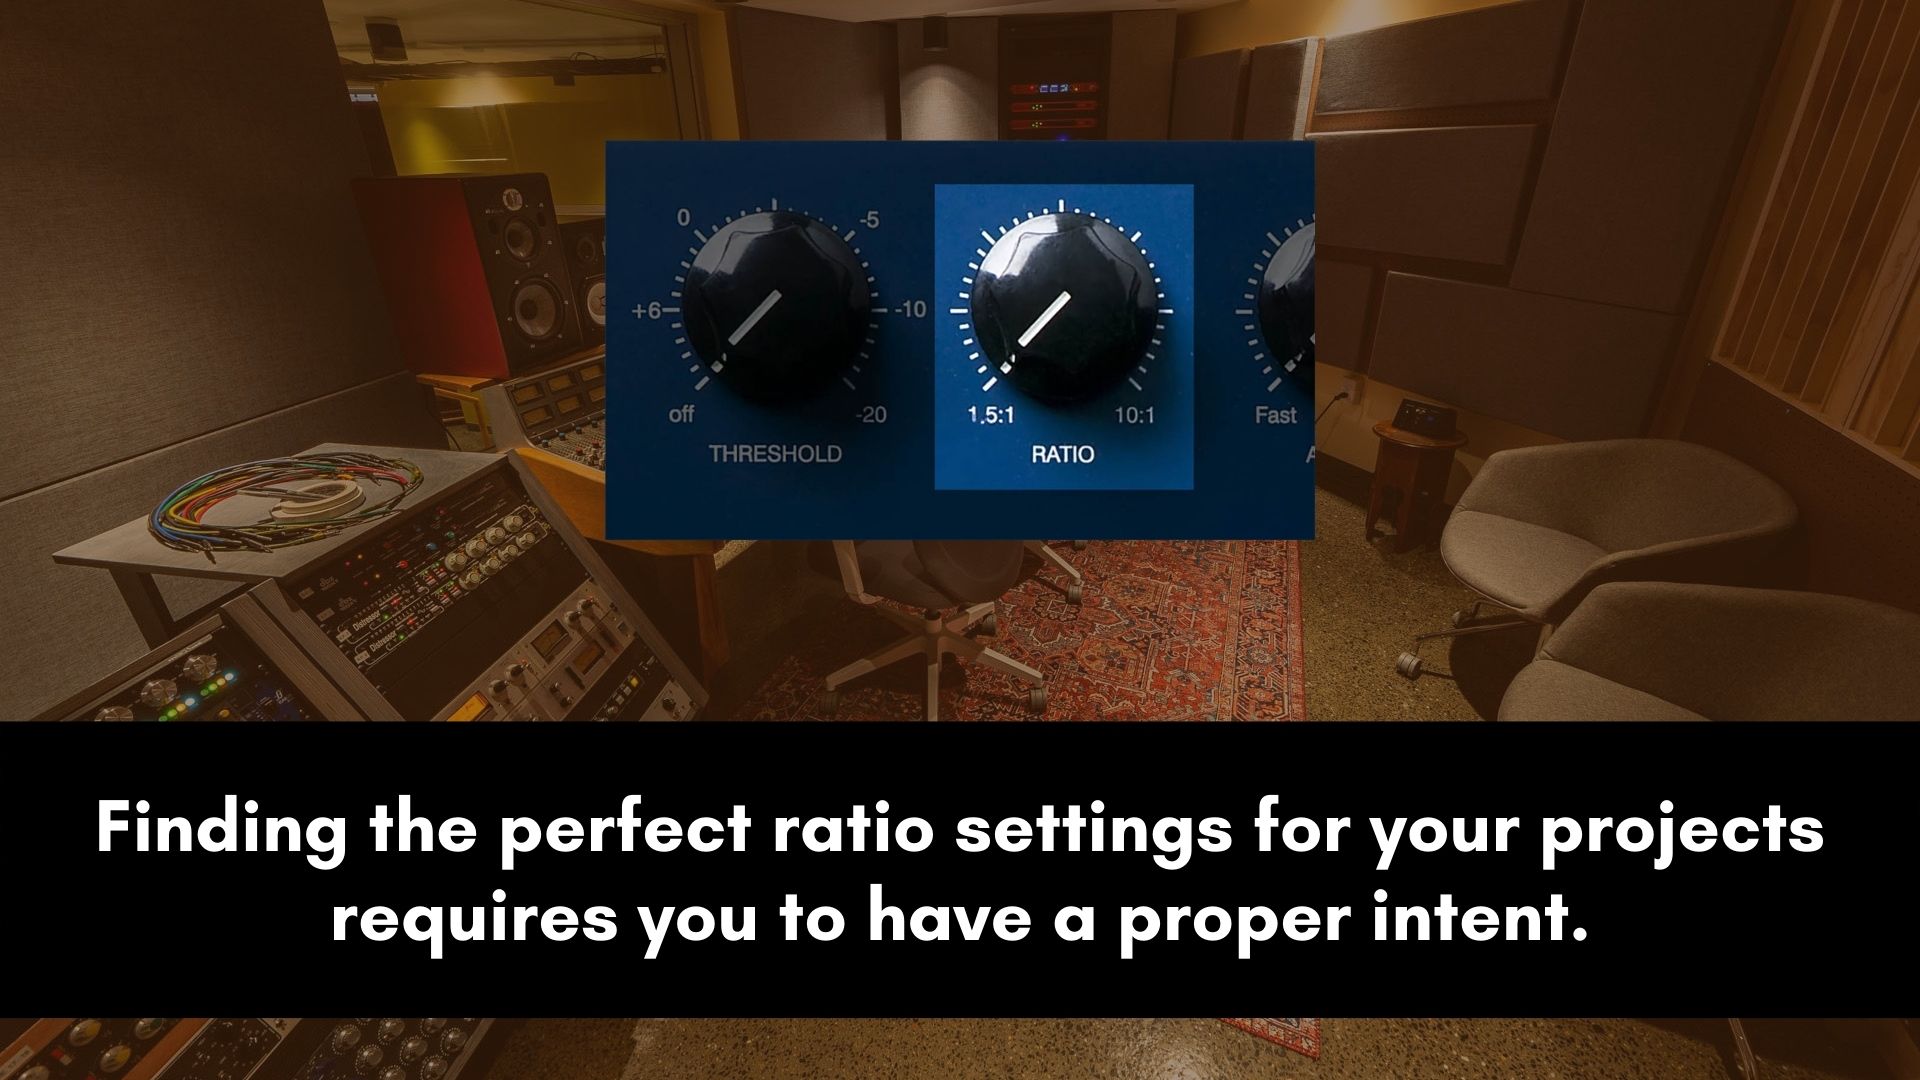
To find a good compression ratio for vocals you’ll need to have proper intent and a valid reason as to why you’re using a compressor on the voice. Once you have the right intent then half of the battle has been won.
A lot of beginners struggle with ratio settings simply because they have no idea why they’re applying compression on a vocal.
Here are a few tips that will help you eliminate a lot of guesswork.
Controlling Dynamics
Dynamic compression comes in handy if you want to control a vocal that is too dynamic. This is when the performance has a lot of difference between the loud and quieter parts.
In this case, a ratio of 4:1 will be a good starting point. You can even go as high as 6:1 if you find yourself applying too much gain reduction.
You have to make sure that the compressor is not affecting the quieter words. If that happens then reduce the threshold and increase the ratio.
This style of compression is perfect for aggressive genres such as rap, rock, dance, pop, etc.
Tonal Compression
Tonal compression can be applied when the vocal is not too dynamic but still struggling to sit perfectly in the mix. This is when certain words and phrases are not audible in different parts of the song.
All you’ll need to fix that problem will be a ratio of around 1.5:1 to 3:1. You’ll only need a gain reduction of about -2dB to -3dB.
If you find yourself needing more gain reduction then start increasing the ratio till you’re satisfied with the results.
This type of compression works good on acoustic genres such as jazz, soul, blues, folk, etc.
Controlling Transients
In some situations, you may find yourself mixing a vocal that has a lot of loud or harsh transients. In order to make the voice sound smoother, you’ll need to control the transients without pushing the vocals at the back of the mix.
A good starting point will be a ratio of 5:1, if that’s not enough then you can push it to about 8:1 and that should fix the problem.
Don’t push the threshold to a point where the voice ends up lacking punch and presence. Look at the gain reduction meter and make sure that the compressor is only affecting the loudest peaks only.
Making a Voice Punchy
When a voice is sounding flat, lacking punch, and not cutting through you can use compression to bring some life to it.
In order to add some punch and power to a vocal, you don’t need to use high ratio settings. A ratio of 3:1 usually gets the job done.
Make sure that you use a slow attack time to let the transients go through without being affected. If you affect the transients then you defeat the purpose.
You can also go with a ratio of less than 3:1 whenever necessary, but going above 3:1 will control the vocals too much and make the problem even worse.
Wrap
From here on it’s time for you to put everything mentioned in this post into practice. But by now I’m sure you’re no longer confused about the ratio parameter.
No more excuses and no more relying on guesswork. You know what ratio settings you need to use for different situations.
Feel free to save this page so that you can use it as a guide whenever you’re mixing vocals.
Post your questions (if you have any) in the comments section below and I'll respond as fast as time allows.
