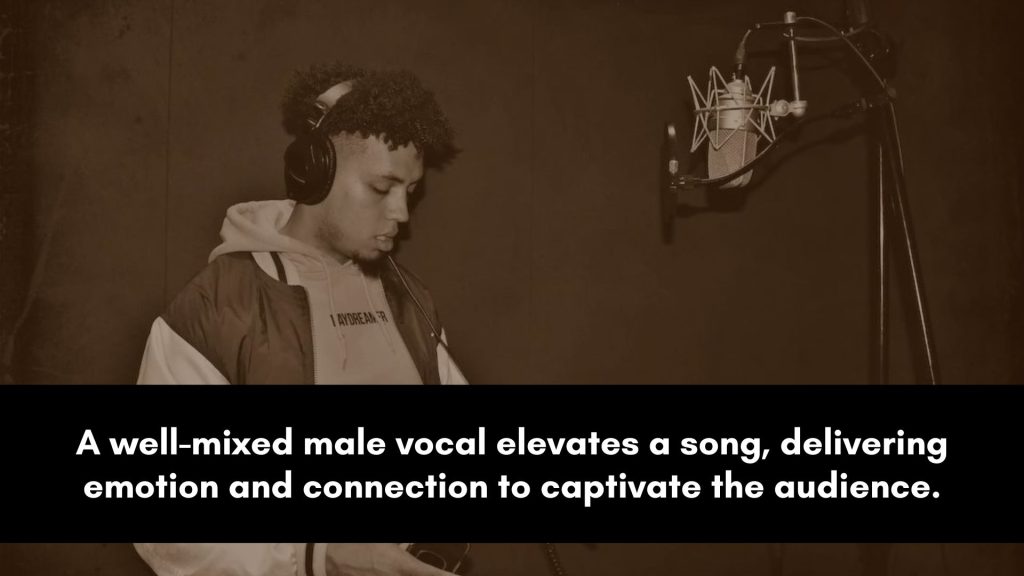
You pull up the male lead, do everything the vocal tutorials told you, and it still sounds wrong.
Boxy and boomy in the body, then harsh and spitty up top, and somehow buried and honky at the same time.
The generic “high-pass at 120, boost the air” advice does not fix it, because most of that advice was written with a brighter, higher voice in mind.
A deep male vocal has different problems.
The fix is to mix for the voice you actually have. A male vocal sits lower, carries more low-mid weight, and spits its sibilance in a different spot.
Everything in this post starts from that lower center of gravity.
The filter stays conservative, the EQ hunts mud instead of stridency, and the de-esser drops to where a male voice actually spits.
Get the low mids under control, and the vocal keeps its weight and attitude while finally sounding clear.
TL;DR
- Filter lower than you would a female vocal. Male fundamentals sit around 85–180 Hz, so high-pass near 80–100 Hz to keep the chest.
- Hunt the mud in 200–600 Hz. Low-mid boxiness is the number one male-vocal problem. Cut, do not boost.
- De-ess lower. Male sibilance usually lands around 5–8 kHz, often near 7 kHz, not the higher female range.
- Boost presence at 3–5 kHz for clarity without thinning the body.
- Compress in two stages for steady level and attitude.
- Tame plosives from proximity and deep voices with a low filter or clip edits.
Below, the chain runs in working order: prep, EQ, compression, de-essing, width, effects. The cheat sheet and the three habits that bury a low voice close it out.
What Makes a Male Vocal Different
Mixing a male vocal well starts with understanding how it differs from a higher voice.
The differences are not opinions, they are physics, and they change where you reach on the EQ.
Get these in your head and the rest of the chain falls into place.
- Lower fundamental. Most male voices sit around 85–180 Hz, so the body and weight live lower than a female vocal’s.
- More low-mid energy. That extra weight means more potential mud and boxiness in the 200–600 Hz range.
- Lower sibilance. The harsh “ess” sounds tend to sit around 5–8 kHz rather than up in the 6–10 kHz range.
- Plosive and proximity buildup. Deep voices close to the mic generate more low-end pops and chest boom.
These four facts drive every setting below.
When generic vocal advice keeps missing on your lead, it is usually because it ignored one of the four.
The counterpart guide, mixing female vocals, re-tunes all of these targets upward for a brighter voice.
Prepare the Recording First
Cleanup before processing matters more on a low voice, because its problems live in the busiest part of the mix.
A few minutes of prep keeps the mud and pops from getting baked into everything you do later.
Tame plosives first.
Deep voices and proximity effect produce strong low-end pops on P and B sounds, so clip-gain the worst ones down or use a steep low-cut automated on those moments.
Clean the breaths and noise in the gaps, and check tuning.
A committed, well-recorded male take already has the weight you are trying to protect, so the rest of the chain is about shaping, not rescuing.
EQ Settings for a Lower Voice
EQ is where the male-specific moves matter most. Because the voice sits lower, the filtering and carving happen in different places than a brighter vocal would need. The order is simple: filter conservatively, cut the mud, then add presence and air.
- High-pass around 80–100 Hz. Go gentle (12–18 dB/oct) and stay low, since filtering too high guts the chest that makes a male voice powerful.
- Shape the body at 150–300 Hz. Boost slightly for warmth, or cut if the vocal is boomy.
- Cut boxiness at 400–600 Hz. This is the classic male-vocal mud zone. A dip here clears honk and congestion.
- Tame harsh or nasal tones at 1–2 kHz with a small cut if the vocal sounds hollow or pinched.
- Boost presence at 3–5 kHz for clarity and intelligibility without thinning the low end.
- Add air above 10 kHz sparingly so the vocal keeps its top without getting brittle.
Make small moves and listen in the full mix. None of these bands are guesses; how to EQ vocals like a pro shows how each one gets found and confirmed by ear.
Compression That Keeps the Weight
A male vocal needs to stay consistent without losing its chesty power, which is why two gentle stages beat one heavy squash.
Splitting the work keeps the low-end weight intact while still controlling the performance.
Use a first compressor with a fast attack and quick release for peak control, around 3–5 dB of reduction, to catch the loud moments.
Then add a second, slower compressor for gentle overall leveling so the vocal sits in a steady place.
This two-stage approach holds a deep voice forward without flattening the dynamics that give it attitude.
Vocal compression goes deeper on both stages, from attack times to makeup gain.
De-Ess Without Dulling the Top
Sibilance on a male voice sits lower than the generic advice assumes, so the de-esser has to be tuned to the right band.
Aim too high and you miss the harshness; aim too wide and you dull the whole top end.
Sweep the de-esser between 5 and 8 kHz to find the problem, which on a male vocal often lands around 7 kHz, lower than the 6–10 kHz range typical of female voices.
Set the threshold so only the harsh “ess” sounds trigger it, and use a wider Q for a more natural result.
De-ess only as much as you need, since over-doing it leaves the vocal lisping and lifeless.
The threshold, band, and tool choices get a fuller treatment in de-essing vocals.
Build Width With Panning and Doubling
The lead male vocal stays centered, and the width comes from the parts around it.
Doubles and harmonies spread out give a male vocal size without weakening the focused, upfront center a low voice depends on.
Pan doubled takes out to the sides and tuck them under the lead, keeping the main vocal dead center.
How to pan vocals assigns a spot to every double, harmony, and ad-lib in that picture.
With deep voices, watch the low end of the doubles so the stacked weight does not turn to mud, and high-pass the doubles a touch higher than the lead.
Reverb and Delay That Stay Out of the Mud
Effects on a male vocal need extra discipline in the low end, because a deep voice plus a full reverb tail quickly turns muddy.
The goal is depth and space without adding more weight to an already heavy voice.
High-pass the reverb and delay returns aggressively, often higher than you would on a brighter vocal, so the tails add air and depth rather than low-mid wash.
Keep reverb decays short and use timed delay to add space while keeping the vocal upfront. A clean, controlled tail keeps a male lead present instead of distant.
Saturation for Presence and Attitude
Saturation gives a male vocal grit, presence, and a sense of loudness without raising the fader.
It is especially useful for rock, rap, and pop leads that need to cut through a dense, aggressive mix with attitude.
Add harmonics to bring out detail in the upper mids, exactly where a male vocal competes for clarity, and use it to add edge without harshness.
Drive it in parallel if you want richness while keeping the dry vocal clean. Used gently, it adds character; pushed hard, it becomes an effect in its own right.
Male Vocal Frequency Cheat Sheet
Here are the key male-vocal frequency moves in one place.
These are starting points tuned to a lower voice, so adjust by ear for your singer and genre.
| Range | What lives there | Move |
|---|---|---|
| 80–100 Hz | Rumble, plosives | High-pass gently, stay low |
| 150–300 Hz | Body, warmth, chest | Boost for weight, cut if boomy |
| 400–600 Hz | Boxiness, mud | Cut to clear honk |
| 1–2 kHz | Nasal, hollow tones | Small cut if pinched |
| 3–5 kHz | Presence, clarity | Boost for intelligibility |
| 5–8 kHz (~7 kHz) | Sibilance | De-ess here |
| 10 kHz+ | Air, sheen | Boost sparingly |
3 Common Mistakes That Bury a Low Voice
Burying a male vocal takes effort, and these three habits do most of it. Drop them and the power comes back on its own.
1. High-passing too high. Filtering up at 120 Hz or beyond, which can work on a brighter voice, strips the chest and weight from a male vocal.
Keep the high-pass low, around 80–100 Hz, and clear the mud with a dip higher up instead.
2. Ignoring the low-mid mud. The 200–600 Hz buildup is the single biggest reason a male vocal sounds boxy and buried.
If you only boost and never cut here, no amount of presence will save it. Carve the mud first.
3. De-essing in the wrong place. Setting the de-esser to the higher female sibilance range misses the harshness on a male voice and dulls the rest of the top.
Sweep 5–8 kHz and target the actual problem, usually around 7 kHz.
Frequently Asked Questions
Six questions, one theme: keeping a low voice clear without losing its weight.
If you want the mechanism behind any answer, the matching section above has it.
What high-pass filter setting works best for male vocals?
For most male vocals, high-pass gently around 80 to 100 Hz with a 12 to 18 dB per octave slope.
Because male fundamentals sit low, roughly 85 to 180 Hz, filtering much higher strips the chest and weight that give the voice power.
Start low, then sweep up only until you hear the body start to thin, and back off. Clear any remaining mud with a cut higher in the low mids rather than a steep filter.
What frequency range makes a male vocal sound deep?
The depth and body of a male voice live in the low mids, roughly 150 to 300 Hz, around the fundamental.
A gentle boost there adds warmth and chest, while cutting thins a boomy vocal.
Be careful, because too much in this range quickly turns to boxiness around 400 to 600 Hz. Balance a small body boost with a cut in that mud zone to keep the vocal deep but clear.
Which frequencies make male vocals sound harsh?
Harshness on a male vocal usually comes from two areas. A pinched, nasal or hollow quality lives around 1 to 2 kHz, where a small cut helps.
Sibilant, spitty harshness sits around 5 to 8 kHz, often near 7 kHz, and is best handled with a de-esser rather than a static cut.
Address the nasal range with EQ and the sibilance with de-essing for a smooth, clear result.
How is mixing male vocals different from female vocals?
The main differences are frequency-based.
Male voices have lower fundamentals (around 85 to 180 Hz), more low-mid weight and mud, and sibilance that sits lower in the spectrum.
That means high-passing lower, cutting boxiness around 400 to 600 Hz more aggressively, and de-essing closer to 7 kHz rather than the higher female range.
The overall chain is similar, but the target frequencies all shift down for a male voice.
Why does my male vocal sound muddy?
Muddiness on a male vocal almost always comes from buildup in the 200 to 600 Hz range, made worse by proximity effect and a low fundamental.
The fix is to cut, not boost: dip the boxiness around 400 to 600 Hz, keep the high-pass low but present, and control the doubles and reverb in the low end.
Once the low mids are clear, the vocal sounds deep and full instead of boomy and congested.
What compression settings work for male vocals?
A two-stage approach works best.
Use a first compressor with a fast attack and quick release for peak control, around 3 to 5 dB of gain reduction, then a second, slower compressor for gentle overall leveling.
This keeps a male vocal steady and forward without flattening the chesty weight and attitude that make it powerful.
Adjust to the genre, with more control for rap and rock and a lighter touch for intimate styles.
The Bottom Line
Mixing a male vocal well comes down to respecting a lower voice.
Filter low to keep the chest, hunt the mud in 200–600 Hz, de-ess closer to 7 kHz, add presence at 3–5 kHz, and compress in two gentle stages.
Tame the plosives and keep the effects out of the low end.
Make those moves with the male voice in mind and the lead lands clear, deep, and powerful instead of boxy and buried.
None of this replaces the general vocal chain; it re-aims it at a lower voice. When you want that chain itself, stage by stage, the complete vocal mixing guide is the place to start.